
Yes, you can paint a ceramic lamp to give it a fresh new look! This guide will walk you through how to paint a ceramic lamp, making it simple and fun to update your home decor.
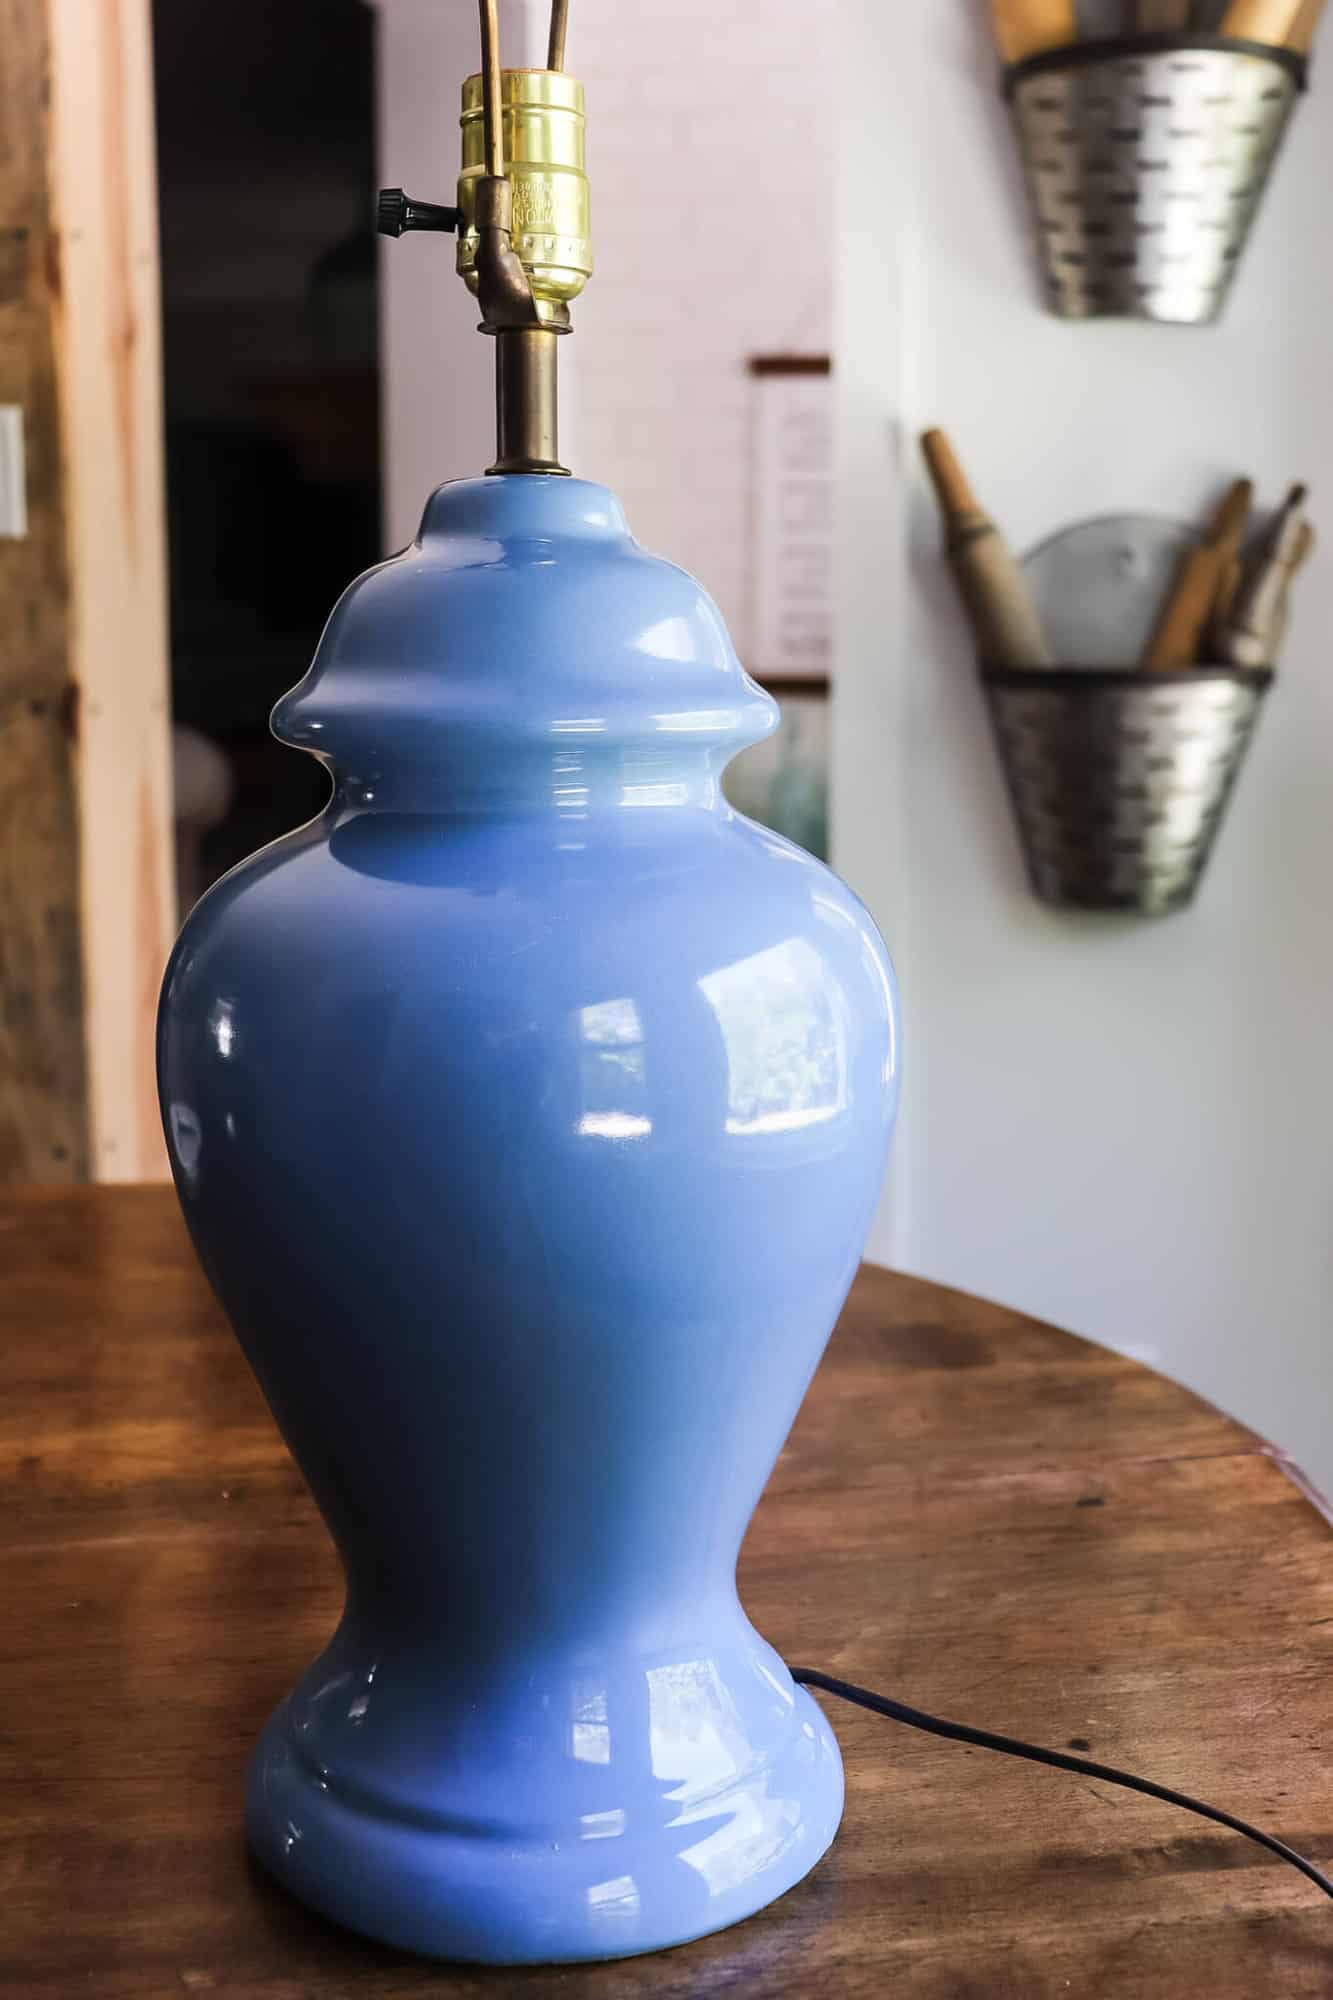
Image Source: notinggrace.com
Refresh Your Home with a Lamp Makeover Ceramic
Ceramic lamps, with their classic shapes and often charming designs, can sometimes feel a bit dated. But don’t toss that old lamp just yet! A little bit of paint can work wonders, transforming a tired piece into a stylish focal point for any room. This DIY painted lamp project is a fantastic way to express your creativity and save money on new decor. Whether you want to match your lamp to a new color scheme, add a pop of personality, or simply revive a faded finish, painting a ceramic lamp is an achievable and rewarding task.
Why Paint a Ceramic Lamp?
There are many reasons why you might want to embark on this creative journey.
- Style Update: Your home decor changes, and your lamp should too. Painting allows you to easily adapt your lighting to current trends or your personal taste.
- Cost-Effective: Buying a new designer lamp can be expensive. A DIY painted lamp project is a budget-friendly alternative.
- Personalization: You can create a truly custom ceramic lamp painting that reflects your unique style, something you won’t find in a store.
- Eco-Friendly: Repurposing an old lamp reduces waste and gives a new life to an existing item.
- Fun Craft: It’s a relaxing and enjoyable craft project that yields beautiful results.
Getting Started: Supplies for Ceramic Lamp Painting
Before you dive into ceramic lamp painting, gathering the right supplies is key to a smooth and successful project. Here’s a comprehensive list of what you’ll need for your lamp makeover ceramic:
Essential Materials
- Ceramic Lamp Base: The star of your show! Make sure it’s clean and free of dust.
- Sanding Block or Fine-Grit Sandpaper (220-grit or higher): For creating a smooth surface for paint to adhere to.
- Mild Soap and Water: For cleaning the lamp base.
- Clean Cloths or Sponges: For cleaning and applying paint.
- Painter’s Tape: To protect any areas you don’t want to paint, like the lamp socket or cord.
- Primer (specifically for ceramic or multi-surface): This is crucial for good adhesion and a durable finish.
- Paint: The fun part! We’ll discuss the best paint for ceramic lamps below.
- Paint Brushes: A variety of sizes – small for details, medium for broader strokes.
- Foam Rollers (optional): For smooth, even coverage on larger areas.
- Clear Topcoat or Sealer (optional but recommended): For added durability and a professional finish.
- Drop Cloth or Newspaper: To protect your work surface.
Optional but Helpful Supplies
- Spray Paint Primer: Can be a faster option for priming.
- Spray Paint (for the finish): Offers a very smooth, even coat.
- Stencils: For adding patterns or designs.
- Craft Knife or Utility Knife: For trimming painter’s tape.
- Disposable Gloves: To keep your hands clean.
- Screwdriver: To remove the lamp harp and shade holder if necessary.
- Masking Paper: For larger areas to protect from overspray if using spray paint.
Preparing Your Ceramic Lamp for Painting
Proper preparation is the foundation of any successful painting project. For ceramic lamp refinishing, this means ensuring a clean, smooth surface for optimal paint adhesion.
Step-by-Step Preparation Process
- Disassemble (If Possible and Necessary): Carefully remove the lampshade, harp, and any finials. If the lamp cord is integrated into the base and you’re concerned about getting paint near the socket, you can gently wrap the socket area with painter’s tape. For safety, always ensure the lamp is unplugged.
- Clean the Lamp Base: Wash the ceramic lamp base thoroughly with mild soap and water. Use a soft cloth or sponge to remove any dirt, dust, grease, or old polish. Rinse well and allow it to dry completely. Any residue left on the surface can prevent the paint from adhering properly.
- Lightly Sand the Surface: This is a critical step for ceramic lamp painting. Use a fine-grit sandpaper (220-grit or higher) or a sanding block. Gently scuff up the entire surface of the ceramic. You don’t need to remove the original finish, just create a dull, slightly rough texture. This “tooth” helps the primer and paint stick better. Wipe away all sanding dust with a dry cloth or a tack cloth.
- Tape Off Protected Areas: Use painter’s tape to carefully cover any parts of the lamp you don’t want to paint. This includes the electrical socket, the cord, and any metallic or decorative elements you want to keep as they are. Ensure the tape is pressed down firmly to prevent paint from seeping underneath.
Choosing the Best Paint for Ceramic Lamps
The type of paint you choose significantly impacts the durability and finish of your ceramic lamp refinishing. You need something that adheres well to ceramic and can withstand normal handling.
Understanding Paint Types
Here’s a look at the best paint for ceramic lamps and why:
| Paint Type | Pros | Cons | Best For |
|---|---|---|---|
| Acrylic Paint | Water-based, easy cleanup, wide color range, versatile. | Can chip if not sealed properly, may require more coats for durability. | Decorative finishes, intricate designs, touch-ups. |
| Chalk Paint | No priming usually needed, matte finish, easy distressing. | Can be dusty, requires sealing with wax or polycrylic, not very durable. | Vintage or rustic looks, quick makeovers. |
| Spray Paint (Enamel) | Smooth, even finish, fast application, durable when cured. | Requires good ventilation, can be tricky for detailed work, overspray issues. | Large areas, smooth finishes, modern or glossy looks. |
| Enamel Paint (Brush-on) | Durable, hard finish, good adhesion, available in various sheens. | Can have brush strokes, longer drying times, requires good ventilation. | High-traffic lamps, durable and lasting finishes. |
| Milk Paint | Natural, matte finish, can chip for a chippy look, requires sealing. | Can be unpredictable, requires a binder for non-porous surfaces. | Distressed, antique, or farmhouse styles. |
| Specialty Ceramic Paint | Designed specifically for ceramic, often oven-cured for extreme durability. | Can be more expensive, limited color options sometimes. | Permanent, high-wear applications, achieving a factory-like finish. |
Recommendations for Durability and Ease
- For Brush Application: High-quality acrylic paints, especially those labeled “all-purpose” or “multi-surface,” are excellent. Follow up with a good quality acrylic sealer or polycrylic. Enamel paints (water-based or oil-based) offer even greater durability.
- For Spray Application: Look for spray paints specifically designed for multi-surfaces or crafts. Enamel spray paints are a popular choice for their durability. Always use a primer designed for spray application and ensure good ventilation.
The Art of Ceramic Lamp Painting: Techniques
Now that your lamp is prepped and you’ve chosen your paint, it’s time to learn some painting techniques for ceramic. These methods will help you achieve professional-looking results for your DIY painted lamp.
Applying Primer
Primer is essential for ensuring your paint adheres well and for creating a uniform base color, especially if you’re painting a dark lamp a light color.
- Choose Your Primer: Select a primer suitable for ceramic or a multi-surface primer.
- Application Method:
- Brush-On: Apply a thin, even coat with a brush. Avoid overloading the brush to prevent drips.
- Spray: If using spray primer, work in light, even coats. Hold the can about 8-12 inches away from the surface and use a steady back-and-forth motion.
- Drying Time: Allow the primer to dry completely according to the manufacturer’s instructions. This is crucial for good adhesion.
- Second Coat (Optional): For very dark lamps or if you want to ensure complete coverage, apply a second thin coat of primer after the first has dried. Lightly sand again with fine-grit sandpaper if necessary for a super smooth finish, then wipe away dust.
Painting Techniques
-
Solid Color Coverage:
- Thin Coats are Key: Apply paint in thin, even layers rather than one thick coat. This prevents drips and ensures a smooth finish.
- Brush Strokes: If brushing, paint in one direction to minimize visible brush marks. For a smoother finish, you can use a foam roller on larger, flatter areas.
- Drying Between Coats: Always allow each coat of paint to dry completely before applying the next. Refer to the paint manufacturer’s guidelines for drying times.
- Multiple Coats: Most projects will require 2-3 thin coats for opaque coverage.
-
Creating Patterns and Designs (Custom Ceramic Lamp Painting):
- Stenciling: Secure a stencil firmly to the lamp base with painter’s tape. Apply paint with a stencil brush using a dabbing motion, or use spray paint with a light mist to prevent bleed-through. Remove the stencil carefully while the paint is still slightly wet.
- Ombre Effect: Start with a darker shade at the base and gradually lighten the color as you move up the lamp. This can be achieved by mixing small amounts of white paint into your base color with each successive coat.
- Two-Tone Design: Use painter’s tape to mask off sections of the lamp and paint them in contrasting colors. Ensure the first color is completely dry and the tape is pressed firmly before applying the second color.
- Textured Finishes: Experiment with different brush techniques – dry brushing (using a brush with very little paint) or sponging can create interesting textures.
-
Using Spray Paint:
- Ventilation: Work in a well-ventilated area, preferably outdoors.
- Masking: Cover any areas you don’t want sprayed with masking paper and painter’s tape.
- Even Coats: Hold the can 8-12 inches away and spray in light, sweeping motions. Overlap each pass slightly.
- Avoid Runs: Don’t apply too much paint at once. If you see drips, stop and let it dry before attempting to fix them.
- Curing Time: Spray paint often requires a longer curing time to reach its full hardness.
Sealing and Finishing Your Painted Ceramic Lamp
After your ceramic lamp painting is complete, the final step is crucial for protecting your work and giving it a professional sheen. Sealing your lamp ensures the paint lasts and resists chipping or scratching.
Why Seal?
- Durability: A topcoat protects the paint from everyday wear and tear.
- Washability: It makes the lamp easier to clean.
- Finish Enhancement: Sealers can add a matte, satin, or glossy finish, depending on your preference.
Sealing Options
- Polycrylic (Water-Based): This is a very popular choice for acrylic paint projects. It dries clear, is non-yellowing, and is easy to clean up with water. It comes in matte, satin, and gloss finishes.
- Acrylic Sealer (Spray or Brush-On): Similar to polycrylic, these sealers offer good protection for acrylic paints.
- Spray Lacquer or Varnish: These can provide a very durable finish, but ensure they are compatible with your paint. They typically require good ventilation.
- Paste Wax (for Chalk Paint): If you used chalk paint, a coat of paste wax is essential for protection and to achieve a soft sheen.
Application Tips
- Ensure Paint is Fully Dry: Wait at least 24-48 hours after the last coat of paint before applying a sealer. Some paints might require longer.
- Thin Coats: Apply the sealer in thin, even coats, just like the paint.
- Brush vs. Spray:
- Brush-On: Use a good quality brush and paint in smooth strokes. Avoid overworking the sealer, which can cause foam.
- Spray-On: Work in a well-ventilated area and apply light, even coats.
- Drying and Curing: Allow each coat of sealer to dry completely before applying the next. Check the product instructions for recommended drying and curing times. Most sealers require a few days to fully cure and harden.
Customizing Your Ceramic Lamp: Advanced Techniques
Once you’ve mastered the basics of ceramic lamp painting, you might want to explore more advanced techniques to create truly unique pieces. These methods add personality and elevate your DIY painted lamp.
Exploring Painting Techniques for Ceramic
- Glazing: Applying thin, translucent layers of color over a dried base coat can add depth and subtle color variations. This is a great way to achieve an antique or richly layered look.
- Decoupage: Adhere decorative paper, fabric, or even old book pages to the lamp base using Mod Podge or a similar adhesive. Seal over the top for durability.
- Metallic Accents: Use metallic paints or gilding flakes to add pops of gold, silver, or bronze to details, patterns, or the entire lamp.
- Crackling Effect: Special crackle medium can be applied between paint layers to create an aged, cracked appearance.
- Using Stencils Creatively: Layer multiple stencils, use different colors within a stencil, or create your own stencils for truly custom patterns.
Lamp Restoration and Refinishing Ideas
Ceramic lamp restoration can involve more than just painting.
- Repairing Cracks: Small hairline cracks can sometimes be filled with a ceramic epoxy or a light-weight spackle before painting.
- Replacing Hardware: If the lamp’s metal components (like the harp or finial) are tarnished beyond repair, consider replacing them for a complete refresh.
- Updating the Shade: A new lampshade can dramatically change the lamp’s overall look and complement your new painted base.
Frequently Asked Questions About Painting Ceramic Lamps
Here are some common questions people have when embarking on ceramic lamp painting.
Q1: Can I paint a glazed ceramic lamp?
A1: Yes, you can paint a glazed ceramic lamp, but proper preparation is key. Lightly sanding the surface to create a “tooth” for the primer and paint to adhere to is essential. Without sanding, the paint may peel.
Q2: What is the best way to clean a ceramic lamp before painting?
A2: Clean the lamp with mild soap and water. Use a soft cloth or sponge to gently scrub away dirt, dust, and any grease. Rinse thoroughly and allow it to air dry completely.
Q3: Do I need to prime a ceramic lamp before painting?
A3: Yes, priming is highly recommended. Primer helps the paint adhere better to the ceramic surface, provides a uniform base color, and can prevent the original color from showing through, especially when painting a dark lamp a lighter shade.
Q4: What kind of paint is best for ceramic lamps?
A4: High-quality acrylic paints, chalk paints, enamel paints, and spray paints designed for multi-surfaces are good options. Ensure you seal the finished product for durability, especially with acrylics and chalk paints.
Q5: How many coats of paint do I need?
A5: It typically takes 2-3 thin coats of paint for full, even coverage. Allow each coat to dry completely before applying the next.
Q6: Can I use spray paint on a ceramic lamp?
A6: Yes, spray paint is a great option for achieving a smooth, even finish. Ensure you work in a well-ventilated area, use a primer, and apply light, even coats.
Q7: How do I get a smooth finish without brush strokes?
A7: Apply paint in thin coats, brush in one direction, and consider using a foam roller for larger areas. If using spray paint, ensure light, even passes. Sometimes, a light sanding between coats with very fine-grit sandpaper can help smooth out imperfections, followed by a quick wipe to remove dust.
Q8: How long does it take for a painted ceramic lamp to cure?
A8: While paint may feel dry to the touch within a few hours, it often takes several days to a week for the paint and sealer to fully cure and harden. Avoid heavy handling or cleaning during this curing period.
Q9: Can I paint a lamp that will be used outdoors?
A9: If the lamp will be exposed to the elements, it’s crucial to use outdoor-specific paints and sealers that are weather-resistant. Ensure thorough preparation and multiple protective coats.
Q10: How do I seal a ceramic lamp after painting?
A10: Use a clear acrylic sealer, polycrylic, or spray varnish. Apply in thin, even coats after the paint is completely dry. Allow the sealer to dry thoroughly between coats and cure fully before use.
Painting a ceramic lamp is a rewarding project that allows you to personalize your living space and bring new life to existing decor. With a little preparation and the right materials, you can transform any ceramic lamp into a stylish statement piece. Enjoy your beautifully updated, custom ceramic lamp!