
How long do you keep chicks under a heat lamp? Generally, chicks need supplemental heat from a heat lamp for about 3 to 6 weeks, but this duration can vary based on ambient temperature, chick breed, and their overall health. The primary goal is to ensure they maintain a comfortable body temperature, especially when they haven’t fully developed their own natural insulation.
Caring for baby chicks is a rewarding experience, but it comes with responsibilities. One of the most critical aspects of baby chick care is providing the right environment, and that often means using a heat lamp. Understanding the nuances of chick brooding period and how to gradually wean them off artificial warmth is key to their healthy development. This guide will walk you through everything you need to know about heat lamps for chicks, from initial setup to when it’s safe to remove them.
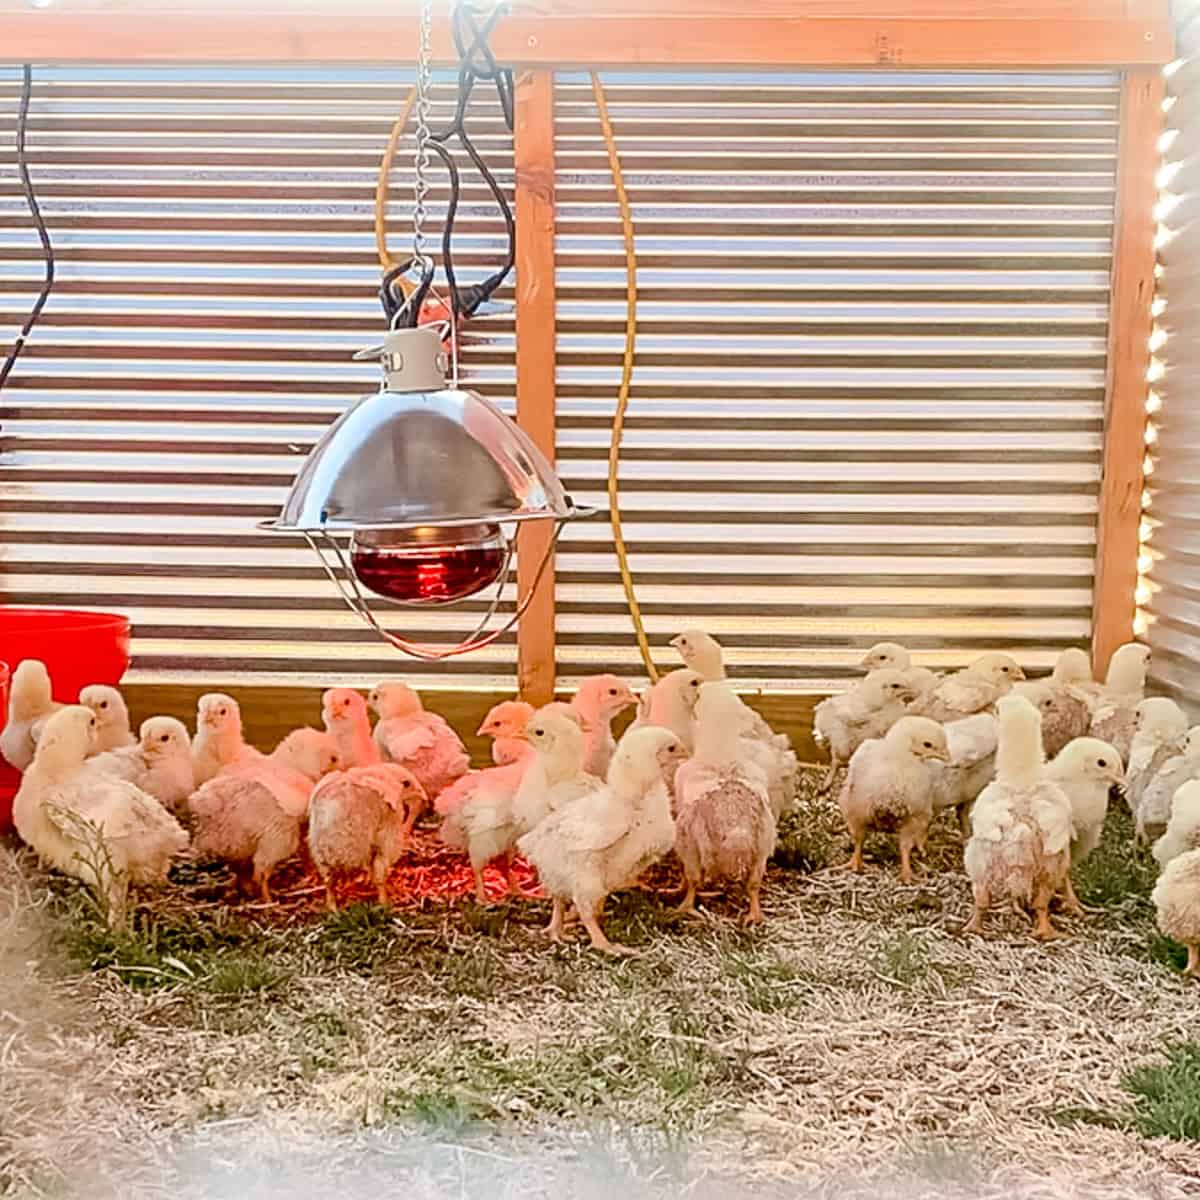
Image Source: ninnescahmade.com
Creating the Ideal Brooding Environment
The first few weeks of a chick’s life are crucial. They are born with downy feathers, which offer very little insulation against the cold. This makes them highly susceptible to temperature fluctuations. The brooding box temperature is paramount in ensuring their survival and growth.
Why Chicks Need a Heat Lamp
Chicks hatch with underdeveloped thermoregulatory systems. This means they cannot generate enough body heat on their own to stay warm, especially when separated from their mother hen. A heat lamp provides the necessary supplemental heat for baby chicks to mimic the warmth a mother hen would provide. Without this heat, chicks can become chilled, lethargic, and prone to illness, often leading to mortality.
The Chick Comfort Zone: Temperature Guidelines
Establishing the correct heat lamp temperature for chicks is not a one-size-fits-all scenario. The temperature needs to be adjusted as the chicks grow.
- Week 1: Chicks need a temperature of around 95°F (35°C) directly under the heat lamp.
- Week 2: Reduce the temperature by about 5°F (3°C), aiming for 90°F (32°C).
- Week 3: Lower the temperature to 85°F (29.5°C).
- Week 4: Aim for 80°F (27°C).
- Week 5 onwards: Continue to decrease the temperature by 5°F (3°C) each week until they reach a stable ambient temperature of around 70-75°F (21-24°C).
These are general guidelines. Observing your chicks’ behavior is the most accurate way to gauge if the temperature is correct.
Monitoring Chick Behavior for Temperature Clues
Chicks are excellent indicators of their comfort level. Their behavior will tell you if the temperature is too hot, too cold, or just right.
- Too Cold: Chicks will huddle together tightly under the heat lamp, cheep loudly and constantly, and may appear listless.
- Too Hot: Chicks will spread out as far away from the heat lamp as possible, pant, and may seem restless.
- Just Right: Chicks will be spread out loosely around the brooder, moving freely, eating, drinking, and engaging in typical chick activities. They will appear alert and active.
Determining the Chick Heat Lamp Duration
The chick heat lamp duration is directly tied to the chicks’ ability to regulate their own body temperature. As they grow, they develop their adult feathers, which provide natural insulation. This process takes time.
Factors Influencing the Length of Brooding
Several factors can influence how long chicks will need supplemental heat for baby chicks:
- Ambient Temperature: If you live in a warmer climate or are brooding chicks during the summer months, you might be able to reduce the heat lamp duration. Conversely, in colder climates or during winter, chicks may need the heat for a longer period.
- Brood Size: A larger group of chicks can generate more body heat collectively. However, they also require adequate space to move away from the heat source if they become too warm.
- Breed: Some breeds are hardier than others. For instance, breeds developed for colder climates might be more tolerant of cooler temperatures sooner than breeds originating from warmer regions.
- Health and Vigor: Weak or unhealthy chicks may struggle to maintain their body temperature and could require heat for a longer duration.
When to Remove Heat Lamp from Chicks: A Gradual Approach
The process of weaning chicks from heat should be gradual. Avoid sudden removal of the heat source, as this can shock their systems.
Week 1-2: Full heat is typically needed.
Week 3: Start reducing the height of the heat lamp, or slightly decrease the temperature by adjusting the bulb wattage or thermostat.
Week 4-5: Continue gradual reduction. You can start by turning the heat lamp off for short periods during the warmest part of the day, provided the ambient temperature is sufficient.
Week 6 onwards: If the ambient temperature is consistently above 70°F (21°C), you can generally remove the heat lamp entirely. However, always monitor the chicks. If they show signs of being cold, reintroduce supplemental heat.
It’s important to remember that the goal isn’t just to remove the heat lamp but to ensure the chicks are comfortable and can thrive at the ambient room temperature.
Setting Up Your Brooder and Heat Lamp Safely
A safe and effective brooder setup is crucial for chick well-being. This involves proper placement of the heat source, adequate ventilation, and appropriate bedding.
Essential Brooder Components
- Container: A large cardboard box, plastic tub, or stock tank works well. Ensure it’s deep enough to prevent chicks from getting out and to contain bedding.
- Bedding: Pine shavings, straw, or specialized chick starter bedding provide warmth and absorb moisture. Avoid cedar shavings, as the oils can be harmful to chicks.
- Food and Water: Provide chick starter feed in shallow dishes or feeders that are easy for chicks to access. Waterers should be shallow enough to prevent drowning, and you may want to place marbles or pebbles in the waterer to give chicks something to stand on.
- Heat Source: This is where the heat lamp comes in.
Heat Lamp Safety and Placement
Heat lamps can pose a fire risk if not used correctly. Always follow these safety guidelines:
- Secure Mounting: Mount the heat lamp securely to the side of the brooder or suspend it from above. Use a clamp-on lamp designed for this purpose. Never rest it directly on bedding or anything flammable.
- Height Adjustment: The height of the heat lamp is critical for temperature control. You can adjust the height to raise or lower the temperature under the lamp.
- Backup Plan: Always have a backup plan in case of heat lamp failure, especially during colder months. This could include a second heat lamp or a reliable alternative heat source.
- No Overcrowding: Ensure chicks have enough space to move away from the heat if they feel too warm. Overcrowding can lead to overheating and stress.
- Constant Supervision: Especially in the initial days, keep a close eye on the chicks and the heat lamp setup.
Alternative Heat Sources for Chicks
While heat lamps are the most common method, there are effective heat lamp alternatives for chicks that can offer more consistent heat or reduce fire risks.
Radiant Heaters and Heat Plates
- Radiant Heaters: These are often ceramic heat emitters that screw into a standard socket. They produce radiant heat, similar to a heat lamp, but without light. This can be beneficial for chicks that need consistent warmth without the disruption of light cycles.
- Brooder Heat Plates: These are flat, heated panels that chicks can huddle under, mimicking a mother hen. They provide gentle, consistent warmth and are generally considered safer than heat lamps as they don’t emit light and have a lower fire risk. They are also more energy-efficient.
Other Supplemental Heat Options
- Thermostatically Controlled Heat Mats: Similar to heat plates, these mats provide gentle warmth. Ensure they are designed for livestock and have temperature regulation.
- Infrared Heat Bulbs: These produce infrared heat, which penetrates the chicks’ bodies, offering a more natural warmth. They can be used with a thermostat for precise temperature control.
When choosing alternatives, ensure they are designed for livestock and have safety features like automatic shut-off or temperature regulation. The goal is always to provide a safe and stable temperature within the chick comfort zone.
Troubleshooting Common Brooding Issues
Even with careful planning, sometimes issues can arise. Knowing how to identify and address common problems will help ensure your chicks thrive.
Chicks are Huddling Too Much
If your chicks are constantly huddled tightly together under the heat lamp, it’s a clear sign they are too cold.
- Action: Lower the heat lamp closer to the chicks, or if using a thermostat, increase the temperature setting. Ensure there are no drafts in the brooder area.
Chicks are Spread Out and Panting
This indicates the temperature is too high.
- Action: Raise the heat lamp further away from the chicks. If using a thermostat, lower the temperature setting. Ensure good ventilation within the brooder.
Chicks Aren’t Drinking or Eating
This can be a sign of a temperature issue (too hot or too cold), stress, or illness.
- Action: First, check the temperature and adjust as needed. Ensure feed and water are easily accessible and clean. If the problem persists, consult a poultry veterinarian.
Bedding Becomes Wet or Soiled
Wet bedding can lead to chilling and disease.
- Action: Remove soiled or wet bedding promptly and replace it with fresh material. Ensure the waterer is not leaking and is the correct type to prevent spills.
Frequently Asked Questions (FAQ)
Q1: Can chicks get too hot under a heat lamp?
Yes, chicks can definitely get too hot. Signs include panting, spreading out as far from the heat source as possible, and appearing lethargic. Overheating can be as dangerous as being too cold.
Q2: What happens if I remove the heat lamp too early?
If you remove the heat lamp too early and the ambient temperature is still too low for the chicks to maintain their body heat, they can become chilled. This can lead to weakness, poor growth, and increased susceptibility to diseases.
Q3: How do I adjust the heat lamp temperature without a thermostat?
You can adjust the temperature by raising or lowering the heat lamp closer to the chicks. The further away the lamp, the cooler it will be directly beneath it. Conversely, bringing it closer will increase the temperature. Monitor chick behavior closely to gauge the correct height.
Q4: Can I use a regular light bulb as a heat source?
It is not recommended to use a regular incandescent light bulb as a primary heat source for chicks. They are not designed for consistent heat output and can be a fire hazard. Specialized heat bulbs or heat lamps are designed for this purpose and offer better temperature control and safety.
Q5: How long should chicks be kept in a brooder?
Chicks typically stay in a brooder, with access to supplemental heat, for about 3 to 6 weeks. The exact duration depends on their ability to regulate their own body temperature and the ambient temperature of their environment.
Q6: What temperature should the brooder room be?
While the area directly under the heat lamp should be around 95°F (35°C) for day-old chicks, the ambient temperature of the room can be lower, around 70-75°F (21-24°C), provided the chicks have access to the heat source. As they grow, they will become more tolerant of cooler ambient temperatures.
By carefully managing the heat source and observing your chicks, you can ensure a healthy and successful start for your flock. Providing the right environment is a cornerstone of successful baby chick care, and mastering the art of weaning chicks from heat is a vital step in their journey to becoming robust adult chickens.