
Can you repaint a lamp? Absolutely! Repainting a lamp is a fantastic way to give your home decor a fresh look without breaking the bank. Whether you’re looking to revitalize an old favorite or completely transform a thrift store find, this guide will walk you through every step of a successful DIY lamp paint project. This process, often referred to as lamp restoration, lamp makeover, or lamp refurbishing, can breathe new life into tired lighting fixtures, making them a focal point of any room. We’ll cover everything from choosing the right paint to achieving a smooth, professional finish, including specific advice on how to spray paint metal and how to paint ceramic lamp bases. Get ready for some exciting lamp update ideas!
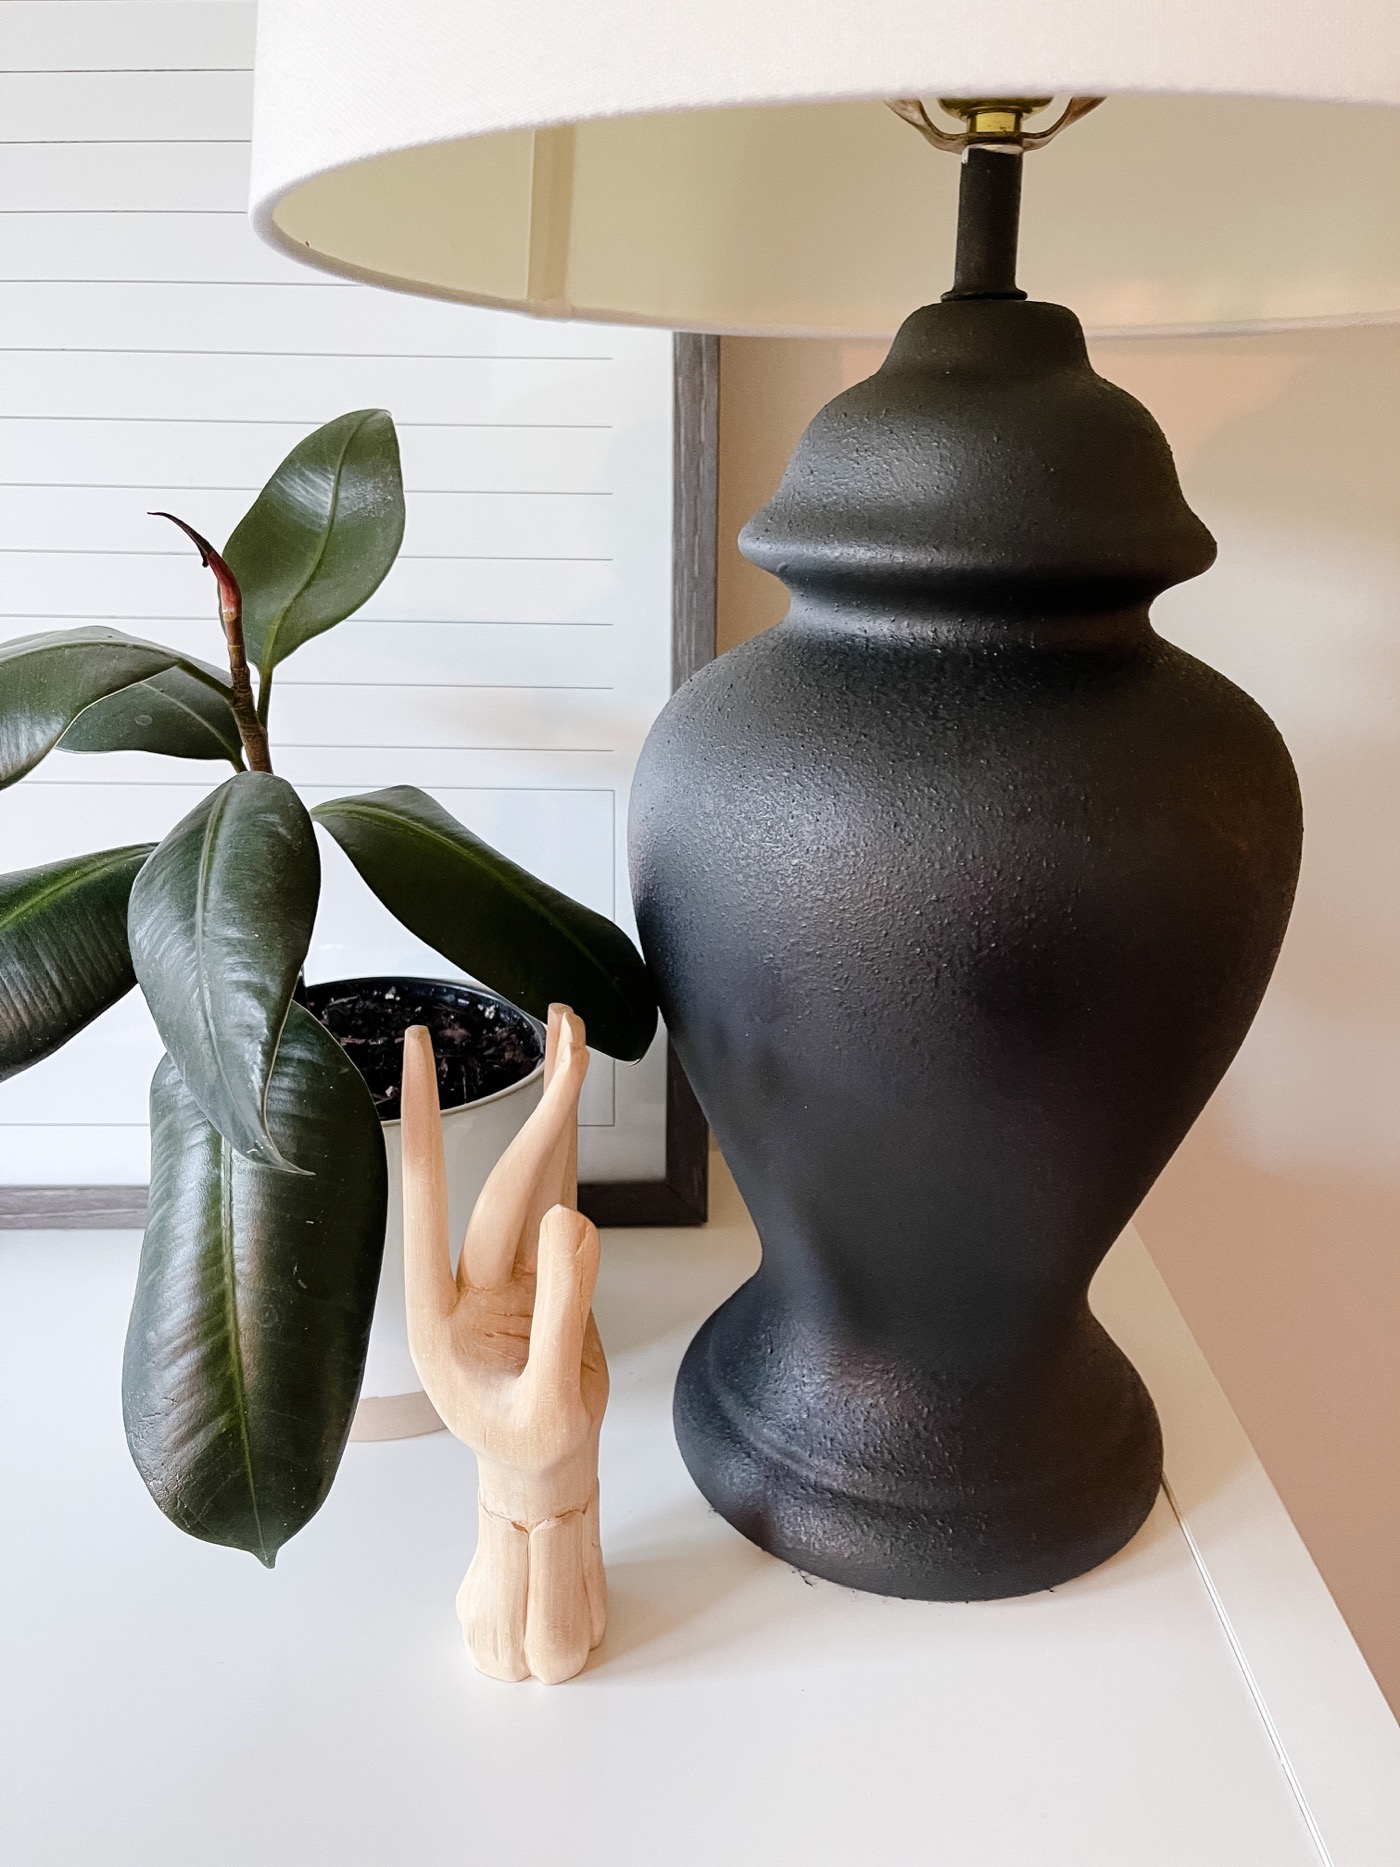
Image Source: lifelovelarson.com
Why Repaint Your Lamp?
Lamps, like many home decor items, can start to feel dated or simply clash with a new design scheme. Instead of buying new, repainting offers a sustainable and creative solution. It’s a rewarding DIY lamp paint project that allows for complete personalization.
Here are a few reasons to consider a lamp repaint:
- Updated Style: Your room’s style may have changed, and the lamp’s current color no longer fits.
- Damaged Finish: The original paint might be chipped, faded, or scratched, making the lamp look worn.
- Thrift Store Finds: You might find a lamp with a great shape but an undesirable color.
- Color Experimentation: You want to try a bold new color or a metallic finish to make a statement.
- Cost Savings: Repainting is significantly cheaper than purchasing a new lamp.
Gathering Your Supplies: What You’ll Need
Before you dive into your lamp makeover, ensure you have all the necessary supplies. Having everything ready will make the process smoother and more enjoyable.
Essential Materials:
- Lamp: The star of your project!
- Screwdriver: To carefully disassemble parts if needed.
- Drop Cloth or Newspaper: To protect your work surface.
- Painter’s Tape: For masking off areas you don’t want to paint.
- Sandpaper: Fine-grit (e.g., 180-220 grit) for light scuffing.
- Primer: Suitable for the lamp’s material (e.g., metal primer, ceramic primer).
- Paint: Your chosen color and finish. Spray paint is often preferred for its even application, but brush-on paint can also work.
- Clear Topcoat/Sealer: To protect the paint and add durability.
- Cleaning Supplies: Mild soap, water, and a clean cloth. Rubbing alcohol can be helpful for some surfaces.
Optional but Helpful Tools:
- Gloves: To keep your hands clean.
- Mask: Especially when spray painting to avoid inhaling fumes.
- Safety Glasses: To protect your eyes.
- Wire Brush: For stubborn rust or peeling paint on metal.
- Small Paint Brush: For touch-ups or intricate areas.
- Paint Can Shaker (if using spray paint): To ensure thorough mixing.
Preparing Your Lamp for Painting: The Crucial First Steps
Proper preparation is key to a successful lamp refurbishing project. Skipping these steps can lead to paint that peels, chips, or doesn’t adhere well.
1. Disassembly (If Necessary)
- Unplug the Lamp: This is the most important safety step.
- Remove the Lampshade and Bulb: Set them aside safely.
- Examine the Lamp Base: Are there any decorative elements, finials, or harp attachments that can be easily removed? Gently unscrew or detach these. If parts are glued, you might need to proceed with caution or mask them off.
2. Cleaning the Lamp Base
- Wipe Down: Use a damp cloth with mild soap and water to remove dust, dirt, and grime.
- Stubborn Spots: For tougher marks, a little rubbing alcohol can work wonders, especially on smooth surfaces. Ensure the lamp is completely dry before moving to the next step.
3. Light Sanding: Creating a Surface for Adhesion
Sanding isn’t about removing old paint (unless it’s peeling badly); it’s about creating a slightly rough surface for the new paint to grip.
- Choose the Right Grit: Use fine-grit sandpaper (180-220 grit) for most materials like metal and ceramic.
- Gentle Abrasion: Lightly sand the entire surface you intend to paint. The goal is a dull finish, not to remove material.
- Wipe Away Dust: After sanding, wipe the lamp with a clean, dry cloth or a tack cloth to remove all sanding dust. A vacuum with a brush attachment can also be helpful.
4. Masking Off Areas
Use painter’s tape to cover any parts you do not want to paint.
- Electrical Components: Crucially, tape off the socket, cord, and plug. Ensure the tape is pressed down firmly to prevent paint from seeping underneath.
- Unremovable Parts: If you couldn’t disassemble certain decorative elements or hardware, mask them carefully.
Choosing the Right Paint and Primer
The type of paint you choose depends on the lamp’s material and the desired finish. Priming is almost always recommended.
Priming: The Foundation of a Great Finish
Primer helps paint adhere better, provides a uniform base color, and can block stains or prevent rust.
- For Metal Lamps: Use a spray primer specifically designed for metal. If the lamp has rust, opt for a rust-inhibiting primer.
- For Ceramic Lamps: A general-purpose primer or one designed for smooth surfaces will work well. Ensure it’s compatible with your chosen paint.
Paint Options:
- Spray Paint: This is often the easiest and most popular choice for lamp makeover projects. It provides a smooth, even finish, especially on intricate shapes.
- Types: Acrylic enamel spray paints are durable and come in a vast range of colors and finishes (matte, satin, gloss, metallic).
- Considerations: Look for paints that adhere well to your lamp’s material.
- Brush-On Paint: For a more controlled application or specific effects, you can use acrylic paints, latex paints, or chalk paints.
- Types: Acrylics are versatile. Latex is durable. Chalk paint offers a matte, vintage look and often doesn’t require extensive prep.
- Application: Use a good quality paintbrush. Multiple thin coats are better than one thick coat.
Step-by-Step Painting Guide
Now for the fun part – applying the paint! Whether you’re spray painting a lamp or using a brush, these steps will help you achieve a beautiful result.
Method 1: Spray Painting Your Lamp
Spray painting is excellent for a smooth, professional finish.
Preparing for Spray Painting:
- Ventilation: Work in a well-ventilated area, preferably outdoors or in a garage with the door open.
- Protect Your Area: Lay down your drop cloth or newspaper to catch any overspray.
- Shake the Can: Shake the spray paint can vigorously for at least one to two minutes. You should hear the mixing ball rattling freely.
The Spray Painting Process:
- First Coat:
- Distance: Hold the can about 10-12 inches away from the lamp.
- Movement: Use long, even strokes, moving the can back and forth. Overlap each stroke by about half.
- Avoid Over-Spraying: Don’t stay in one spot for too long, as this can cause drips.
- Light Coats: It’s better to apply several thin coats than one thick one.
- Drying Time: Allow the first coat to dry according to the manufacturer’s instructions, usually 15-30 minutes.
- Second Coat: Apply a second thin coat, following the same technique.
- Subsequent Coats: Continue applying thin coats until you achieve full coverage. You might need 2-4 coats depending on the color and coverage of the paint.
- Inspection: After each coat, step back and inspect for any missed spots or drips. You can often fix small drips by lightly brushing them while the paint is still wet.
Specifics on How to Spray Paint Metal:
- Adhesion: Ensure your metal lamp is clean and lightly sanded. Using a primer designed for metal is crucial for good adhesion and preventing rust.
- Even Application: Metal can sometimes show imperfections more readily. Steady, even strokes are key.
Specifics on How to Paint Ceramic Lamp Bases with Spray Paint:
- Surface Prep: Ceramic can be very smooth. Light sanding is important. A primer specifically for slick surfaces or ceramic can be beneficial.
- Drips: Ceramic shapes can sometimes cause paint to pool. Keep the can moving and use light coats to avoid drips.
Method 2: Brush Painting Your Lamp
Brush painting gives you more control and is ideal if you prefer not to use spray paint.
Preparing for Brush Painting:
- Choose the Right Brush: Use high-quality synthetic brushes for water-based paints (like acrylics or latex) and natural bristle brushes for oil-based paints. Foam brushes can also work for smooth finishes.
- Paint Consistency: If the paint is too thick, you may need to thin it slightly with water (for water-based paints) or the appropriate solvent.
The Brush Painting Process:
- Apply Primer: Apply a thin, even coat of primer with your brush. Work in one direction to minimize brush strokes.
- Drying Time: Allow the primer to dry completely.
- First Coat of Paint:
- Load the Brush: Dip only the tip of the brush into the paint.
- Apply Evenly: Apply the paint in smooth, consistent strokes. Try to paint in one direction to create a uniform look.
- Avoid Overworking: Don’t brush back and forth too much, as this can create visible brush marks.
- Drying Time: Let the first coat dry thoroughly.
- Second Coat: Apply a second coat, paying attention to any areas that might need more coverage. You can often minimize brush strokes by varying the direction of your strokes slightly on subsequent coats, or by using a lighter touch.
- Third Coat (if needed): Apply additional thin coats as necessary for full coverage.
Tips for Brush Painting:
- Minimize Brush Strokes: For a smoother finish, use a “feathering” technique at the end of each stroke, lifting the brush gradually as you finish.
- Chalk Paint: If using chalk paint, you can achieve a more rustic look, and brush strokes are often part of the aesthetic.
Applying the Clear Topcoat: Protecting Your Work
A clear topcoat seals the paint, adds durability, and can enhance the finish (e.g., adding a satin sheen).
- Timing: Ensure the final paint coat is completely dry. This could be 24 hours or more, depending on the paint and humidity.
- Application:
- Spray Topcoat: Apply in thin, even coats, similar to spray paint.
- Brush-On Topcoat: Apply with a clean, good-quality brush, using smooth, even strokes.
- Number of Coats: One to two thin coats are usually sufficient.
- Drying: Allow the topcoat to cure fully according to the product instructions. This can take several days for maximum durability.
Reassembly and Final Touches
Once the paint and topcoat are completely dry and cured, it’s time to put your lamp back together.
- Remove Painter’s Tape: Carefully peel off all the painter’s tape. If any paint has bled under the tape, you can try to carefully score the edge with a craft knife before peeling, or touch it up with a small brush.
- Reassemble Parts: Reattach any finials, harps, or decorative elements you removed.
- New Lampshade (Optional): This is a great opportunity to update the lampshade as well! A new shade can completely change the lamp’s look and feel.
- Install Bulb and Plug In: Your freshly repainted lamp is ready to shine!
Lamp Update Ideas and Inspiration
Thinking about different ways to transform your lamp? Here are some popular lamp update ideas:
- Metallic Finishes: Spray paint in gold, silver, copper, or bronze can add glamour and sophistication.
- Ombre Effect: Blend two or more colors for a trendy gradient look. This works well with spray paint.
- Matte Black or White: Classic colors that offer a modern, minimalist aesthetic.
- Bold Colors: Inject personality with vibrant hues like teal, coral, or emerald green.
- Patterned: Use stencils or masking techniques to create stripes, dots, or geometric designs.
- Textured Finish: Some spray paints offer textured finishes like hammered metal or stone.
- Two-Tone: Paint the top half of the lamp one color and the bottom half another for a striking contrast.
Troubleshooting Common Issues
Even with careful planning, you might encounter a few bumps along the road.
| Problem | Cause | Solution |
|---|---|---|
| Drips or Runs | Paint applied too thickly; can held too close. | If wet, try to gently smooth the drip with a brush. If dry, let it dry completely, then lightly sand the drip smooth and reapply a thin coat of paint. When spray painting a lamp, keep the can moving and maintain the correct distance. |
| Uneven Coverage | Insufficient coats; paint not mixed well. | Apply more thin coats. Ensure spray paint cans are thoroughly shaken. For brush painting, ensure you’re loading the brush correctly and applying evenly. |
| Poor Adhesion/Peeling | Surface not cleaned or prepped properly. | This is usually due to inadequate cleaning, sanding, or priming. For a lamp restoration, you may need to strip the old paint (if it’s peeling badly), clean, sand, prime, and repaint. |
| Brush Strokes Visible | Paint applied too thickly; overworked brush. | For brush-on paints, apply thinner coats and use a “feathering” technique. Consider using a foam roller or sponge for larger flat areas. If using acrylics, a spray sealant can help smooth the finish. |
| Paint Not Drying | High humidity; thick coats; improper paint. | Ensure good ventilation and appropriate temperature. Allow more drying time. If the paint remains tacky, it might be a compatibility issue or too thick an application. |
Frequently Asked Questions (FAQ)
Q1: Can I paint any type of lamp?
A1: Yes, you can generally paint most lamps, including those made of metal, ceramic, wood, plastic, and even some glass. The key is to use the right primer and paint for the specific material.
Q2: What is the best type of paint for lamp bases?
A2: Spray paint, particularly acrylic enamel, is often the best choice for lamp bases due to its ease of application and smooth finish. However, acrylic or chalk paints applied with a brush can also yield excellent results, especially for unique textures or detailed work.
Q3: How do I prepare a lamp for painting?
A3: Preparation involves unplugging the lamp, removing the shade and bulb, cleaning the base thoroughly, lightly sanding the surface to create adhesion, and masking off any electrical components or areas you don’t want painted.
Q4: Do I need to prime a lamp before painting?
A4: Yes, priming is highly recommended. Primer helps the paint adhere better, provides a uniform base color, and can offer protection against rust or stains, ensuring a more durable and professional-looking finish.
Q5: How many coats of spray paint do I need for a lamp?
A5: Typically, 2-4 thin coats are sufficient for even coverage. It’s always better to apply multiple light coats rather than one thick one, which can lead to drips and an uneven finish.
Q6: How long does it take for painted lamps to dry?
A6: Drying times vary depending on the paint type, temperature, and humidity. Spray paints often dry to the touch in 15-30 minutes, but it’s best to wait at least a few hours between coats. For the topcoat to fully cure and achieve maximum durability, allow several days.
Q7: Can I paint the lamp cord or socket?
A7: It is strongly advised not to paint the lamp cord or socket. Painting these electrical components can be a fire hazard or cause electrical malfunctions. Always mask these areas thoroughly before painting.
Q8: What if I want a glossy finish on my lamp?
A8: Choose a paint with a glossy finish or use a glossy clear topcoat. If using brush-on paint, a gloss varnish or sealant will achieve this effect.
Q9: How do I fix drips when spray painting a lamp?
A9: If the paint is still wet, you can try to gently catch the drip with the edge of your brush or a paper towel. If the paint has already dried, let it cure, then carefully sand the drip smooth and reapply a thin coat of paint over the area.
Q10: Can I use chalk paint on a lamp?
A10: Yes, chalk paint is a great option for a vintage or matte finish. It typically requires minimal surface preparation (light cleaning and maybe a quick scuff). You’ll usually need to seal chalk paint with a wax or polycrylic topcoat for durability.
Conclusion: Your Repainted Lamp Awaits!
Repainting a lamp is a satisfying and accessible DIY project that can dramatically update your home’s aesthetic. By following these steps, from careful preparation to thoughtful application, you can achieve a professional-looking lamp makeover that reflects your personal style. Whether you’re drawn to the ease of spray painting a lamp or prefer the control of a brush, the result will be a beautifully transformed piece of functional art. So, gather your supplies, unleash your creativity, and get ready to enjoy your stunning, revitalized lamp! This DIY lamp paint project is a fantastic way to engage in lamp restoration and embrace creative lamp update ideas.