
Yes, you can repaint a ceramic lamp to give it a fresh new look! This guide will walk you through the simple steps to transform your old lamp with a DIY lamp painting project. Can you paint ceramic directly? With the right preparation and paint, you absolutely can. This process is a fantastic way to achieve a ceramic lamp refresh, breathing new life into your décor.
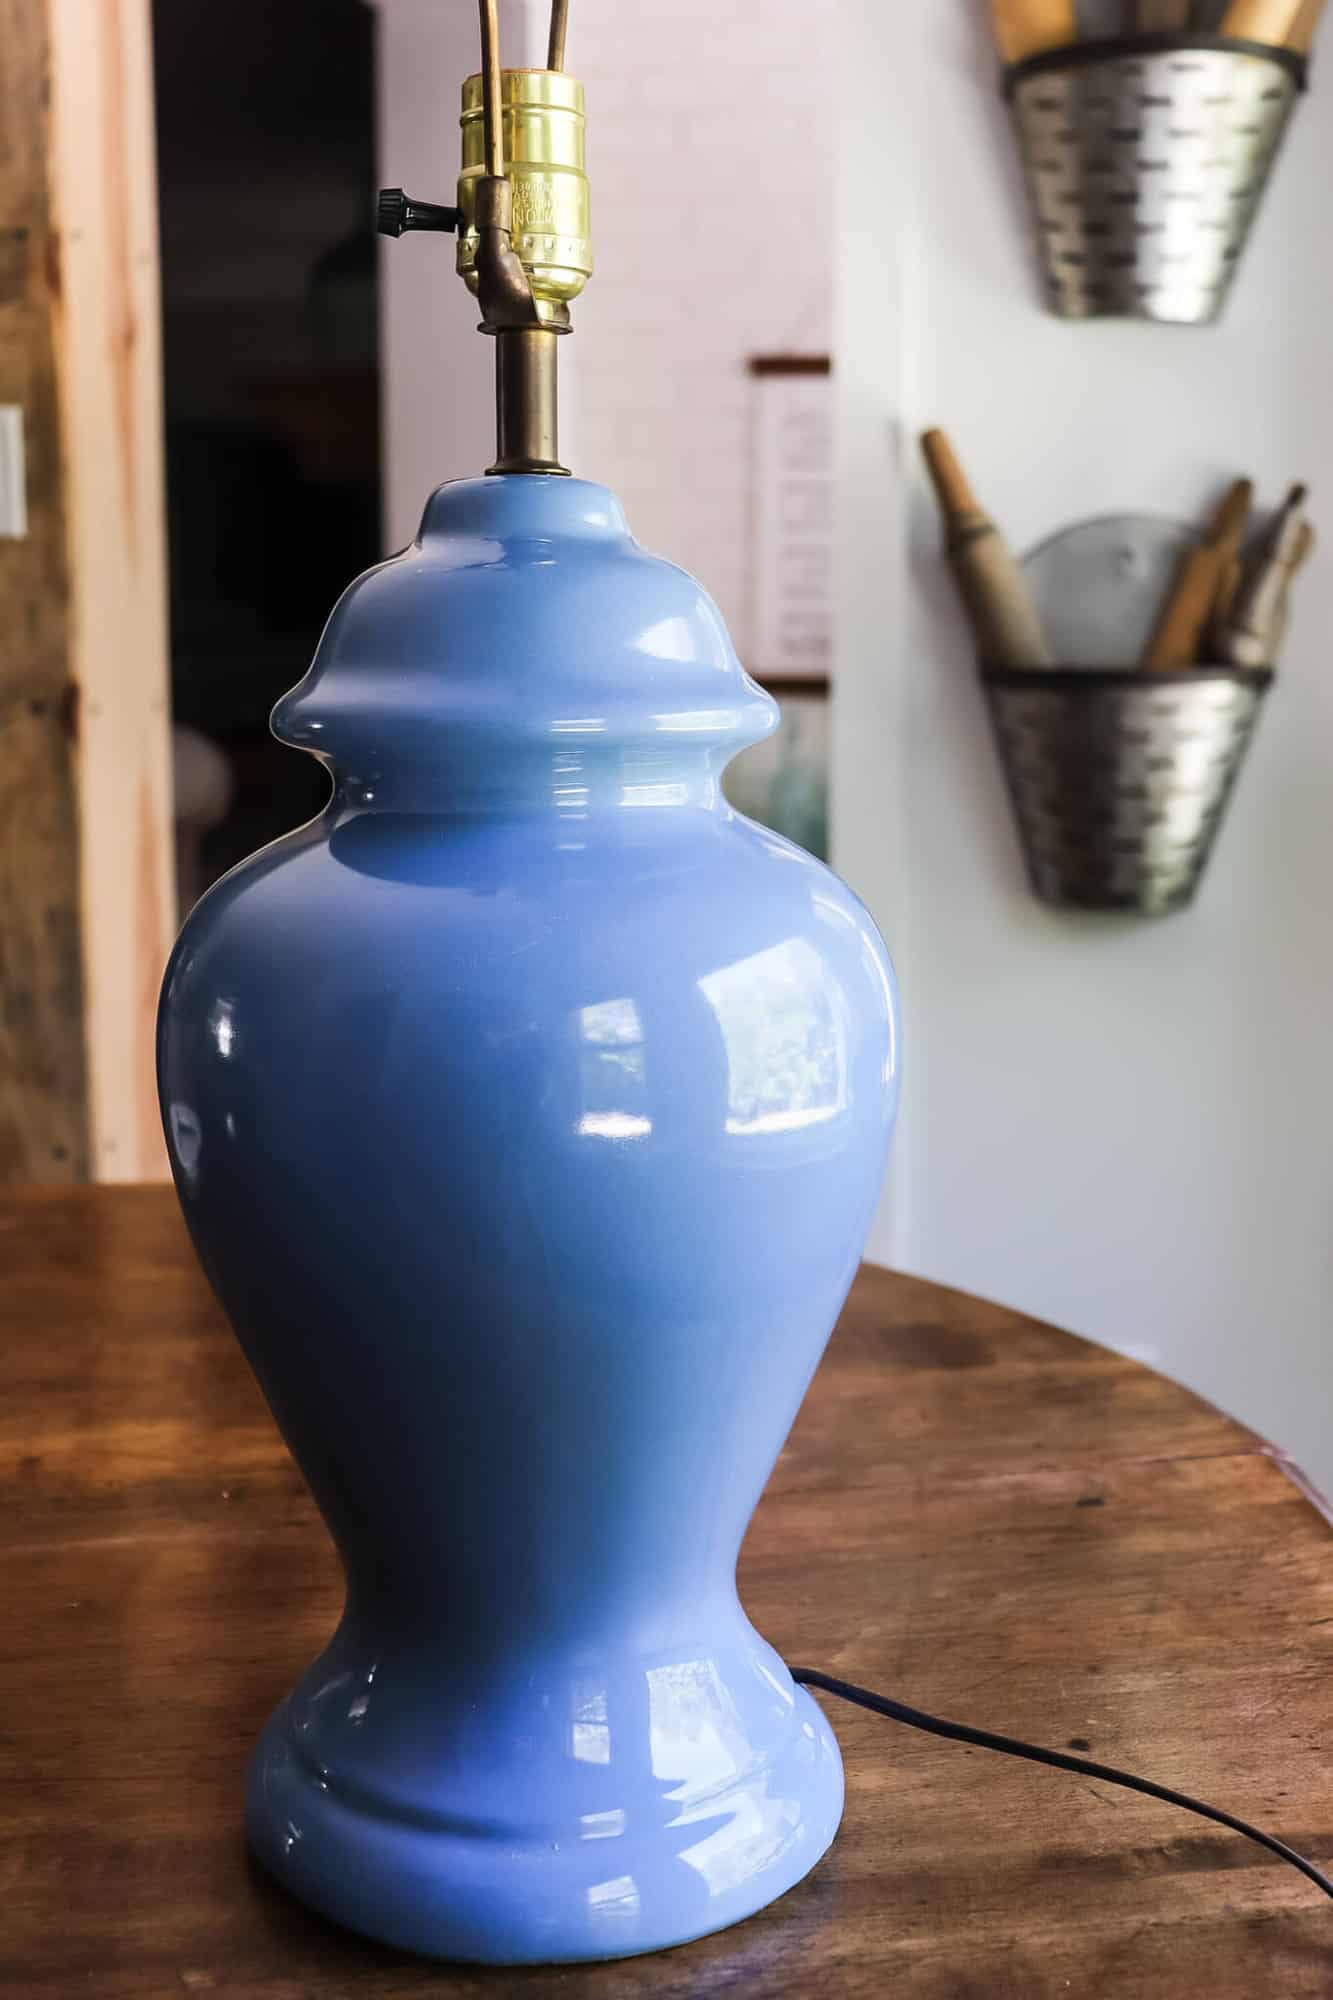
Image Source: notinggrace.com
Why Repaint Your Ceramic Lamp?
Lamps are more than just light sources; they are decorative pieces that can significantly impact a room’s atmosphere. Over time, even the most beautiful ceramic lamp base can start to look dated or simply not match your evolving style. Instead of discarding a perfectly functional lamp, repainting offers an accessible and budget-friendly solution. This DIY lamp makeover can save you money and allow you to customize your lighting to perfectly suit your aesthetic. Whether you’re looking for a complete lamp restoration or a simple ceramic lamp repair to cover minor chips, painting is a versatile option.
Benefits of a DIY Lamp Makeover:
- Cost-Effective: Buying new lamps can be expensive. Repainting is a fraction of the cost.
- Customization: Tailor the color and finish to perfectly match your décor.
- Sustainability: Reduce waste by giving an old item a new purpose.
- Creative Outlet: Enjoy the satisfaction of a hands-on project.
- Lamp Restoration: Fix minor imperfections and make your lamp look new again.
Gathering Your Supplies for Painting a Ceramic Lamp
Before you start your DIY lamp painting, gather all the necessary supplies. Having everything ready will make the process smooth and enjoyable.
Essential Supplies List:
- Ceramic Lamp: The star of your project!
- Painter’s Tape: For masking off areas you don’t want to paint (like the socket, cord, or any hardware).
- Drop Cloth or Newspaper: To protect your work surface.
- Mild Soap and Water: For initial cleaning.
- Fine-Grit Sandpaper (220-grit or higher): For light scuffing.
- Clean Cloths or Tack Cloth: For wiping away dust.
- Primer: Specifically designed for glossy or slick surfaces like ceramic.
- Paint: The best paint for ceramic lamps depends on your desired finish.
- Paint Brushes: A few sizes for detail work and larger coverage.
- Spray Paint: An alternative for a smooth, even finish, especially for spray painting ceramic.
- Clear Sealer or Topcoat: To protect your paint job.
- Screwdriver (if needed): To disassemble parts like the socket.
- Gloves: To keep your hands clean.
- Mask: Especially important if spray painting.
- Ventilation: Work in a well-ventilated area.
Step-by-Step Guide to Repainting a Ceramic Lamp
This section will guide you through each step of the ceramic lamp refresh process, ensuring a professional-looking result.
Step 1: Disassembly and Preparation
Proper preparation is crucial for any successful painting project, and refinishing lamps is no exception.
- Unplug the Lamp: Ensure the lamp is unplugged and completely cool.
- Remove the Shade and Bulb: Set these aside safely.
- Disassemble if Necessary: For a cleaner paint job, consider carefully removing the lamp socket and any other hardware. You might need a screwdriver for this. If you’re unsure, you can meticulously tape off these areas instead.
- Clean the Ceramic Base: Wash the lamp base with mild soap and water to remove any dust, dirt, or grime. Rinse thoroughly and let it dry completely. This is an important step for how to prep ceramic for paint.
Step 2: Sanding the Surface
Sanding helps the primer and paint adhere better to the glossy ceramic surface.
- Lightly Sand: Using fine-grit sandpaper (220-grit or higher), gently scuff the entire surface of the ceramic lamp base. You don’t need to remove any of the existing finish, just create a slightly dull surface.
- Wipe Away Dust: After sanding, wipe down the lamp base with a clean, damp cloth to remove all dust. Follow up with a dry cloth or a tack cloth for a perfectly clean surface.
Step 3: Priming the Lamp
Primer acts as a bonding agent, ensuring your paint adheres well and preventing chips and peeling. This is key for a lasting ceramic lamp repair.
- Choose the Right Primer: Use a primer specifically designed for slick surfaces like ceramic, glass, or metal. High-adhesion or spray primers work well.
- Application Method:
- Brush-on Primer: Apply thin, even coats with a good quality paintbrush. Avoid overloading the brush to prevent drips.
- Spray Primer: If using spray primer, hold the can about 10-12 inches away from the lamp. Use short, even strokes, moving back and forth. Apply multiple light coats rather than one heavy coat. This is especially important for spray painting ceramic for an even finish.
- Drying Time: Allow the primer to dry completely according to the manufacturer’s instructions. This might take anywhere from 30 minutes to a few hours.
Step 4: Painting the Ceramic Lamp Base
Now for the fun part – applying your chosen color!
Choosing the Best Paint for Ceramic
Selecting the right paint is crucial for a durable and attractive finish.
| Paint Type | Pros | Cons | Best For |
|---|---|---|---|
| Spray Paint | Smooth, even finish; quick application; variety of finishes (matte, gloss). | Requires good ventilation; can drip if applied too heavily. | Beginners, achieving a flawless finish, intricate details, modern look. |
| Acrylic Paint | Water-based, easy cleanup; versatile for decorative techniques. | Can be less durable on its own; may require a good sealant. | Hand-painted designs, stenciling, achieving a textured look. |
| Chalk Paint | No sanding or priming needed (usually); matte, vintage finish. | Needs sealing; can be prone to chipping if not sealed properly. | Farmhouse, shabby chic, or vintage lamp styles. |
| Enamel Paint | Very durable, often chip-resistant, good for high-traffic items. | Can have strong fumes; might require specific thinners. | Long-lasting finishes, traditional looks, high-durability ceramic lamp repair. |
| Latex Paint | Water-based, easy cleanup, low VOCs. | May not adhere as well to glossy surfaces without proper priming. | General home décor projects where extreme durability isn’t the primary concern. |
Applying Your Chosen Paint:
If Using Spray Paint:
- Shake the Can: Shake the spray paint can vigorously for at least one minute.
- Apply Thin Coats: As with primer, apply thin, even coats. Overlapping strokes help ensure consistent coverage.
- Maintain Distance: Keep the can 10-12 inches from the lamp.
- Allow Drying Time: Let each coat dry completely (check the can for recommended drying times between coats) before applying the next. This prevents drips and ensures a smooth finish. You might need 2-3 coats for full coverage.
If Using Brush-on Paint (Acrylic, Enamel, Latex):
- Use a Quality Brush: Choose brushes appropriate for the paint type. Synthetic brushes are good for acrylics and latex, while natural bristles might be better for enamels.
- Apply Evenly: Dip the brush into the paint, wiping off excess. Apply smooth, even strokes. Work in one direction as much as possible.
- Multiple Coats: Like spray paint, several thin coats are better than one thick coat. Allow each coat to dry completely before applying the next.
Step 5: Drying and Curing
Patience is key after painting.
- Drying vs. Curing: Paint typically dries to the touch within a few hours, but it takes longer to fully cure. Curing is when the paint reaches its maximum hardness and durability.
- Follow Manufacturer Instructions: Check the paint and primer packaging for specific drying and curing times. Avoid handling the lamp too much during this period.
Step 6: Sealing the Finish
A clear topcoat protects your freshly painted ceramic lamp and adds a polished look.
- Choose a Sealer: Select a clear sealer that matches your desired finish (e.g., matte, satin, gloss). A spray-on clear coat is often easiest for lamps.
- Apply Sealant: Apply one or two thin coats of the clear sealer using the same technique as spray painting or brushing.
- Allow to Cure: Let the sealer cure completely according to the product’s instructions before reassembling the lamp.
Step 7: Reassembly
Once everything is dry and cured, it’s time to put your lamp back together.
- Reattach Hardware: Carefully reassemble any parts you removed, like the socket.
- Replace Bulb and Shade: Put the bulb back in and attach the lampshade.
- Test the Lamp: Plug in your beautifully repainted lamp and enjoy your DIY lamp makeover!
Troubleshooting Common Painting Issues
Even with the best intentions, you might encounter minor hiccups. Here’s how to address them.
Dealing with Drips and Runs
- Cause: Applying paint too thickly, not keeping the can moving (if spraying), or using too much paint on the brush.
- Fix: While the paint is still wet, you can sometimes gently feather out drips with a clean brush. If the paint is partially dry, you may need to carefully scrape off the drip with a craft knife or fine-grit sandpaper once fully dry, then touch up the area.
Uneven Finish
- Cause: Inconsistent application, not stirring paint properly, or spraying too far or too close.
- Fix: For spray paint, try to maintain a consistent distance and speed. If using a brush, ensure you’re loading the brush evenly and applying smooth strokes. Sometimes, an extra thin coat can help even out the finish after it’s dry.
Paint Not Adhering
- Cause: Insufficient preparation (not cleaning or sanding adequately), using the wrong type of primer, or painting over a surface that wasn’t fully dry.
- Fix: This is a more serious issue that might require scraping off the affected paint, re-sanding, priming again with the correct product, and repainting.
Creative Ideas for Your Ceramic Lamp Makeover
Beyond a simple color change, consider these creative ways to elevate your DIY lamp painting project.
Stenciling for a Designer Look
- How-to: Use stencils to add patterns, motifs, or geometric designs to your lamp base. Secure the stencil with painter’s tape and use a stencil brush or a small foam roller to apply paint.
- Tip: For spray painting stencils, use very light coats to prevent paint from bleeding under the edges.
Two-Tone or Ombre Effects
- How-to: Paint the lamp in two different colors, perhaps dividing it horizontally or vertically. An ombre effect involves gradually blending two or more colors from light to dark or vice versa.
- Technique: This is easier with spray paint, but can be achieved with acrylics by blending colors on a palette before applying to the lamp.
Textured Finishes
- How-to: Mix additives like fine sand or texture mediums into your paint for a unique tactile finish.
- Consideration: Ensure your paint and additive are compatible, and test the finish on a scrap piece first.
Highlighting Details
- How-to: If your ceramic lamp has raised details or patterns, you can use a dry-brushing technique. Lightly dip a dry brush into a contrasting paint color, wipe most of it off, and then lightly brush over the raised areas to highlight them.
Frequently Asked Questions (FAQ)
Q: What is the best paint for ceramic lamps?
A: The best paint for ceramic lamps is typically an acrylic enamel or a spray paint specifically designed for slick surfaces. These paints adhere well to ceramic, offer durability, and come in a wide range of finishes. For a quick and smooth finish, spray paint is often preferred.
Q: Can I paint a lamp without sanding?
A: While some chalk paints claim to be no-sand, for a durable and professional finish on glossy ceramic, light sanding is highly recommended. Sanding creates a better surface for the primer and paint to adhere to, preventing future chipping. If you absolutely cannot sand, ensure you use a high-adhesion primer specifically formulated for glossy surfaces.
Q: How do I prevent paint from chipping off ceramic?
A: Proper preparation is key! Thoroughly clean and lightly sand the ceramic surface to create grip. Use a high-quality primer designed for slick surfaces. Apply paint in thin, even coats, allowing each to dry completely. Finally, seal the painted surface with a clear topcoat for added durability.
Q: What kind of primer should I use for ceramic?
A: Use a spray primer or a brush-on primer specifically formulated for glossy or slick surfaces like glass, tile, or laminate. These primers have excellent adhesion properties. Look for terms like “high-adhesion,” “bonding primer,” or primers suitable for “difficult surfaces.”
Q: How many coats of paint do I need?
A: The number of coats depends on the paint color and the coverage. Typically, 2-3 thin coats are sufficient for most spray paints and acrylics to achieve an opaque and even finish. Always allow each coat to dry thoroughly before applying the next.
Q: Can I paint the electrical parts of the lamp?
A: No, absolutely not! Never paint the electrical components of the lamp, such as the socket, cord, or plug. Painting these parts can be a fire hazard and is unsafe. Always mask these areas very carefully with painter’s tape before painting.
This comprehensive guide should empower you to tackle your ceramic lamp makeover with confidence. Enjoy your newly refreshed lighting piece!