
Can you make a lamp out of paper? Yes, you can! Making a paper lamp is a fun and rewarding DIY project that lets you create beautiful, custom lighting for your home. This guide will walk you through the entire process, from choosing your materials to the final assembly, offering simple steps suitable for beginners. We’ll explore various techniques for paper shade making, allowing you to craft unique paper light fixtures.
Paper crafting for lighting offers a wonderful way to add a personal touch to your decor. Whether you’re looking for a dramatic centerpiece or a subtle accent, a homemade paper lamp shade can transform any room. This tutorial focuses on creating an easy paper lamp, ensuring that anyone can achieve great results. We’ll cover the basics of DIY paper lantern creation, delve into paper craft lamp ideas, and guide you through paper lantern assembly with clear, step-by-step instructions.
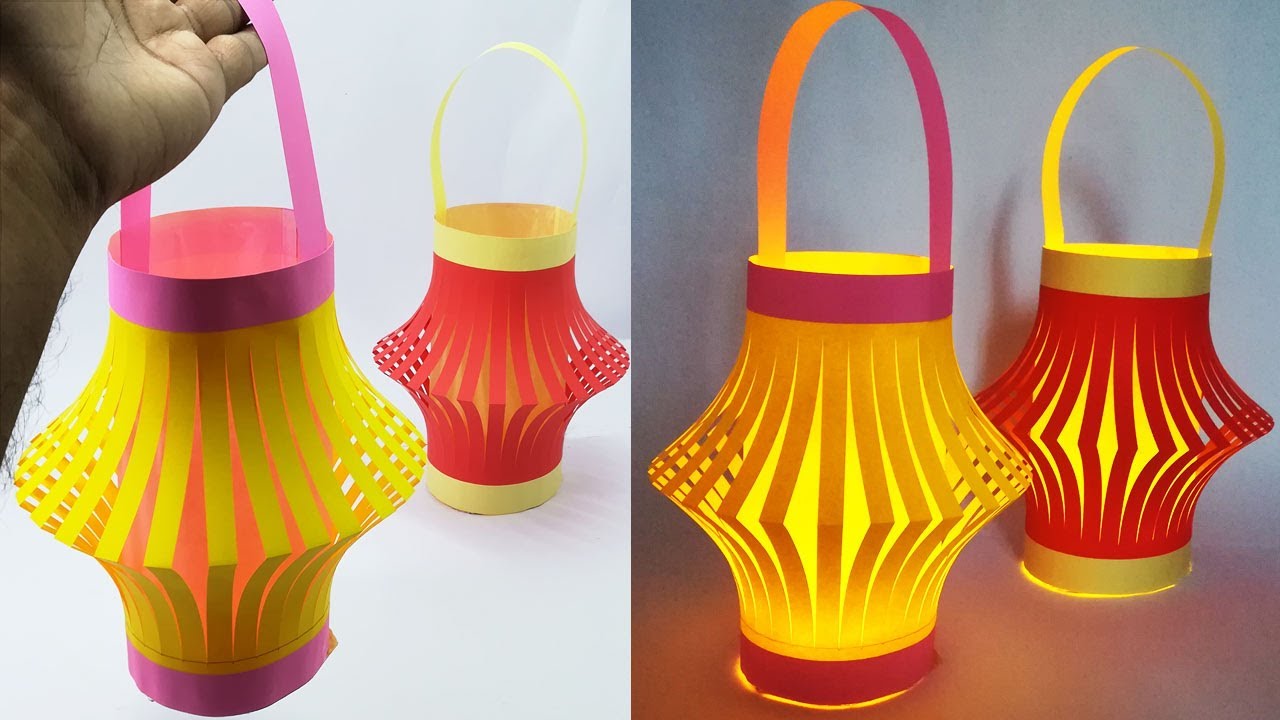
Image Source: i.ytimg.com
Gathering Your Materials for Your Paper Lamp
Before we begin crafting, let’s gather everything you’ll need. Having all your supplies ready makes the easy paper lamp tutorial much smoother. Think of this as preparing your workspace for a creative adventure!
Essential Supplies
- Paper: The star of the show! You have many choices here, each offering a different look and feel.
- Cardstock: Sturdy and holds its shape well. Great for more structured lamps.
- Craft Paper/Construction Paper: Available in many colors, slightly less rigid than cardstock.
- Tissue Paper: Very delicate and translucent, creating a soft, diffused light. Perfect for DIY paper lantern styles.
- Rice Paper/Washi Paper: Thin and fibrous, offering a delicate, often textured look. Excellent for a subtle glow.
- Printer Paper: A readily available option, good for practicing or simpler designs.
- Origami Paper: For intricate origami paper lamp designs, its pre-folded squares are ideal.
- Adhesive:
- White Craft Glue: Strong and reliable for most paper types.
- Hot Glue Gun: Quick and strong, but be careful not to melt thinner papers. Use a low-temp setting if possible.
- Glue Stick: Good for thinner papers and less bulky adhesion.
- Double-Sided Tape: Clean and easy for some applications.
- Cutting Tools:
- Scissors: Sharp scissors are a must for clean cuts.
- Craft Knife/X-Acto Knife: For precise cutting and intricate designs. Always use a cutting mat.
- Paper Cutter (Optional): For perfectly straight edges, especially if making many identical pieces.
- Measuring and Marking Tools:
- Ruler: Essential for accurate measurements and straight lines.
- Pencil: For marking cut lines and fold lines.
- Optional (for Lampshade Structure/Base):
- Cardboard: For a more rigid base or support structure.
- Wire or Hoop: For supporting the shape of some lampshades.
- Lamp Base: You can upcycle an old lamp base or create your own from a jar, vase, or sturdy cardboard tube.
- Light Source:
- LED Bulb: Highly recommended as they produce minimal heat, which is crucial for safety with paper.
- Battery-Operated LED String Lights: A safe and easy option, especially for decorative paper lanterns.
- Cord Set with Socket and Plug: For plugging into an electrical outlet. Ensure it’s rated for the wattage of your bulb.
Safety First!
- Heat: Always use LED bulbs. Incandescent bulbs get too hot and can be a fire hazard with paper.
- Ventilation: Ensure your paper lamp has some openings for air circulation to prevent heat buildup.
- Supervision: If children are involved, adult supervision is essential, especially when using cutting tools or hot glue.
Project 1: The Simple Cylinder Paper Lamp Shade
This is a fantastic starting point for anyone new to paper crafting for lighting. It’s a straightforward easy paper lamp tutorial that produces a clean, modern look.
Step-by-Step Guide
- Measure Your Base: If you have a lamp base, measure its diameter. If you’re creating a standalone lampshade, decide on the desired diameter for your cylinder. Let’s say for this example, we want a cylinder that is 8 inches in diameter.
- Calculate Circumference: The formula for circumference is π (pi) times the diameter. So, 3.14 * 8 inches = 25.12 inches. This is the length of your paper strip.
- Determine Height: Decide how tall you want your lampshade to be. Let’s aim for 6 inches.
- Cut Your Paper: Cut a rectangular piece of cardstock or sturdy craft paper. The dimensions should be approximately 25.12 inches long and 6 inches wide. It’s better to cut it slightly longer than needed, as you can trim it later.
- Score and Fold (Optional but Recommended): To make the cylinder form more precisely, you can score faint lines every inch or so along the length. This helps the paper bend into a smoother cylinder.
- Form the Cylinder: Gently curve the paper to form a cylinder. Overlap the edges by about half an inch to an inch.
- Adhere the Seam: Apply your chosen adhesive (glue, tape, or hot glue) along the overlapped edge. Press firmly and hold until the adhesive sets. If using glue, you might want to use clips or tape to hold it in place while it dries.
- Create the Top and Bottom Rings:
- Measure: Measure the diameter of your cylinder opening (which is 8 inches).
- Cut Circles: Cut out two circles from cardstock that are slightly larger than this diameter, perhaps 8.5 inches. This allows for a lip to glue onto the cylinder.
- Cut a Tab: Along the edge of each circle, cut small tabs (about half an inch) all the way around, like cutting fringe. These tabs will be folded to attach to the cylinder.
- Attach the Top and Bottom Rings:
- Fold Tabs: Fold the tabs on one of the circles inward.
- Apply Glue: Apply glue to the outside of the folded tabs.
- Attach to Cylinder: Carefully align the circle with the top opening of your cylinder. Press the glued tabs firmly onto the inside of the cylinder.
- Repeat: Repeat the process for the bottom opening of the cylinder.
- Reinforce (Optional): For extra strength, you can cut thin strips of cardstock and glue them around the inside edges of the top and bottom where the rings meet the cylinder.
- Attach to Lamp Base: If using a lamp base, you can glue the bottom ring of your paper shade to the lamp’s existing socket holder or create a simple cardboard base for it to sit on.
This basic design is a foundation for many paper shade making techniques. You can decorate the cylinder by painting it, decoupaging it with patterned paper, or even cutting out shapes.
Project 2: The Accordion Fold Paper Lamp Shade
This style offers a more decorative and textured appearance, reminiscent of classic paper lanterns. It’s a beautiful example of paper craft lamp ideas.
Step-by-Step Guide
- Choose Your Paper: Thicker paper like cardstock or heavier craft paper works best for accordion folds as it holds the shape well.
- Cut Your Paper: Determine the desired circumference and height for your lampshade, similar to Project 1. For this example, let’s make a shade 10 inches in diameter (circumference approx. 31.4 inches) and 7 inches tall. Cut a rectangle of paper to these dimensions.
- Create Accordion Folds:
- Score Lines: Using your ruler and pencil, mark lines across the width of your paper every 0.5 to 1 inch. The smaller the fold, the more intricate the effect.
- Fold: Start folding the paper back and forth along these scored lines, creating an accordion or fan-like effect. Press each fold firmly.
- Form the Cylinder: Once all folds are made, gently open the paper slightly to form a cylinder. The accordion folds will create pleats.
- Adhere the Seam: Overlap the edges of the folded paper by about 1 inch. Apply adhesive (glue or hot glue) to the overlapped edge and press firmly to secure the cylinder shape.
- Create Top and Bottom Supports:
- Cardboard Rings: Cut two cardboard rings. The inner diameter should match the diameter of your pleated cylinder, and the outer diameter should be slightly larger (e.g., if the cylinder is 10 inches, cut inner diameter 10 inches, outer diameter 10.5 inches). These rings will hold the pleats open.
- Alternatively, use thicker cardstock: Cut two cardstock circles slightly larger than your cylinder opening. Cut tabs around the edge of these circles as described in Project 1.
- Attach Rings to Shade:
- Glue: Apply glue to the inside edge of the pleated cylinder at the top and bottom.
- Attach Rings: Carefully press the cardboard rings (or the tabbed cardstock circles) onto the glued edges, ensuring they are centered and secure. The tabs (if used) should be folded inwards and glued to the inside of the cylinder.
- Add a Light Source: You can place battery-operated LED string lights inside this shade, or suspend it from a cord set with an LED bulb. The pleats will cast beautiful shadows.
This style of paper shade making is excellent for creating a vintage or bohemian feel. You can vary the width of the folds and the type of paper to achieve different looks.
Project 3: The Geometric Faceted Paper Lamp
This project takes paper crafting for lighting into a more modern and artistic realm. It’s a bit more intricate, but the results are stunning. This is where how to create paper light truly becomes an art form.
Step-by-Step Guide
- Design Your Facets:
- Templates: You can find free geometric lamp templates online. Search for “geometric lampshade template” or “faceted lampshade pattern.” These usually involve multiple identical or similar shapes (like triangles, diamonds, or hexagons) that you cut out and assemble.
- Manual Design: Alternatively, you can design your own. Think of a sphere or other shape and divide its surface into geometric planes. For a simple faceted sphere, you might use triangles and quadrilaterals.
- Print and Cut Templates: Print your chosen templates onto cardstock. Carefully cut out each individual shape. You will likely need many pieces.
- Score and Fold: For each piece, score along the lines where it will connect to other pieces. Gently fold along these lines.
- Assemble the Facets:
- Start Small: Begin by joining a few pieces together to form a small section of your final shape. Use a small amount of glue on the tabs or edges.
- Work Systematically: Follow the pattern of your template to gradually build up the structure. It’s often easiest to work from the bottom up or from a central point outwards.
- Patience is Key: This stage requires patience. Allow the glue to dry completely between joining sections to ensure the structure remains stable.
- Create an Opening for the Light Source: As you build, decide where the light source will be. You might leave a larger opening at the bottom or top, or design a specific mount within the structure.
- Add a Hanging/Mounting Mechanism: If you plan to hang the lamp, incorporate a loop or a sturdy attachment point at the top using stronger cardstock or wire. If it sits on a base, ensure the bottom is stable.
- Insert Light Source: Once the structure is complete and dry, carefully insert your LED bulb or battery-operated lights.
This type of origami paper lamp inspired design can be made from plain paper for a minimalist look, or colored paper for a more vibrant effect. The play of light through the geometric facets is what makes these designs so captivating.
Project 4: The Delicate Origami Paper Lamp
For those who enjoy intricate folding, an origami paper lamp is a perfect project. This often involves folding many small units that are then assembled into a larger form.
Step-by-Step Guide
- Choose an Origami Unit: A popular choice is the “kusudama” unit. This is a modular origami unit that, when folded many times and assembled, creates a beautiful spherical or modular shape.
- Fold Many Units: You will need to fold a significant number of these units. For a small to medium-sized lamp, you might need 60-120 units, depending on the size of your paper and the desired final form.
- Paper Choice: Use thin, crisp paper like origami paper or specialized patterned paper.
- Precision: Accurate folding is crucial for the units to fit together smoothly.
- Assemble the Units:
- Connect Units: Apply a small amount of glue to the flaps of one unit and connect it to the corresponding flaps of another unit.
- Build the Shape: Continue connecting units, following the pattern required to form your desired shape (often a sphere or a flower-like structure). This is where the paper lantern assembly becomes complex but rewarding.
- Integrate the Light Source:
- Create an Opening: Ensure there’s an opening within the assembled origami structure to place your light source. This might be a dedicated space left during assembly or an opening created afterward.
- Cord Set: For a wired lamp, you’ll need to thread a cord set with an LED bulb through the structure. Ensure the bulb is not touching the paper directly. Battery-operated fairy lights are an excellent, safe alternative.
- Add a Hanging Mechanism: If the lamp is to be hung, attach a loop or wire securely to the top of the assembled form.
This type of paper craft lamp ideas showcases the beauty of precise folding and geometry. The light filtering through the many layers of folded paper creates a magical effect.
Tips for Enhancing Your Paper Lamp
No matter which design you choose, here are some tips to make your homemade paper lamp shade even better:
Customization and Decoration
- Color Blocking: Use different colored papers for different sections of your lamp to create unique patterns.
- Layering: Glue layers of translucent paper (like tissue paper) onto a sturdier base paper for a softer glow and added depth.
- Cutouts: Carefully cut out patterns or shapes from the paper before or after assembly. This allows light to shine through in specific areas, creating beautiful shadow effects.
- Painting and Drawing: Decorate the paper with paints, markers, or colored pencils before or after assembly.
- Embellishments: Consider adding small beads, sequins, or other lightweight embellishments if they are securely attached and don’t pose a heat risk.
Structural Integrity
- Reinforce Edges: For lighter papers, reinforce the top and bottom edges with stronger cardstock strips glued on the inside.
- Internal Support: For larger or more complex shapes, you might need to add internal supports made from thin cardboard or wire to maintain the structure.
- Base Design: Ensure your lamp has a stable base or a secure hanging mechanism. For table lamps, consider the weight and balance.
Light Source Considerations
- LEDs are Key: Again, always use LED bulbs. They are energy-efficient and, most importantly, run cool.
- Wattage: Ensure the LED bulb you use is low wattage. Even with LEDs, it’s best to err on the side of caution.
- Diffusion: If the light is too harsh, you can add another layer of translucent paper inside the shade to diffuse the light more evenly.
Troubleshooting Common Issues
| Problem | Cause | Solution |
|---|---|---|
| Paper tearing | Too much force during folding or assembly | Use gentler pressure, score lines more deeply, or use sturdier paper. |
| Seams not holding | Insufficient adhesive or wrong type of glue | Use a stronger adhesive like craft glue or hot glue. Ensure good contact. |
| Shape not holding | Paper too thin, or not enough support | Use thicker paper, add internal cardboard supports, or reinforce edges. |
| Uneven folds | Inconsistent scoring or folding | Practice your folding technique, use a ruler and scoring tool consistently. |
| Light too bright/harsh | Paper too thin or translucent | Add an extra layer of translucent paper inside, or use opaque paper. |
| Heat concern (even with LED) | Bulb too close to paper, or bulb wattage too high | Ensure bulb is not touching paper. Use the lowest possible LED wattage. |
Frequently Asked Questions (FAQ)
Can I use regular household light bulbs?
No, it is strongly recommended to use only LED bulbs. Regular incandescent or halogen bulbs produce significant heat that can scorch, warp, or even ignite paper, creating a serious fire hazard. LED bulbs emit very little heat, making them safe for use with paper lamps.
How do I attach the paper shade to a lamp base?
This depends on the lamp base and your shade design. For many DIY paper shades, you can:
* Glue the bottom edge of the shade to the existing socket holder of a lamp base.
* Create a cardboard ring that fits snugly around the lamp’s socket and glue the shade to this ring.
* For pendant lights, thread the cord through a hole in the top of the shade and secure it with a washer or a DIY mount.
How do I make the paper shade stronger?
To increase the durability of your paper lamp, consider these methods:
* Use thicker paper like cardstock or heavy craft paper.
* Reinforce the top and bottom edges with extra strips of cardstock glued to the inside.
* For complex shapes, build internal support structures using thin cardboard or even craft sticks.
* Apply a thin layer of decoupage medium (like Mod Podge) to the paper for added rigidity, but test this on a scrap piece first, as it can alter the paper’s appearance.
What kind of paper is best for a paper lamp?
The best paper depends on the look you want:
* For a soft, diffused glow: Tissue paper, rice paper, or thin vellum.
* For a sturdy, structured lamp: Cardstock, heavy craft paper, or bristol board.
* For intricate folds and geometric designs: Origami paper or thin cardstock.
* For decorative patterns: Scrapbooking paper or patterned cardstock.
Always ensure the paper is not highly flammable and that you are using an LED bulb.
Can I hang a paper lamp from the ceiling?
Yes, you can hang a paper lamp from the ceiling, typically as a pendant light. You’ll need a ceiling pendant light cord set, an LED bulb, and a way to securely attach your paper shade to the cord. Ensure the attachment is strong and balanced. Using a lightweight paper shade is recommended for hanging applications. Battery-operated fairy lights are also a very safe and easy way to create a hanging paper lantern.
By following these detailed steps and tips, you can confidently embark on your journey of paper crafting for lighting. Enjoy the process of bringing your unique, illuminated creations to life!