
Mounting a lamp post is a rewarding DIY project that enhances your property’s curb appeal and safety. What is the best way to mount a lamp post? The best way involves preparing the site, setting a solid foundation, and correctly attaching the pole. Can I install a lamp post myself? Yes, with basic tools and following these steps, you can successfully install a lamp post yourself.
This comprehensive guide will walk you through the entire process of lamp post installation, from choosing the right spot to the final wiring. We’ll cover everything you need to know to securely mount your outdoor lighting fixture, whether it’s for your garden, driveway, or front yard.
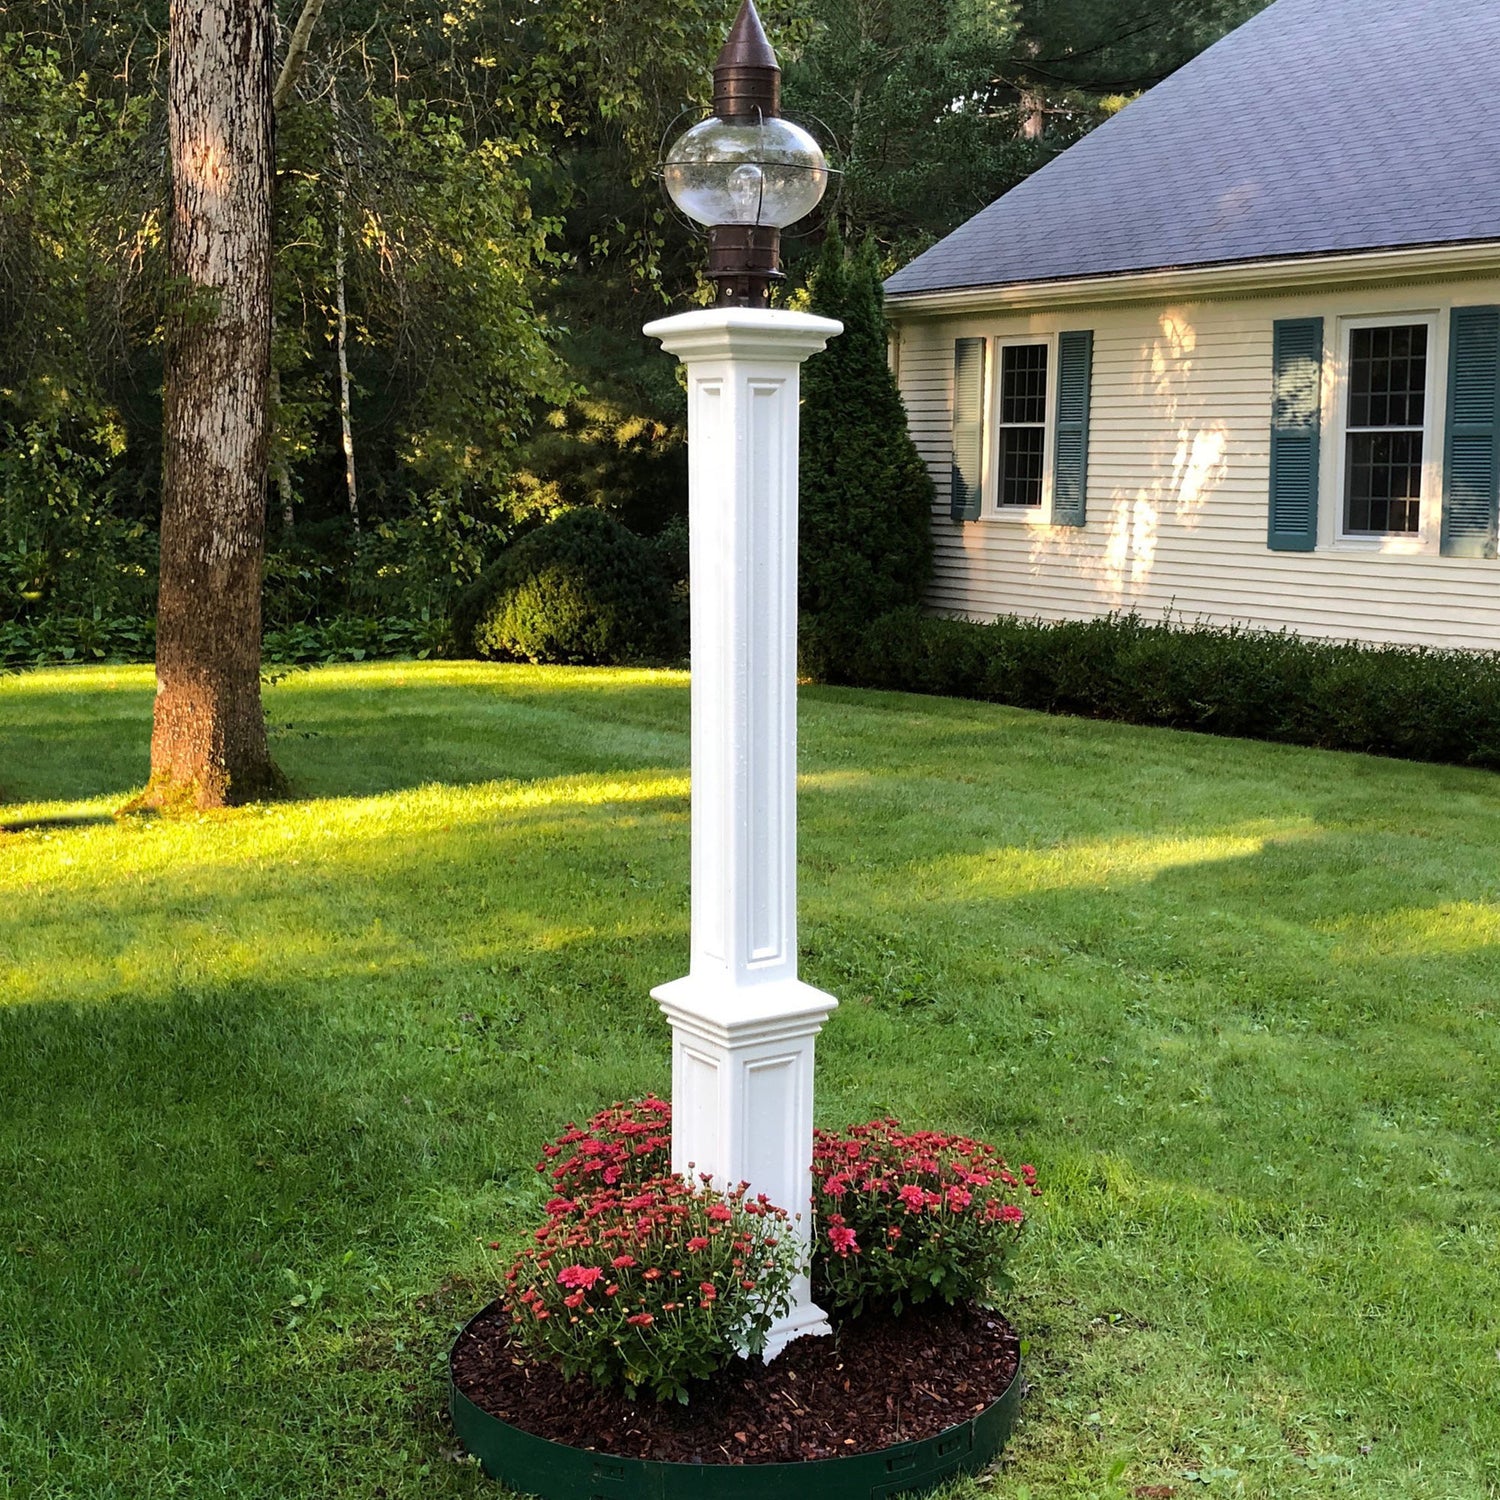
Image Source: gomayne.com
Planning Your Lamp Post Placement
Before you even think about digging, careful planning is crucial. The location of your lamp post impacts its functionality, aesthetics, and ease of installation.
Factors to Consider for Placement
- Purpose: What is the primary reason for the lamp post? Is it for general area lighting, pathway illumination, security, or decorative accent?
- Light Coverage: Determine the area you want to illuminate. A single lamp post might be sufficient for a small garden, while a long driveway will likely require more than one.
- Aesthetics: Where will the lamp post look best? Consider how it complements your home’s architecture and landscaping.
- Accessibility: Will the lamp post be easy to access for maintenance or bulb replacement?
- Underground Utilities: This is paramount. You must call 811 before you dig. This free service will help you locate any underground utility lines (gas, water, electric, cable) in your chosen area. Digging into a utility line can be extremely dangerous and costly.
- Proximity to Power Source: How will you get electricity to your lamp post? Will it be hardwired from an existing outdoor outlet or circuit? Consider the distance and any potential trenching required.
- Building Codes and Regulations: Check with your local municipality for any specific rules regarding outdoor lighting height, placement, or electrical work.
Choosing the Right Type of Lamp Post
Lamp posts come in various styles, materials, and mounting methods. Your choice will influence the installation process.
- Material:
- Metal (Aluminum, Steel, Wrought Iron): Durable and often elegant, but can be heavier and may require rust prevention.
- Wood: Classic look, but requires sealing and regular maintenance to prevent rot and insects.
- Plastic/Composite: Lightweight, weather-resistant, and low maintenance, but may not offer the same aesthetic appeal as other materials.
- Mounting Style:
- Direct Burial: The pole is sunk directly into the ground and secured with concrete. This is a very common method for securing a light pole.
- Anchor Base: The pole attaches to a pre-installed lamp post base or flange, typically set in concrete. This is often preferred for stability and ease of replacement.
- Surface Mount: For existing concrete patios or foundations, the pole base can be bolted directly onto the surface.
Gathering Your Tools and Materials
Having everything ready before you start will make the process smoother and safer.
Essential Tools
- Shovel or Post Hole Digger
- Measuring Tape
- Level (at least 2-foot)
- String Line and Stakes (for alignment)
- Wheelbarrow (for concrete)
- Concrete Mixing Tools (hoe, trowel)
- Wrench or Socket Set (for bolts)
- Wire Strippers/Crimpers
- Screwdrivers
- Safety Glasses
- Work Gloves
- Utility Knife
- Pencil or Marker
Necessary Materials
- Lamp Post: Choose a style and height suitable for your needs.
- Lamp Post Base: If using an anchor base style, you’ll need a sturdy base designed for outdoor use. Some lamp posts come with an integrated base.
- Concrete Mix: Bags of ready-mix concrete are readily available at hardware stores. Calculate the amount needed based on your hole size.
- Gravel: For drainage at the bottom of the hole.
- Anchor Bolts (if using an anchor base): Ensure they are the correct size for your pole’s base.
- Wire: Outdoor-rated electrical wire suitable for your power source and the lamp’s wattage.
- Waterproof Wire Connectors: For safe electrical connections.
- Conduit and Fittings (if required): To protect underground wiring.
- Caulk: For sealing around the base to prevent water ingress.
- Paint or Sealant (if needed): For wood or metal posts.
Preparing the Installation Site
This step involves marking the location and preparing the ground for the foundation.
Marking the Location
- Identify the Exact Spot: Use your chosen placement from the planning phase.
- Mark the Center: Drive a stake into the ground at the precise center where the lamp post will stand.
- Mark the Perimeter: If using an anchor base, place the base over the stake and trace its outline on the ground. If direct burial, mark a circle large enough for your hole diameter. For driveway lamp post mounting, ensure it doesn’t obstruct vehicle traffic or parking.
Digging the Hole
The size of the hole depends on your chosen mounting method and local frost line.
- For Direct Burial:
- Depth: Dig a hole that is at least one-third the length of the pole, plus an extra 6 inches for gravel. Local building codes often specify a minimum depth based on frost lines.
- Width: The hole should be at least three times the diameter of the lamp post itself. A wider hole provides better stability.
- For Anchor Base:
- Depth: Dig a hole that is deep enough to accommodate the lamp post base plus a layer of gravel, and extends below the frost line for added stability.
- Width: The hole should be large enough to comfortably fit the base and allow for setting anchor bolts and pouring concrete around them.
Table 1: Recommended Hole Dimensions (General Guidelines)
| Mounting Method | Minimum Depth | Minimum Width | Notes |
|---|---|---|---|
| Direct Burial | 1/3 of pole length + 6″ for gravel | 3x pole diameter | Deeper for frost-prone areas; check local codes. |
| Anchor Base (Standard) | Below frost line + base height + 6″ gravel | 6″ wider than base flange on all sides | Ensures concrete encases the entire base and anchor bolts. |
| Anchor Base (Large/Heavy Duty) | Below frost line + base height + 6″ gravel | 12″ wider than base flange on all sides | For larger, heavier poles or high-wind areas; check manufacturer’s recommendations. |
Adding Gravel for Drainage
Once the hole is dug, add a layer of 4-6 inches of gravel at the bottom. This helps prevent water from pooling around the base of the post or anchor, which can lead to corrosion or rot. Compact the gravel firmly using the end of your shovel or a tamper.
Setting the Foundation
This is the most critical part of the lamp post installation for long-term stability.
Method 1: Direct Burial
- Prepare the Pole: If your pole needs wiring, feed the electrical wire through the bottom of the pole before setting it in the hole. Ensure enough wire extends to connect to your power source.
- Position the Pole: Carefully lower the lamp post into the center of the hole, resting it on the gravel.
- Plumb the Pole: Use a level to ensure the pole is perfectly vertical from all sides. You may need to brace it temporarily with wooden stakes and screws to hold it in place while the concrete sets.
- Mix the Concrete: In your wheelbarrow, mix the concrete according to the manufacturer’s instructions. Aim for a consistency like thick oatmeal – not too soupy, not too dry.
- Pour the Concrete: Begin pouring the concrete into the hole around the pole. Fill the hole gradually, working from the outside in.
- Consolidate the Concrete: As you pour, use a shovel or stick to poke the concrete and remove any air pockets. This ensures a solid, uniform base.
- Smooth the Top: Once the hole is filled, use a trowel to smooth the top of the concrete, sloping it slightly away from the pole to allow water to drain.
- Curing: Allow the concrete to cure for at least 24-72 hours (check concrete bag for specifics). Avoid putting any stress on the pole during this time.
Method 2: Anchor Base
- Prepare the Base: If your lamp post base is separate, place it over the stake in the center of the hole.
- Position Anchor Bolts: Place the anchor bolts through the designated holes in the base flange. Ensure they are positioned correctly according to the pole’s mounting pattern.
- Plumb the Base: Use your level to ensure the base is perfectly level. Adjust by adding or removing gravel underneath the flange as needed. The anchor bolts should also be plumb.
- Mix and Pour Concrete: Mix your concrete and carefully pour it into the hole around the base and anchor bolts. Fill the hole to the top of the flange, ensuring the bolts are fully embedded and the concrete slopes away from the base.
- Consolidate and Smooth: Again, remove air pockets and smooth the concrete surface.
- Curing: Let the concrete cure completely (24-72 hours).
Wiring the Lamp Post
This is where safety is paramount. If you are not comfortable with electrical work, hire a qualified electrician.
Connecting to Power
- Underground Cable: If you’re running power from a circuit underground, you’ll need to trench a path for the cable. Use outdoor-rated conduit to protect the wire from damage and moisture. Ensure the conduit is buried below the frost line and any local depth requirements for utility lines.
- Surface Wiring: If connecting to an existing outdoor outlet, ensure the connection point is protected from the elements and the wire is appropriately rated for outdoor use.
Inside the Lamp Post
- Feed the Wire: Pull the electrical wire up through the pole’s conduit or base opening.
- Prepare Connections: Strip a small amount of insulation from the ends of the wires (both from the power source and the lamp post fixture).
- Make Connections: Connect the wires using waterproof wire connectors. Typically, you’ll connect black wire to black wire (hot), white wire to white wire (neutral), and green or bare copper wire to green or bare copper wire (ground).
- Secure Connections: Ensure all connections are tight and secure within the waterproof connectors.
- Attach the Fixture: Mount the actual light fixture to the top of the lamp post according to the manufacturer’s instructions.
Attaching the Lamp Post to the Base (Anchor Mount)
Once the concrete has fully cured, you can attach the pole.
- Align the Pole: Place the lamp post onto the anchor base. Align the bolt holes on the pole’s flange with the anchor bolts already set in the concrete.
- Secure with Nuts: Place a washer and then a nut onto each anchor bolt. Tighten the nuts securely with a wrench. Work in a star pattern, tightening each nut a little at a time to ensure even pressure.
- Final Check: Ensure the pole is still plumb and stable. If not, you may need to loosen the nuts, make minor adjustments, and re-tighten.
Final Touches and Testing
You’re almost there! A few final steps will complete your post light installation guide.
Sealing and Finishing
- Seal the Base: If using an anchor base, apply a bead of weatherproof caulk around the edge where the pole meets the concrete to prevent water from seeping underneath.
- Paint or Treat: If your lamp post is wood or metal, now is a good time to apply any necessary paint, stain, or sealant to protect it from the elements.
Installing the Light Bulb and Testing
- Install Bulb: Screw in the appropriate wattage and type of light bulb for your fixture.
- Turn on Power: Switch on the circuit breaker or outlet that powers your new lamp post.
- Test: Check if the light illuminates correctly.
Frequently Asked Questions (FAQ)
Q1: How deep should I bury a lamp post?
A1: The depth depends on the type of installation and your local climate. For direct burial, it’s typically one-third of the pole’s length plus 6 inches for gravel. In frost-prone areas, dig below the frost line. For anchor bases, the hole depth should accommodate the base and concrete below the frost line. Always check local building codes.
Q2: Can I install a lamp post without concrete?
A2: While some decorative, lightweight posts might have other mounting options, for any substantial outdoor lighting fixture that needs to withstand weather and be stable, a concrete foundation is highly recommended for proper securing a light pole.
Q3: How do I ensure my lamp post is straight?
A3: Use a long level (2-foot or longer) on multiple sides of the pole or base as you set it. You may need temporary bracing with stakes and screws to hold it plumb while concrete cures.
Q4: How far apart should I space lamp posts for a driveway?
A4: This depends on the desired light intensity and the lamp post’s lumen output. A common recommendation is to place them every 15-20 feet for good coverage, but this can vary greatly.
Q5: What kind of wire should I use for outdoor lighting?
A5: Use UF (Underground Feeder) cable for direct burial or THWN (Thermoplastic Heat and Water-resistant Nylon-coated) wire inside conduit for outdoor use. Always ensure the wire gauge is appropriate for the distance and wattage of the light.
Q6: Do I need to hire an electrician to install a lamp post?
A6: If you are not experienced and comfortable with electrical wiring and local codes, it is strongly recommended to hire a qualified electrician. Improper wiring can be a fire hazard and a safety risk.
By following these detailed steps, you can confidently approach the task of mounting a garden lamp or any other type of lamp post, enhancing your property’s illumination and appeal. Remember to prioritize safety, especially when dealing with digging and electrical connections. This post light installation guide aims to provide a clear roadmap for a successful DIY project.