
Can you paint a ceramic lamp base? Yes, absolutely! Painting a ceramic lamp base is a fantastic DIY project that allows you to refresh an old fixture or create a custom look for a new one. This guide will walk you through everything you need to know to achieve a professional-looking finish.
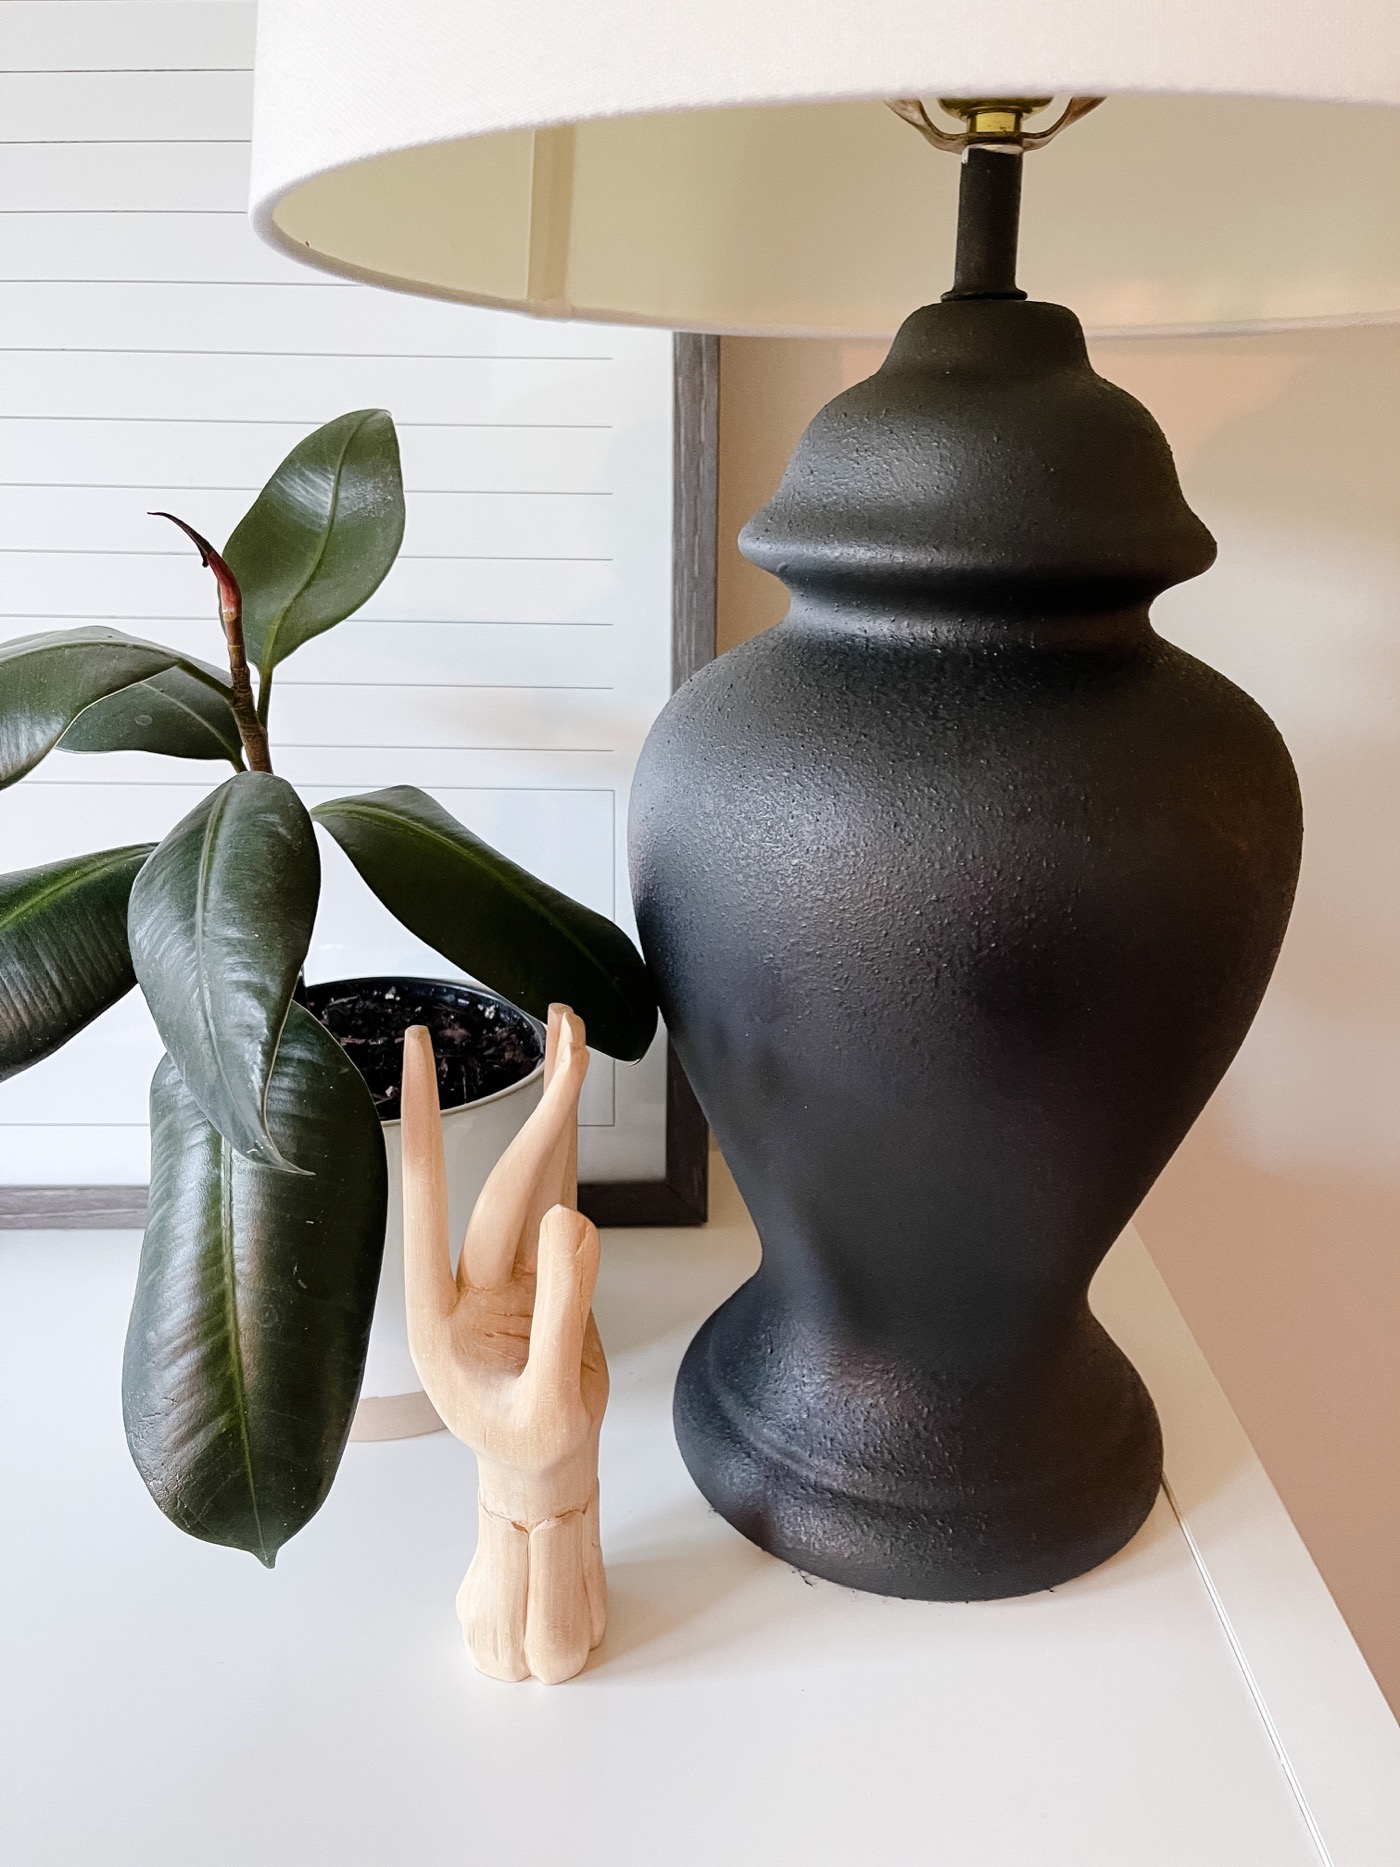
Image Source: lifelovelarson.com
Refreshing Your Home with a Lamp Base Makeover
Lamps are more than just light sources; they are decorative elements that contribute significantly to the ambiance of a room. Over time, a beloved lamp might start to look dated or clash with new decor. Instead of buying a new lamp, why not give your existing one a lamp base makeover? Ceramic lamp painting is a versatile and rewarding way to update your lighting fixtures. Whether you’re aiming for a complete lamp restoration or just a subtle change, painting the ceramic base is a relatively simple process with impactful results. This DIY ceramic lamp guide is designed for everyone, from beginners to experienced crafters.
Why Paint Your Ceramic Lamp Base?
There are several compelling reasons to embark on this lamp refinishing journey:
- Cost-Effective: It’s much cheaper to repaint an existing lamp than to purchase a new one.
- Customization: You can match your lamp to your exact color scheme or design aesthetic.
- Sustainability: Repurposing and updating items is an eco-friendly choice.
- Creative Outlet: It’s a fun and satisfying way to express your personal style.
- Revitalize Old Lamps: Give a treasured but worn-out lamp a new lease on life.
Preparing Your Ceramic Lamp Base for Painting
Proper preparation is the most crucial step in achieving a smooth, durable finish. Skipping this can lead to paint peeling or an uneven appearance.
What You’ll Need
Gathering all your supplies before you begin ensures a smooth workflow.
Essential Supplies:
- Ceramic lamp base
- Screwdriver (to remove lamp parts)
- Painter’s tape or masking tape
- Drop cloth or old newspapers
- Mild soap and water
- Rubbing alcohol or degreaser
- Fine-grit sandpaper (150-220 grit)
- Primer (suitable for ceramic or glossy surfaces)
- Paint (acrylic, chalk paint, or spray paint)
- Paintbrushes (if not spray painting)
- Clear sealant or topcoat (optional, for extra durability)
- Gloves
- Dust mask
- Safety glasses
Step-by-Step Preparation Process
Follow these steps carefully to prepare your lamp base:
-
Disassemble the Lamp:
- Unplug the lamp.
- Carefully remove the lampshade and lightbulb.
- You may need a screwdriver to detach the lamp harp and socket assembly. Place all removed parts in a safe place.
- Tip: Take a photo before you start disassembling so you can easily remember how to put it back together.
-
Clean the Lamp Base:
- Wipe down the ceramic base with a damp cloth and mild soap to remove dust and grime.
- For stubborn dirt or residue, use a cloth dampened with rubbing alcohol or a mild degreaser. This helps ensure the paint adheres well.
- Allow the base to dry completely.
-
Sand the Surface:
- Lightly sand the entire surface of the ceramic lamp base with fine-grit sandpaper (150-220 grit).
- This step is vital for creating a slightly rough surface that the primer and paint can grip onto, especially if the ceramic is glazed.
- You don’t need to remove the existing finish; just scuff it up.
- Wipe away all sanding dust with a tack cloth or a slightly damp microfiber cloth. Ensure there’s no dust left behind.
-
Protect Unpaintable Areas:
- Use painter’s tape to carefully cover any areas you don’t want to paint. This includes the lamp socket, the cord, the metal fittings, or any decorative elements made of different materials.
- Ensure the tape is pressed down firmly to prevent paint from seeping underneath.
-
Set Up Your Workspace:
- Choose a well-ventilated area, preferably outdoors or in a garage with the door open.
- Lay down a drop cloth or old newspapers to protect your surfaces from paint drips.
- Wear gloves and a dust mask, especially if you’re sanding or using spray paint.
Choosing the Right Paint for Ceramic
The type of paint you choose will influence the finish and durability of your ceramic lamp painting project.
Paint Options for Ceramic
Here’s a breakdown of popular paint choices:
- Acrylic Paint: Versatile and widely available, acrylics dry quickly and are water-based, making cleanup easy. They are great for decorative lamp painting with brushes for intricate designs or solid coats. For better adhesion on ceramic, look for acrylics specifically formulated for multi-surface use or those labeled for crafts.
- Chalk Paint: Known for its matte, velvety finish, chalk paint adheres well to most surfaces without extensive prep, including sanding. It’s perfect for a vintage or distressed look and often requires a wax or polycrylic sealant for durability. If you’re going for a lamp refinishing that has a soft, chalky texture, this is a great choice.
- Spray Paint: Offers a smooth, even finish and is often the quickest method, especially for spray painting ceramic lamp bases. Look for spray paints designed for multi-surface use or those specifically labeled for plastic, metal, or ceramic.
Paint Compatibility and Adhesion
- Glazed Ceramic: Glazed ceramic can be slippery. Light sanding and a good primer are essential for paint to adhere properly.
- Unglazed Ceramic: Unglazed ceramic is porous and will absorb paint. It generally requires less prep but might benefit from a sealant to prevent future staining.
Priming Your Ceramic Lamp Base
Primer acts as a bridge between the ceramic surface and your chosen paint color, ensuring better adhesion and a more even finish.
Why Use a Primer?
- Adhesion: Helps paint stick to slick or glossy surfaces.
- Coverage: Can help block stains or the original color of the lamp, meaning you might need fewer coats of your topcoat.
- Durability: Creates a more robust surface for your paint.
How to Apply Primer
- Choose the Right Primer: Select a high-quality primer. For glossy ceramic, a good all-purpose spray primer or a bonding primer designed for slick surfaces is ideal.
- Apply Thin Coats: Apply thin, even coats of primer. Avoid applying it too thickly, as this can lead to drips and an uneven finish.
- Drying Time: Allow the primer to dry completely according to the manufacturer’s instructions. This can range from 30 minutes to a few hours.
- Light Sanding (Optional): Once dry, you can very lightly sand the primed surface with very fine-grit sandpaper (220 grit or higher) if needed to smooth out any imperfections. Wipe away dust thoroughly.
Painting Techniques for Your Ceramic Lamp
Once primed, your lamp base is ready for its new color!
Method 1: Spray Painting
Spray painting ceramic lamp bases is popular for its speed and seamless finish.
Steps for Spray Painting:
- Shake the Can: Shake the spray paint can vigorously for at least one minute, or as directed by the manufacturer.
- Test Spray: Do a test spray on a scrap piece of cardboard to check the paint flow and color.
- Apply Light Coats: Hold the can about 10-12 inches away from the lamp base. Apply paint in light, even, sweeping motions. Overlap each stroke slightly.
- Work in Sections: Paint the lamp in sections, turning it as you go to ensure full coverage.
- Multiple Thin Coats: Apply multiple thin coats rather than one thick coat. Allow each coat to dry partially before applying the next (check can for recoat times). This prevents drips and ensures a smoother finish.
- Allow to Cure: Let the paint cure for the time recommended by the manufacturer (this is often longer than just “dry to touch”). Curing time is crucial for durability.
Method 2: Brush Painting (Acrylic or Chalk Paint)
Brush painting allows for more control and is excellent for detailed decorative lamp painting.
Steps for Brush Painting:
- Load Your Brush: Dip your brush into the paint, wiping off any excess on the side of the container.
- Apply Even Strokes: Apply the paint in smooth, even strokes. Use long, consistent strokes to avoid brush marks.
- Work Systematically: Paint in one direction where possible. For rounded surfaces, follow the curve of the lamp.
- Multiple Coats: Apply two to three thin coats, allowing each coat to dry completely before applying the next.
- Chalk Paint Specifics: If using chalk paint, you might want to build up layers for a richer look. After the final coat dries, you can lightly distress it with sandpaper for a vintage effect.
Method 3: Specialty Finishes
Updating lamp base designs can go beyond solid colors.
- Stenciling: Use stencils for patterns or designs. Apply paint with a stencil brush or spray paint over the stencil.
- Ombre Effect: Blend colors by starting with one shade at the bottom and gradually transitioning to another at the top. This requires careful blending with brushes or spray paints.
- Distressing: After painting (especially with chalk paint), use sandpaper or a damp cloth to rub away paint in certain areas, revealing the primer or original ceramic color for an antique look.
Sealing Your Painted Ceramic Lamp Base
A sealant or topcoat can protect your paint job and add a desired sheen.
When to Seal
Sealing is recommended if you want to:
- Add extra durability and protection against scuffs and scratches.
- Achieve a glossy or matte finish (depending on the sealant).
- Make the surface easier to clean.
Sealing Options
- Acrylic Sealer (Polyurethane or Polycrylic): These water-based sealants are non-yellowing and come in matte, satin, or gloss finishes. They are excellent for protecting acrylic paint.
- Spray Sealant: Available in various finishes, spray sealants offer an easy application for a smooth, even coat.
- Chalk Paint Wax: If you used chalk paint, a furniture wax is the traditional way to seal and protect it, giving it a soft sheen and water resistance.
How to Apply a Sealant
- Ensure Paint is Dry/Cured: Make sure your paint is completely dry, and preferably cured, before applying a sealant.
- Apply Thin Coats: Apply thin, even coats using a brush or spray.
- Follow Manufacturer Instructions: Adhere to the drying and recoating times specified on the sealant product.
- Allow to Cure: Allow the sealant to cure fully before reassembling the lamp.
Reassembling Your Lamp
Once all the paint and sealant are dry and cured, it’s time to put your lamp back together.
- Remove Painter’s Tape: Carefully peel off all the painter’s tape. Do this slowly to avoid damaging the fresh paint.
- Reattach Parts: Reattach the lamp harp, socket assembly, and any other removed components in reverse order of disassembly.
- Add Lampshade and Bulb: Place the lampshade back on and screw in the lightbulb.
- Test Your Lamp: Plug in your beautifully transformed lamp and enjoy your handiwork!
Troubleshooting Common Painting Problems
Even with careful preparation, you might encounter a few hiccups.
Problem: Paint is Peeling or Chipping
- Cause: Insufficient preparation (not sanding, not cleaning thoroughly), applying paint to a dirty surface, or using incompatible paints.
- Solution: You may need to scrape off the peeling paint, re-sand, clean thoroughly, prime, and repaint. Ensure you’re using the right primer for ceramic.
Problem: Uneven or Streaky Finish
- Cause: Applying paint too thickly, not using enough coats, or inconsistent application (especially with brushes).
- Solution: For brush marks, try using a higher-quality brush or a paint with a finer pigment. For spray paint, ensure you’re applying light, even coats from the correct distance. You might need to lightly sand between coats and reapply.
Problem: Paint Not Adhering
- Cause: The surface was too smooth or glossy, and primer was skipped or ineffective.
- Solution: Sand the surface more thoroughly, clean again, and use a good quality bonding primer specifically designed for glossy surfaces.
Frequently Asked Questions (FAQ)
Q1: What kind of paint can I use on a ceramic lamp?
You can use acrylic paints, chalk paints, and spray paints. For the best results, ensure the paint is suitable for multiple surfaces and always use a primer, especially on glossy ceramic.
Q2: Do I need to prime a ceramic lamp before painting?
Yes, priming is highly recommended. It helps the paint adhere better, provides a more uniform base color, and can prevent the original finish from showing through, especially on glossy or dark ceramic surfaces.
Q3: Can I use spray paint on a ceramic lamp?
Yes, spray paint is an excellent option for spray painting ceramic lamp bases, offering a smooth and even finish. Ensure you use a spray paint designed for multi-surface use or specifically for ceramic and follow proper application techniques in a well-ventilated area.
Q4: How do I get a smooth finish when painting a ceramic lamp?
Proper preparation is key. Lightly sand the surface, clean it thoroughly, apply a good quality primer in thin, even coats, and then apply your chosen paint in multiple thin coats, allowing adequate drying time between each.
Q5: How long does it take to paint a ceramic lamp base?
The actual painting time is relatively short, often just a few hours spread over a day or two for multiple coats. However, including preparation (disassembly, cleaning, sanding, taping) and drying/curing time for primer, paint, and sealant, the entire project can take 24-72 hours or more.
Q6: Can I paint a porcelain lamp?
Yes, you can paint porcelain lamps. The process is very similar to painting ceramic. Ensure the surface is clean, lightly sanded for adhesion, and primed correctly. Painting porcelain lamps can revive old decorative pieces beautifully.
Q7: What if I make a mistake while painting?
Most paint mistakes can be fixed. If you get a drip, you can often gently wipe it away with a damp cloth before it dries completely. If the paint has dried, you might need to let it cure, then lightly sand the area smooth, and reapply the paint.
Q8: How do I clean a painted ceramic lamp?
Clean your painted lamp base gently with a soft, damp cloth. Avoid abrasive cleaners or scrub brushes, which can damage the paint or sealant.
By following this comprehensive guide, you can confidently undertake a DIY ceramic lamp project and enjoy a beautifully updated lamp base that perfectly complements your home decor. This lamp restoration process is not just about painting; it’s about creativity and bringing new life to your living space.