
Can you paint a ceramic lamp? Absolutely! Painting a ceramic lamp is a fantastic way to update its look and breathe new life into your decor. It’s a simple DIY project that can yield impressive results, transforming an old or dated lamp into a stunning statement piece. Whether you’re looking to achieve a sleek modern finish, a rustic charm, or a vibrant pop of color, painting your ceramic lamp is an achievable and rewarding endeavor.
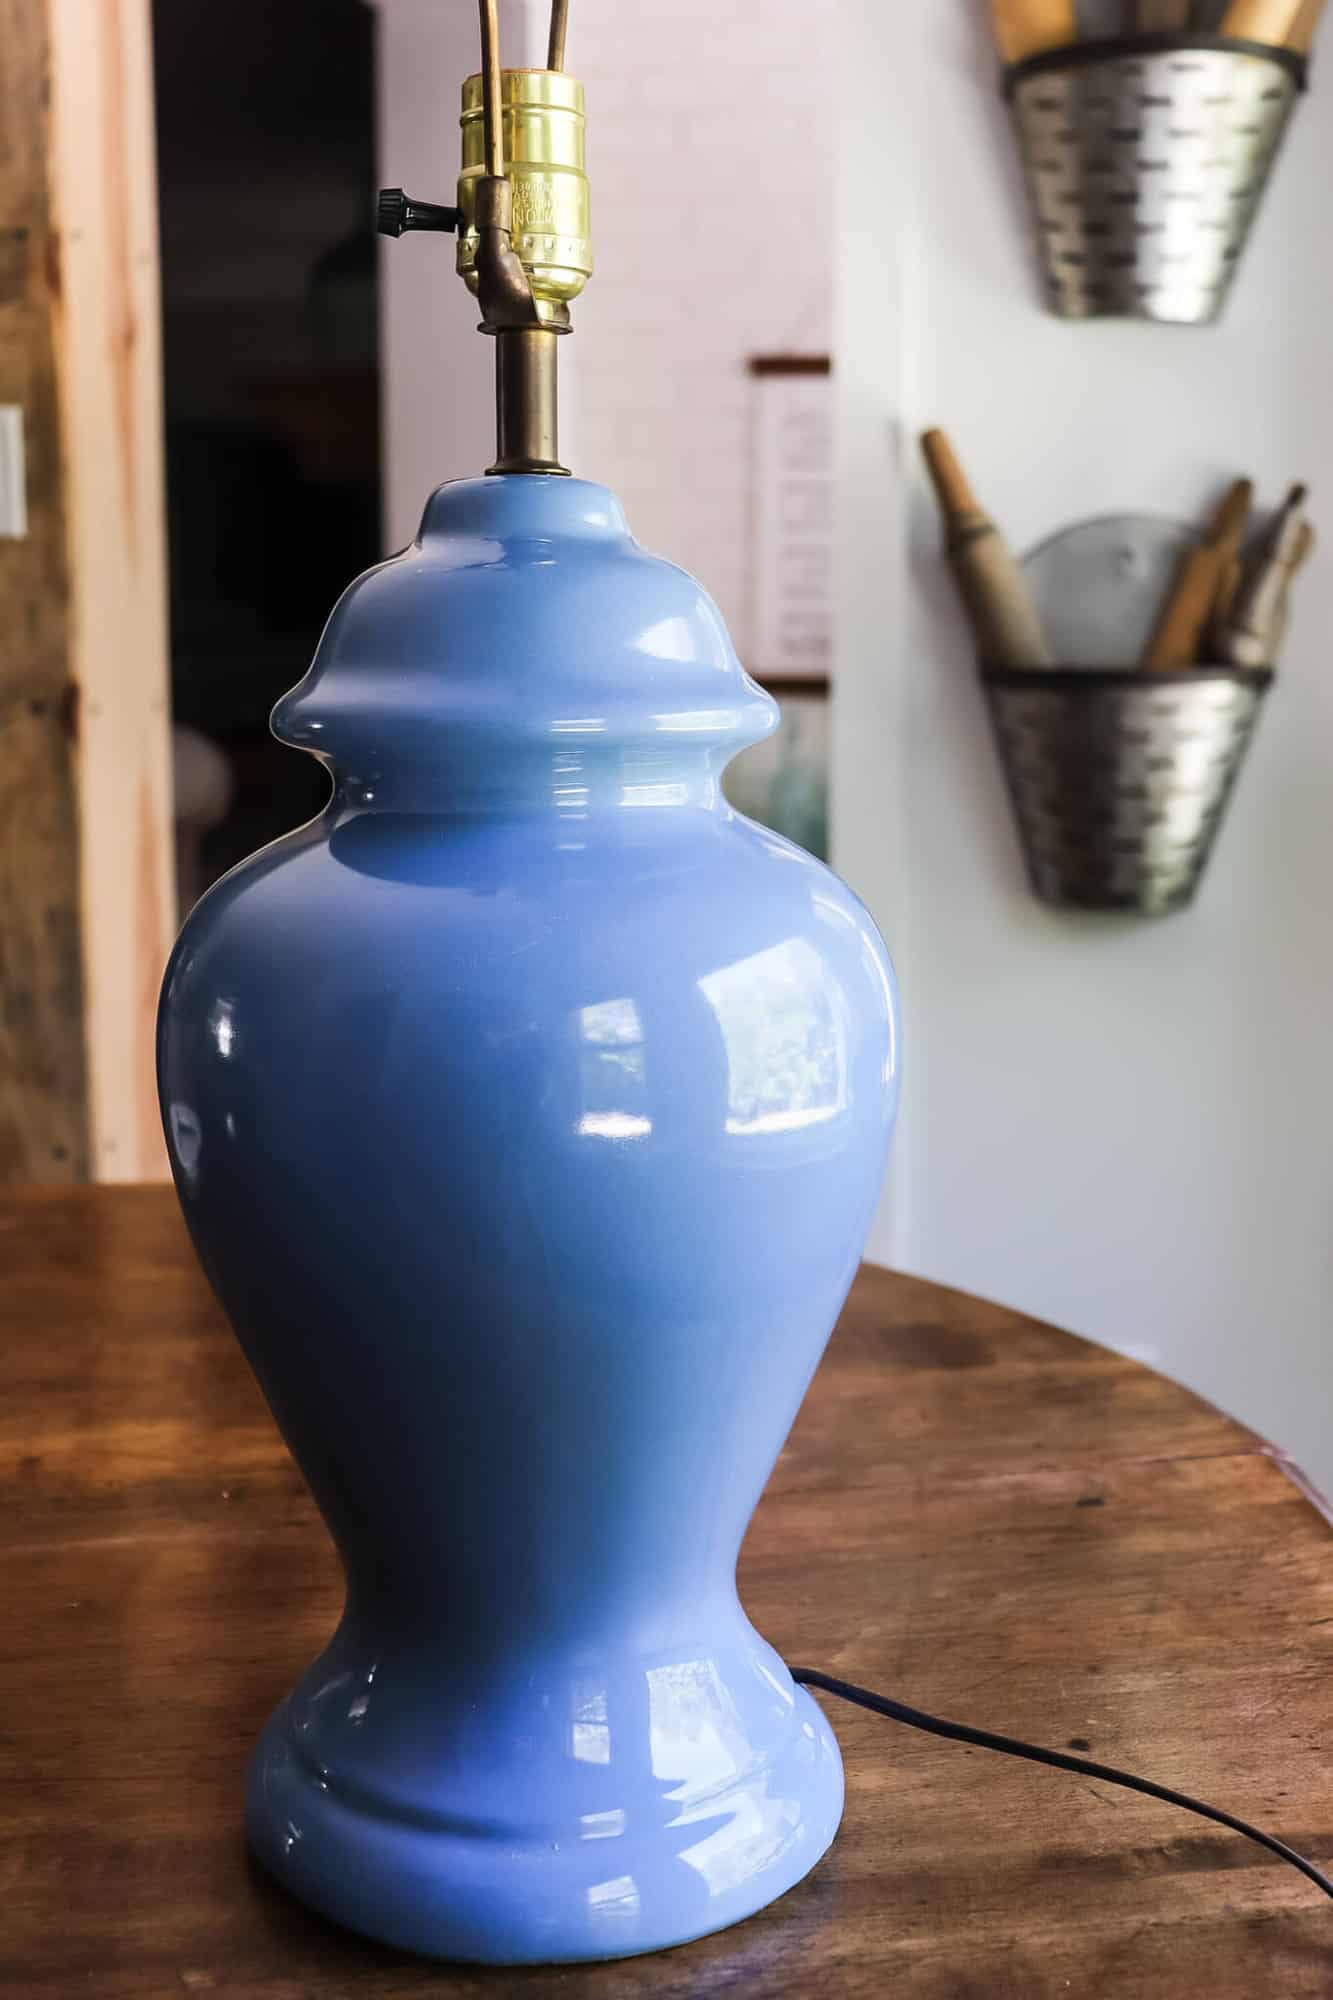
Image Source: notinggrace.com
Revitalizing Your Home with a Ceramic Lamp Makeover
Your ceramic lamp is more than just a light source; it’s a decorative element that can significantly impact the ambiance of a room. Over time, styles change, and that once-loved ceramic lamp might feel a bit… well, old. But before you consider discarding it, think about the incredible potential for a ceramic lamp makeover. This isn’t about complex techniques or expensive materials. It’s about simple steps that can lead to a dramatic transformation, saving you money and giving your home a unique, personalized touch. This guide will walk you through everything you need to know for a successful ceramic lamp refinishing project.
Preparing Your Ceramic Lamp for a Beautiful Finish
The secret to a flawless paint job, whether you’re painting ceramic table lamps or a larger floor lamp, lies in proper preparation. Skipping this step is the quickest way to a disappointing outcome. Think of it like preparing a canvas before an artist paints.
Cleaning is Key
Before any painting begins, your ceramic lamp must be thoroughly cleaned. Dust, grime, and old polish can prevent paint from adhering properly, leading to peeling or an uneven finish.
- Dust Removal: Start by dusting the entire lamp with a soft cloth or a microfiber duster. Pay attention to nooks and crannies.
- Washing: Mix a mild dish soap with warm water. Use a soft sponge or cloth to gently wash the ceramic parts of the lamp.
- Rinsing: Wipe down the lamp with a clean, damp cloth to remove any soap residue.
- Drying: Allow the lamp to air dry completely. You can also gently pat it dry with a clean towel, ensuring no water remains in any crevices.
Removing Old Finishes (If Necessary)
If your ceramic lamp has a glossy or enameled finish that you want to paint over, you might need to lightly scuff it to create a better surface for the paint to grip.
- Sanding: Use a fine-grit sandpaper (around 220-grit) or a sanding sponge. Gently rub the surface in a circular motion. The goal isn’t to remove the original finish, but to dull the shine.
- Degreasing: After sanding, wipe the lamp down with a damp cloth again to remove any sanding dust. For particularly stubborn grime or wax residues, a degreaser or rubbing alcohol can be used. Ensure the surface is completely dry afterward.
Priming: The Foundation of a Lasting Paint Job
Priming ceramic lamps is a crucial step, especially if you’re painting over a dark color, a glossy surface, or if you want a truly opaque and even finish. Primer acts as a bonding agent, ensuring the paint adheres well and creating a uniform base for your chosen color.
Why Prime?
- Adhesion: Primer helps the new paint stick to the surface.
- Coverage: It can block out underlying colors, meaning you’ll need fewer coats of your topcoat.
- Durability: A good primer enhances the longevity of your paint job.
- Surface Uniformity: It creates an even surface, masking minor imperfections.
Choosing the Right Primer
The best paint for ceramic lamps will adhere best over a suitable primer. For ceramic, a good all-purpose spray primer or a brush-on primer designed for multiple surfaces is usually sufficient.
- Spray Primer: This is often the easiest and most efficient for lamps, especially those with intricate shapes. It provides a smooth, even coat.
- Brush-on Primer: If you prefer a brush and don’t want to spray, a water-based or oil-based primer can also work.
How to Prime Your Ceramic Lamp
-
Spray Primer Application:
- Shake the spray can thoroughly for at least one minute.
- Hold the can about 8-12 inches away from the lamp.
- Apply in light, even coats. Over-spraying can lead to drips and an uneven finish.
- Work in a well-ventilated area or outdoors.
- Allow each coat to dry completely according to the manufacturer’s instructions before applying the next. Usually, 1-2 thin coats are sufficient.
-
Brush-on Primer Application:
- Use a good quality synthetic brush for water-based primers or a natural bristle brush for oil-based primers.
- Apply thin, even coats. Avoid over-brushing, which can create streaks.
- Let the primer dry thoroughly between coats.
Allow the primer to cure for the time recommended by the manufacturer before proceeding to paint. This usually means at least a few hours, and sometimes up to 24 hours for optimal adhesion.
Selecting the Best Paint for Your Ceramic Lamp
Choosing the right type of paint is essential for a durable and beautiful finish. The best paint for ceramic lamps will adhere well, be flexible enough to avoid cracking, and come in a wide range of colors and finishes.
Paint Options for Ceramic
- Acrylic Latex Paint: This is a versatile and popular choice for DIY projects. It’s water-based, making it easy to clean up. It dries quickly and can be found in a wide variety of colors and finishes (matte, satin, gloss). For lamps, a good quality interior acrylic latex paint is usually sufficient.
- Pros: Easy to use, water-based cleanup, wide color selection, low VOCs.
- Cons: May require a good primer for durability and adhesion, might not be as chip-resistant as other options without a good topcoat.
- Spray Paint: Spray painting ceramic lamps is incredibly popular due to the smooth, factory-like finish it can achieve. There are specific spray paints formulated for various surfaces, including ceramic and glass. Look for spray paints labeled for multi-surface use or specifically for ceramics.
- Pros: Even application, smooth finish, quick drying time, wide range of colors and finishes.
- Cons: Requires good ventilation, can be tricky to control on intricate shapes without practice, overspray can be an issue.
- Chalk Paint: Known for its matte, chalky finish, chalk paint requires minimal prep (often no sanding or priming needed, though priming is still recommended for best results). It can achieve a vintage or distressed look.
- Pros: Minimal prep, beautiful matte finish, adheres well to most surfaces, easy to distress.
- Cons: Typically requires a wax or clear sealant for protection, not as durable as other paints if not sealed.
- Enamel Paint: Enamel paints offer a hard, durable finish and are often oil-based. They provide excellent adhesion and resistance to chipping and wear.
- Pros: Very durable, excellent adhesion, resistant to chipping and wear.
- Cons: Often oil-based, requiring mineral spirits for cleanup, longer drying times, can have stronger odors.
Considering the Finish
- Matte: Offers a soft, non-reflective look. Great for modern or minimalist designs.
- Satin: Has a slight sheen, offering a bit more durability and washability than matte. A good all-around choice.
- Semi-Gloss/Gloss: Provides a reflective surface. Durable and easy to clean, but can highlight imperfections in the surface.
- Metallic/Specialty Finishes: For a more dramatic effect, consider metallic paints, crackle finishes, or textured paints.
Painting Your Ceramic Lamp: Step-by-Step
Now that you have your chosen paint and primer, it’s time to get painting! This is where the magic happens, transforming your ordinary ceramic lamp into a work of art.
Using Brush-On Paint
- First Coat:
- Stir the paint thoroughly.
- Using a good quality brush, apply a thin, even coat of paint to the ceramic surface. Work in one direction to avoid brush strokes.
- For intricate designs, use a smaller brush.
- Ensure you cover all areas, including any crevices.
- Drying Time:
- Allow the first coat to dry completely according to the paint manufacturer’s instructions. This is crucial for proper adhesion of subsequent coats.
- Additional Coats:
- Apply subsequent thin coats as needed to achieve full coverage and your desired color depth. Typically, 2-3 coats are recommended.
- Lightly sand between coats with very fine-grit sandpaper (320-400 grit) if you want an ultra-smooth finish, and wipe away dust with a tack cloth.
- Full Cure:
- Allow the final coat of paint to dry for at least 24 hours before applying a topcoat or handling it extensively.
Spray Painting Your Ceramic Lamp
Spray painting ceramic lamps offers a smooth, even finish that’s hard to replicate with a brush.
- Preparation:
- Ensure the lamp is dry and primed.
- If you’re painting a lamp with fabric shades or metal parts you don’t want to paint, mask them off carefully with painter’s tape and masking paper or plastic.
- Place the lamp on a drop cloth in a well-ventilated area or outdoors.
- Application:
- Shake the spray can vigorously for at least one minute.
- Hold the can 8-12 inches away from the surface.
- Apply the paint in light, sweeping motions, moving from side to side or up and down. Overlap each pass slightly.
- Avoid holding the can in one spot for too long, as this can cause drips.
- Multiple Coats:
- Apply thin coats rather than one thick coat. This ensures even coverage and prevents drips.
- Allow each coat to dry for the time recommended on the can before applying the next. This is typically 15-30 minutes.
- Usually, 2-4 thin coats are needed for good coverage.
- Drying and Curing:
- Let the final coat dry for at least 24 hours before proceeding to the next steps. Full curing can take several days.
Specialty Techniques for Ceramic Lamps
Beyond a simple color change, you can explore various techniques to create unique finishes for your ceramic lamp makeover.
Painting Terracotta Lamps
How to paint terracotta lamps follows similar principles, but terracotta is porous.
- Sealant: Terracotta is very porous and can absorb a lot of paint. It’s advisable to seal it first with a clear acrylic sealant (like a spray sealant or brush-on sealant) and allow it to dry completely. This will reduce the amount of paint needed.
- Prime: Once sealed, prime as usual.
- Paint: Proceed with your chosen paint method (brush-on or spray). You may need more coats on terracotta than on glazed ceramic.
- Finish: Consider a matte or satin finish, which can complement the natural texture of terracotta.
Creating a Textured Finish
- Adding Sand to Paint: Mix a small amount of fine sand into your acrylic paint. Apply with a brush or roller for a gritty texture.
- Using Texture Mediums: Craft stores sell various texture mediums that can be mixed with paint or applied directly.
- Sponge Painting: Use a sea sponge or a textured paint roller to apply paint for an interesting pattern.
Distressing for a Vintage Look
- Chalk Paint Method: Apply chalk paint, let it dry, then lightly sand areas to create a worn look. Seal with wax.
- Two-Tone Distressing: Paint the lamp with your base color, let it dry. Then, apply a contrasting color. Once the second color is dry but not fully cured, use a damp cloth or fine-grit sandpaper to rub away some of the top layer, revealing the color beneath.
Clear Coating Painted Ceramic Lamps
For added durability, protection, and to achieve a specific sheen, applying a clear coat or sealant is highly recommended. This is a crucial step in ceramic lamp restoration and making your painted finish last.
Why Use a Clear Coat?
- Protection: It shields the paint from scratches, scuffs, and general wear and tear.
- Durability: It makes the painted surface more robust.
- Sheen Control: You can choose a matte, satin, or gloss clear coat to alter the final appearance of your paint.
- Sealing Porous Surfaces: Essential for how to paint terracotta lamps to lock in the paint.
Types of Clear Coats
- Spray Sealant: Available in matte, satin, and gloss finishes. Easy to apply for an even coat.
- Brush-on Sealant: Offers good control but can sometimes leave brush marks if not applied carefully.
- Paste Wax: Often used over chalk paint for a soft, protective finish. Requires buffing.
How to Apply a Clear Coat
- Ensure Paint is Dry: Make sure the painted surface is completely dry. For best results, wait at least 24-48 hours after the final paint coat.
- Application:
- Spray Sealant: Shake the can well. Apply in light, even coats, holding the can 8-12 inches away. Follow the same technique as spray painting.
- Brush-on Sealant: Use a good quality synthetic brush. Apply thin, even coats, working in one direction.
- Paste Wax: Apply a thin layer of wax with a soft cloth in a circular motion. Let it haze over for a few minutes, then buff with a clean, soft cloth until smooth and shiny.
- Drying and Curing:
- Allow the clear coat to dry thoroughly between coats as per the manufacturer’s instructions.
- The final coat should be allowed to cure for at least 48-72 hours before the lamp is put into regular use.
Assembling and Finishing Your Ceramic Lamp
Once the paint and clear coat are fully dry and cured, you can reassemble your lamp.
Reattaching Fixtures
Carefully reattach any components you removed, such as the harp, finial, and socket assembly. If any of these metal parts are tarnished or dull, you might consider cleaning or spray painting them as well (using metallic spray paint or a similar finish).
Adding a New Shade
A new lampshade can complete the ceramic lamp makeover. Choose a shade that complements your new paint color and the style of your room. Consider the size and shape – it should be proportionate to the lamp base.
Installing the Bulb and Testing
- Ensure you use the correct wattage bulb for your lamp socket.
- Screw in the light bulb.
- Plug in the lamp and test it to make sure everything works correctly.
Maintenance for Your Painted Ceramic Lamp
Caring for your newly painted ceramic lamp is simple.
- Dusting: Dust regularly with a soft, dry cloth.
- Cleaning: For spills or marks, gently wipe with a slightly damp cloth. Avoid harsh chemicals or abrasive cleaners, especially if you used a matte finish or chalk paint without a robust sealant.
- Touch-ups: Keep a small amount of your paint color for any minor chips or scratches that might occur over time.
Frequently Asked Questions (FAQ)
Q1: Do I need to seal a ceramic lamp before painting it?
A1: While not always strictly necessary if the ceramic is clean and properly primed, sealing porous surfaces like terracotta or unglazed ceramic with a clear sealant before priming can help reduce paint absorption and ensure a more even finish. Glazed ceramics generally don’t require sealing before priming.
Q2: What is the best type of paint for ceramic lamps?
A2: Acrylic latex paints and spray paints formulated for multi-surface use are generally the best choices for painting ceramic lamps. They offer good adhesion, a wide range of colors, and are relatively easy to work with. For enhanced durability, consider using a good primer and a clear coat sealant.
Q3: Can I spray paint a ceramic lamp with a glossy finish?
A3: Yes, you can spray paint a ceramic lamp with a glossy finish. However, it’s crucial to lightly scuff the glossy surface with fine-grit sandpaper or use a degreaser to ensure the primer and paint have something to adhere to. Skipping this prep step can lead to paint peeling.
Q4: How many coats of paint do I need for my ceramic lamp?
A4: Typically, 2-3 thin coats of paint are sufficient for good coverage on a primed ceramic lamp. However, the exact number of coats will depend on the color you’re painting over, the opacity of your chosen paint, and the desired finish. It’s always better to apply multiple thin coats rather than one thick one.
Q5: Do I need to clear coat my painted ceramic lamp?
A5: While not strictly mandatory, clear coating your painted ceramic lamp is highly recommended. It adds a layer of protection against scratches, chips, and wear, and can also enhance the durability and finish of your paint job.
Q6: How long should I wait before using my painted ceramic lamp?
A6: It’s best to wait at least 24-48 hours for the paint to dry completely before applying a clear coat. After the clear coat is applied, allow it to cure for at least 48-72 hours before handling the lamp extensively or putting it into regular use. This curing time is essential for maximum durability.
Q7: Can I paint a ceramic lamp that is already painted?
A7: Yes, you can paint over an existing paint finish on a ceramic lamp. Ensure the old paint is clean, dry, and in good condition. If the old paint is glossy, lightly scuff it with fine-grit sandpaper to create a better surface for adhesion. Then, proceed with priming and painting as usual. If the old paint is peeling or damaged, it’s best to scrape away any loose bits, sand the surface smooth, prime, and then paint.
Q8: What should I do if I get drips while spray painting?
A8: If you notice drips while spray painting, stop immediately. Let the area dry completely. Once dry, you can gently sand down the drip with fine-grit sandpaper until it’s smooth and flush with the surrounding area. Then, reapply a light coat of paint, holding the can at the correct distance and using smooth, sweeping motions.
By following these steps, you can achieve a beautiful and durable ceramic lamp makeover, breathing new life into your home decor with a personalized touch. Happy painting!