
Can you paint fabric lamp shades? Yes, you absolutely can paint fabric lamp shades! With the right approach, you can transform tired, outdated shades into stunning, custom pieces that perfectly complement your décor. This guide will walk you through everything you need to know for a successful DIY lamp shade makeover, from preparation to creative finishing touches.
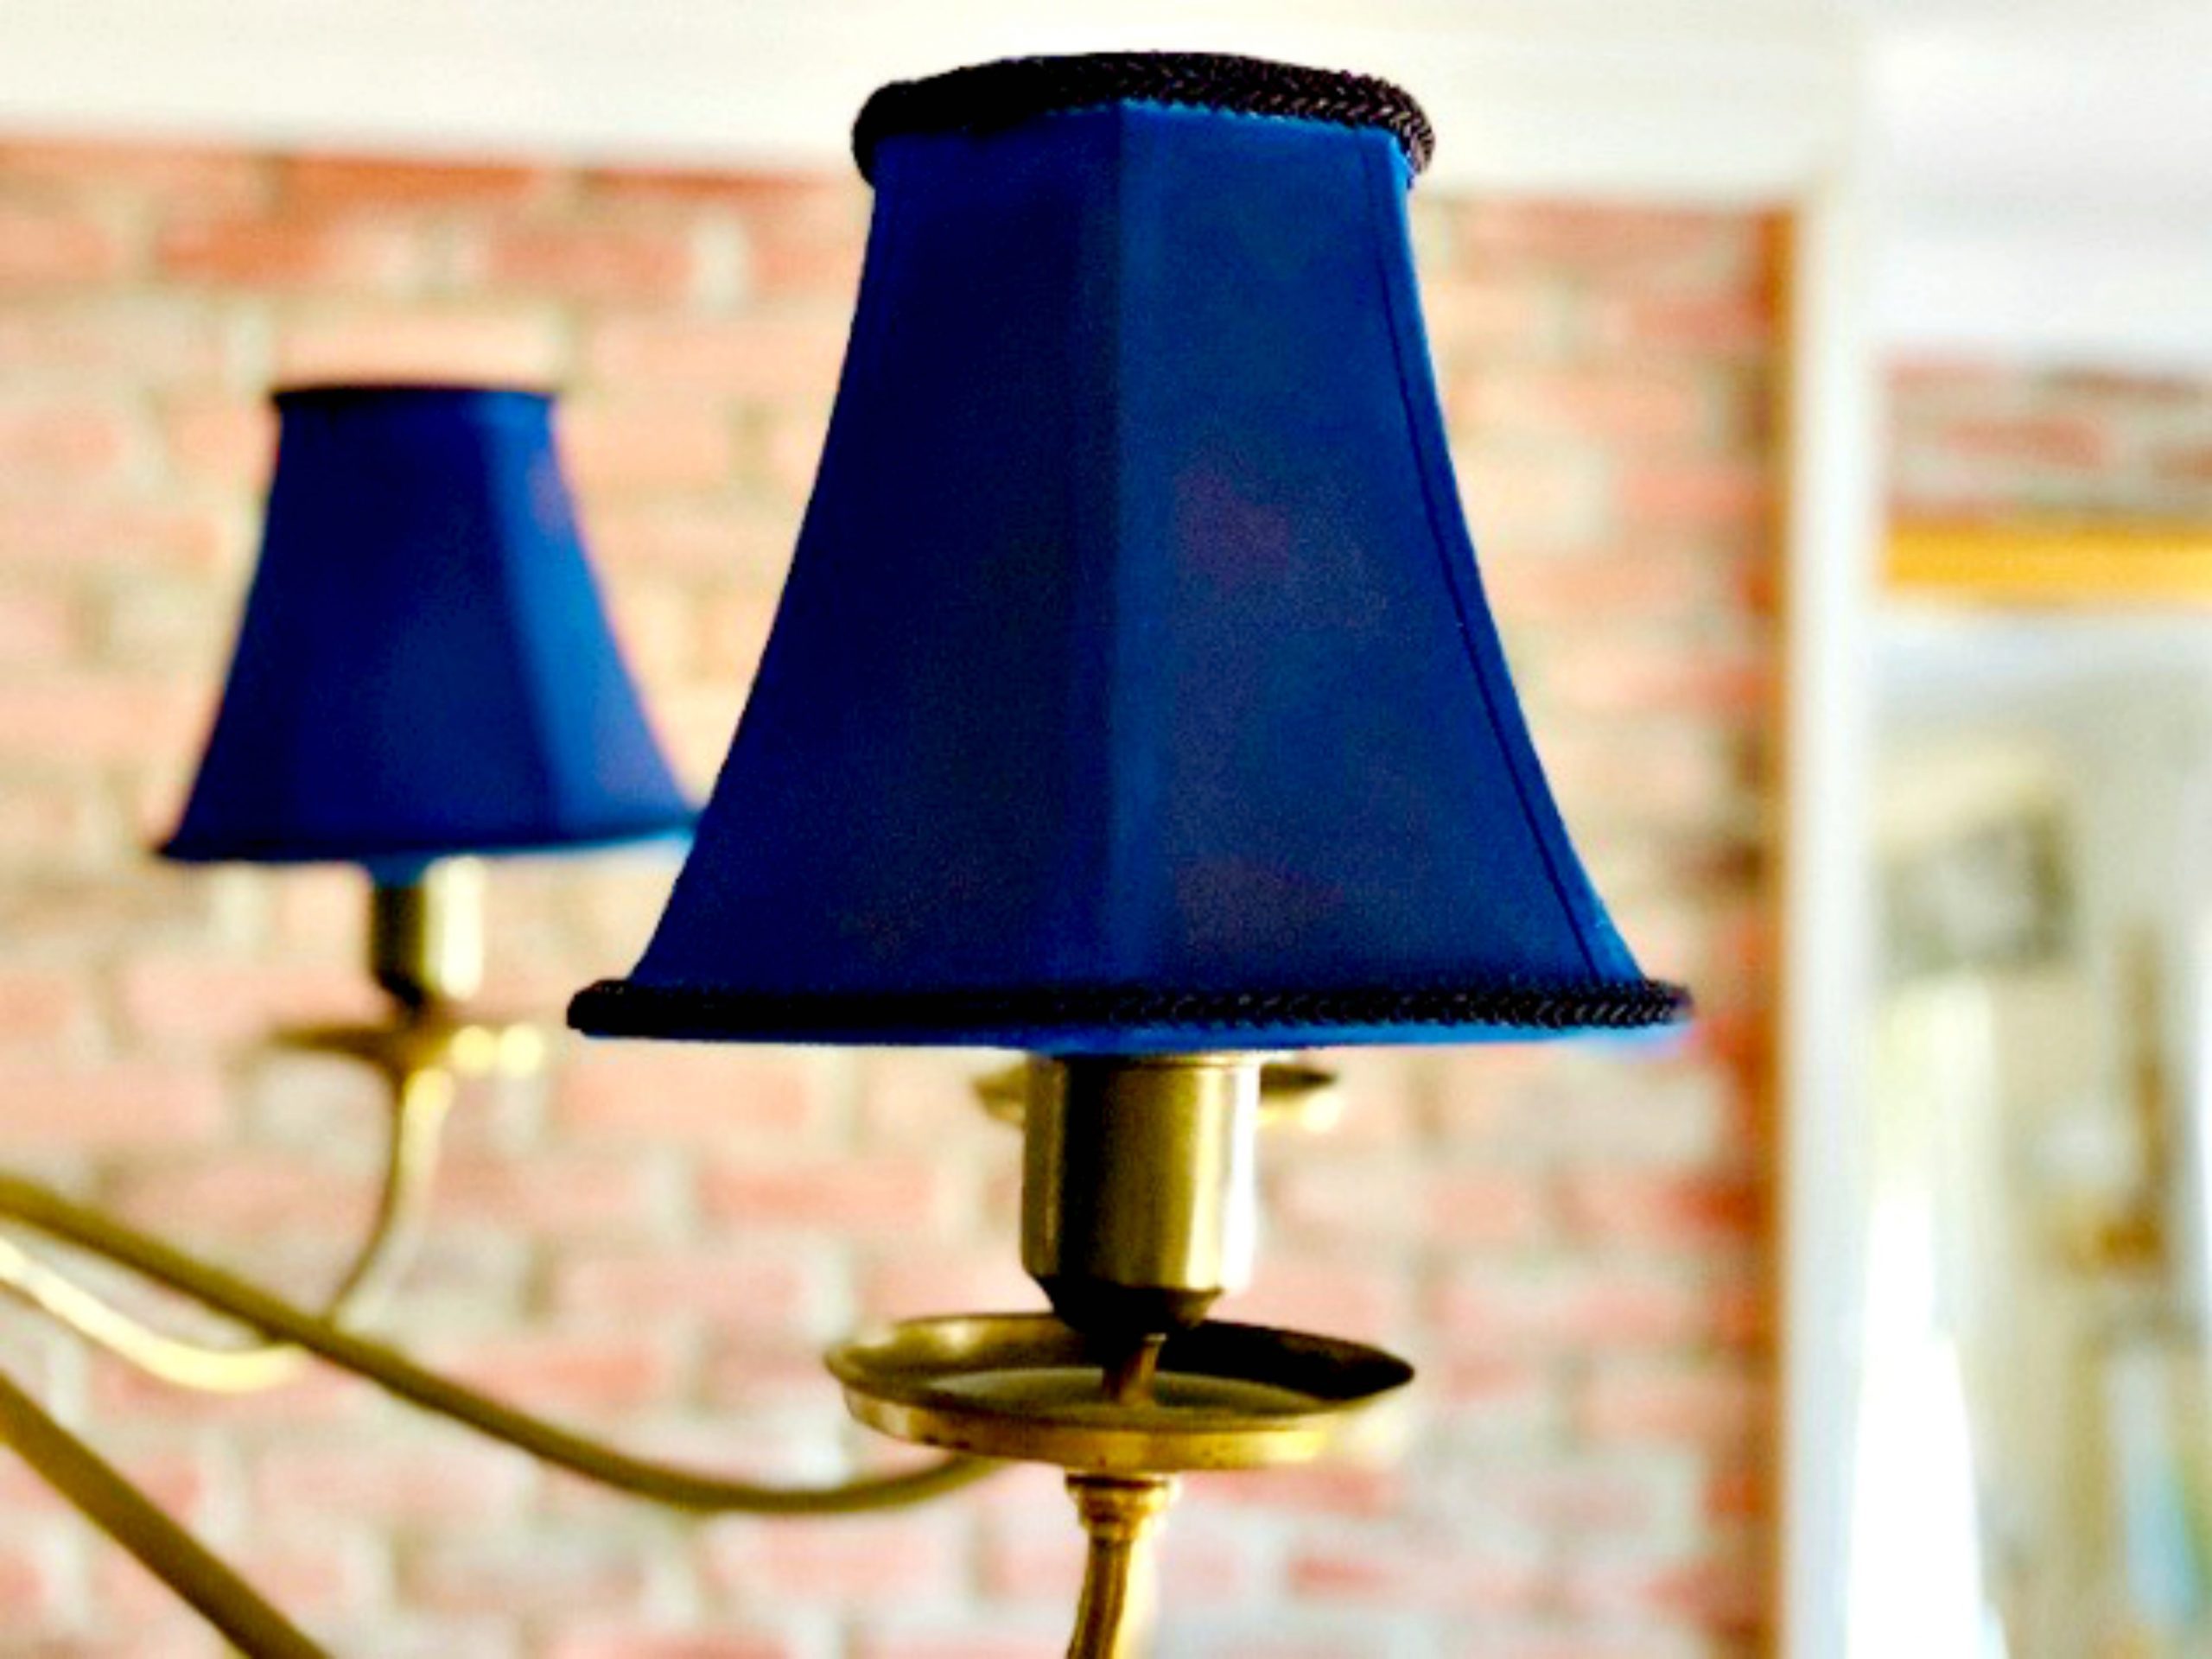
Image Source: farmhouse1820.com
Revitalizing Your Lighting: The Allure of Custom Lamp Shades
Tired of the same old lamp shades? Perhaps the color clashes with your new sofa, or the pattern feels dated. Instead of discarding them, consider a vibrant refresh! Painting fabric lamp shades is a fantastic way to inject personality into a room, create a cohesive color palette, and achieve that designer look without the hefty price tag. This process allows you to craft truly custom lamp shades that are unique to your style.
Why Paint Your Fabric Lamp Shades?
- Cost-Effective: It’s much cheaper to paint an existing shade than to buy a new one.
- Personalization: Create a shade that perfectly matches your color scheme or theme.
- Upcycling: Give old, neglected shades a new lease on life.
- Creative Expression: Experiment with different fabric painting techniques and designs.
- Unique Home Décor: Stand out with one-of-a-kind lighting.
Preparing Your Fabric Lamp Shade for a Painting Project
Proper preparation is key to a smooth and lasting finish. Skipping these steps can lead to uneven paint application or a finish that peels or cracks over time.
Cleaning Fabric Lampshades: The Essential First Step
Before any paint touches your fabric shade, it needs to be impeccably clean. Dust, grime, and old fabric treatments can prevent paint from adhering properly.
How to Clean Fabric Lampshades:
- Dusting: Use a soft brush attachment on your vacuum cleaner or a dry microfiber cloth to gently remove loose dust. Work from top to bottom.
- Spot Cleaning: For minor stains, lightly dampen a clean cloth with mild soap and water. Gently blot the stained area. Avoid excessive rubbing, which can damage the fabric fibers.
- Deeper Cleaning (Use Sparingly): If the shade is heavily soiled, you might consider a gentle spot clean with a fabric cleaner designed for upholstery. Always test in an inconspicuous area first. For very delicate or antique fabrics, it might be best to consult a professional or opt for a shade that is too far gone for this method. Ensure the shade is completely dry before proceeding. If the shade is made of a material that can be washed (check the care label if available), a gentle hand wash and air dry might be an option, but this is rare for typical lamp shades.
Assessing Your Lamp Shade Material
Not all fabric shades are created equal. The type of fabric will influence the best painting approach.
Common Lamp Shade Fabrics:
| Fabric Type | Characteristics | Painting Suitability |
|---|---|---|
| Linen | Natural, textured, breathable | Excellent. Absorbs paint well, provides a nice finish. |
| Cotton | Natural, versatile, common | Very good. Similar to linen, takes paint well. |
| Polyester | Synthetic, durable, wrinkle-resistant | Good, but can sometimes be more slippery. May require specific paints or sealants. |
| Silk/Rayon | Delicate, smooth, luxurious | Challenging. Requires very light application of specialized paints or fabric dyes. |
| Synthetic Blends | Varies depending on composition | Generally good, but test your paint first. |
Protecting Your Workspace
Painting can be messy. Protect your surrounding area to avoid accidental splatters.
Workspace Protection Tips:
- Lay down drop cloths or old newspapers.
- Cover furniture nearby.
- Work in a well-ventilated area, especially if using spray paint.
Choosing the Right Paint for Your Fabric Lamp Shade
Selecting the correct paint is crucial for achieving a beautiful and durable finish. You want a paint that adheres well to fabric, remains flexible, and doesn’t become stiff or brittle.
Paint Options for Fabric:
- Acrylic Paints: These are a popular choice for painting on fabric. They offer good coverage, come in a vast array of colors, and can be thinned with water for a more translucent effect or used straight from the bottle for bolder coverage. Look for “fabric acrylics” or “all-purpose acrylics.”
- Fabric Paints: Specifically formulated for textiles, these paints are designed to remain flexible after drying, preventing cracking. They often have a softer feel than standard acrylics.
- Fabric Dyes: While not technically paint, fabric dye for lampshades can offer a more uniform color saturation, especially for lighter fabrics. It can create a beautiful, translucent effect that still allows light to pass through.
- Spray Paints: For a quick and even coat, spray paint designed for fabric can be an excellent option. It’s ideal for solid colors or gradient effects.
What About Regular House Paint?
Generally, regular latex or oil-based house paints are not recommended for fabric lamp shades. They tend to dry hard and can crack or peel off the fabric. If you are determined to use them, they must be heavily diluted with a fabric medium or textile retarder to maintain some flexibility.
The Role of Fabric Mediums and Sealants
To enhance the longevity and flexibility of your paint, consider using a fabric sealant for painting or a fabric medium.
Fabric Mediums:
- These are liquids that you mix with acrylic paints.
- They help the paint adhere better to fabric and make it more flexible.
- They can also thin the paint without sacrificing color intensity.
Fabric Sealants:
- Applied after the paint has dried, a sealant protects the painted surface.
- It adds a layer of durability and can make the shade easier to clean.
- Look for clear, non-yellowing, flexible sealants.
Mastering Fabric Painting Techniques
The way you apply the paint will dramatically affect the final look. Experimenting with different fabric painting techniques is part of the fun!
Hand-Painting Designs and Patterns
This is where your artistic flair can shine.
Popular Hand-Painting Methods:
- Stenciling: Use pre-made or custom-cut stencils to create repeating patterns or graphic designs. Secure the stencil firmly with painter’s tape. Apply paint with a stencil brush or sponge using a dabbing motion to prevent bleeding.
- Freehand Painting: For the adventurous artist, freehand painting allows for complete creative freedom. Start with a light sketch using a pencil if needed.
- Block Printing: Carve your own designs into linoleum or rubber blocks, ink them, and press them onto the fabric.
- Ombre/Gradient Effects: Blend colors from light to dark or from one hue to another. This can be done by layering diluted paints or using a sponge to transition colors.
Spray Painting Fabric Shades
Spray painting fabric offers a fast way to achieve a uniform color or interesting effects.
Tips for Spray Painting Fabric Lamp Shades:
- Ventilation is Key: Always spray in a well-ventilated area, preferably outdoors.
- Protective Gear: Wear a mask to avoid inhaling fumes.
- Even Coats: Hold the can about 8-10 inches away from the shade. Apply light, even coats, moving the can back and forth in a sweeping motion. Avoid holding the can too close or spraying too much at once, which can cause drips.
- Multiple Thin Coats: It’s better to apply several thin coats than one thick coat. Allow each coat to dry slightly before applying the next.
- Testing: Practice on a scrap piece of similar fabric before spraying your shade.
Using Fabric Dye for a Translucent Look
Fabric dye for lampshades can be a great alternative if you want a softer, more translucent effect.
Dyeing Techniques:
- Dipping: For a dip-dye effect, immerse a portion of the shade in diluted fabric dye.
- Brushing: Dilute fabric dye and apply it with brushes for a watercolor-like appearance.
- Spray Bottle Application: Mix dye with water in a spray bottle for an all-over misting or subtle color variations.
Important Note: Fabric dyes work best on natural fibers like cotton and linen. Always follow the dye manufacturer’s instructions carefully.
Applying Paint to Your Fabric Lamp Shade: Step-by-Step
Let’s get down to the practicalities of applying paint.
Step 1: Securing the Shade
Ensure your lamp shade is stable while you work. You can place it on a turntable (like a cake decorating turntable) for easy rotation, or simply rest it on its base on your protected work surface.
Step 2: Applying Acrylic Paint or Fabric Paint
- Dilution (Optional): If you want a lighter coverage or a softer look, you can dilute your acrylic or fabric paint with water or a fabric medium. Start with a 1:1 ratio of paint to medium/water and adjust as needed.
- Brush Application: Use a good quality artist’s brush or a sponge brush. Apply paint in smooth, even strokes. For patterned fabrics, you might need more coats to achieve full coverage.
- Layering: Allow each layer of paint to dry completely before applying the next. This prevents muddiness and ensures good adhesion.
- Stenciling/Patterns: Follow the specific techniques for stenciling or freehand painting as described earlier.
Step 3: Using Spray Paint
- Shake Well: Ensure the spray can is thoroughly shaken before use.
- Spray: Apply in light, even coats from the recommended distance. Rotate the shade as you spray to cover all areas.
- Drying Time: Allow ample drying time between coats.
Step 4: Applying Fabric Dye
- Mixing: Mix the dye according to the manufacturer’s instructions.
- Application: Use your chosen technique (brushing, spraying, dipping). Work quickly and evenly.
- Rinsing/Setting: Follow the dye’s instructions for rinsing and setting the color. This usually involves rinsing with cool water and sometimes applying a fixative.
Sealing Your Painted Fabric Lamp Shade
Sealing is a crucial step to protect your artwork and ensure its longevity.
Why Seal?
- Protection: Guards against scuffs, dust, and minor spills.
- Durability: Prevents the paint from chipping or fading.
- Washability: Makes the shade easier to wipe clean.
How to Apply Fabric Sealant:
- Ensure Dryness: Make sure the painted fabric is completely dry – ideally, wait 24-48 hours after the final paint coat.
- Choose Your Sealant: Opt for a clear, non-yellowing, flexible sealant. Spray sealants are often easiest for lamp shades.
- Apply Evenly: Hold the spray can about 8-12 inches away from the shade. Apply a light, even coat, sweeping back and forth. Avoid overspray.
- Multiple Thin Coats: Apply 2-3 thin coats, allowing each coat to dry thoroughly according to the product instructions.
- Test First: Always test the sealant on a small, inconspicuous area or a scrap of painted fabric to ensure it doesn’t alter the color or finish.
Creative Ideas for Your DIY Lamp Shade Makeover
Now for the fun part – unleashing your creativity!
Ideas for Custom Lamp Shades:
- Geometric Patterns: Use painter’s tape to create sharp geometric shapes or stripes.
- Floral Motifs: Paint delicate flowers, leaves, or vines.
- Abstract Designs: Play with splatters, swirls, and color blocking for a modern look.
- Ombre or Gradient: Transition colors smoothly for a sophisticated effect.
- Stenciled Silhouettes: Use stencils to create bold graphic elements.
- Textured Finish: Mix fine sand or glitter into your paint for a unique tactile and visual effect.
- Metallic Accents: Add gold, silver, or copper metallic paints for a touch of glamour.
- Silhouette Scenes: Paint a city skyline, forest trees, or starry night on your shade.
- Color Blocking: Create bold sections of contrasting or complementary colors.
Layering and Textures
Don’t be afraid to combine different fabric painting techniques. You could stencil a pattern and then add hand-painted details over it. Consider using sponges for subtle texture or layering translucent washes of color.
Working with Light
Think about how the light will shine through your painted shade.
- Opaque Colors: Solid, opaque colors will block more light, creating a dimmer, more ambient mood.
- Translucent Colors: Diluted paints or fabric dyes will allow light to filter through, illuminating the colors and designs you’ve applied. This is often preferred for ambient lighting.
- Holes/Cut-outs: For a dramatic effect, you can carefully cut small holes in the fabric after painting and sealing, allowing light to shine through in a patterned way.
Addressing Common Concerns and Troubleshooting
Even with the best preparation, you might encounter a few issues.
What If I Make a Mistake?
- Wet Paint: If you make a mistake while the paint is still wet, you can often wipe it away gently with a damp cloth.
- Dry Paint: If the paint is dry, you can sometimes paint over it. For lighter colors, you might need a primer or a few coats of opaque paint. For darker colors, carefully scraping with a craft knife might remove small errors, but this risks damaging the fabric.
My Paint Looks Stiff
This can happen if you used too much paint or the wrong type of paint. Using a fabric medium or fabric-specific paints is crucial. If the paint is already dry and stiff, you might need to re-evaluate your sealing process or consider if the fabric can handle more flexibility through repeated gentle bending.
The Color Isn’t Bright Enough
This usually means the fabric absorbed a lot of the paint. Apply another thin coat. If using dye, you might need a stronger concentration or a longer soaking time (following instructions).
Lamp Shade Restoration: Beyond Just Painting
Sometimes, a lamp shade needs more than just a fresh coat of paint.
- Frame Repair: If the wire frame is bent or rusty, you might need to straighten it or clean it with steel wool before painting the fabric.
- Replacing Old Fabric: In severe cases, you might need to carefully remove the old fabric and re-cover the frame with new fabric, which you can then paint. This is a more involved process, but it’s a true lamp shade restoration.
Maintaining Your Painted Lamp Shade
To keep your custom creation looking its best:
- Dust Regularly: Use a soft brush or a gentle vacuum setting.
- Spot Clean: For minor marks, use a slightly damp cloth. Avoid harsh cleaning agents.
- Avoid Direct Sunlight: Prolonged exposure to strong sunlight can fade paint over time.
Frequently Asked Questions (FAQ)
Q1: Can I use chalk paint on fabric lamp shades?
While chalk paint can be used on fabric, it often requires a sealant and can sometimes create a chalky residue. If you do use it, opt for chalk paints formulated for fabric or mix your own with a chalk paint powder and a fabric medium. Ensure a good sealant is applied afterward.
Q2: Will painting a fabric lamp shade affect how much light it emits?
Yes, the opacity of the paint will influence the light. Thicker, opaque coats will block more light, creating a dimmer, more diffused glow. Diluted paints or fabric dyes will allow more light to pass through, illuminating the colors and designs.
Q3: How do I prevent paint from bleeding through the fabric?
Ensure you are using paints suitable for fabric. For spray paints, use light, even coats. For hand-painting, avoid overloading your brush. If your fabric is very thin or loosely woven, consider applying a fabric medium or primer first to create a barrier.
Q4: Can I paint a lamp shade that has a pattern on it already?
Yes, you can paint over an existing pattern. If the pattern is very bold or dark, you may need to apply several coats of paint or a primer to achieve your desired color. Lighter fabrics with subtle patterns are easier to cover.
Q5: What’s the best way to paint the trim or embellishments on a lamp shade?
For trim, fine-tipped brushes are best. You can also use fabric markers for intricate details. If you’re adding embellishments like beads or fringe, paint the fabric first, let it dry completely, and then adhere the embellishments with a strong fabric glue.
Conclusion: Your Canvas Awaits
Painting fabric lamp shades is a rewarding DIY project that allows for immense creativity and personalization. From simple color changes to elaborate artistic designs, the possibilities are endless. By following these fabric painting techniques, proper preparation, and choosing the right materials, you can successfully transform your lighting fixtures and create beautiful, custom lamp shades that truly reflect your style. So, grab your brushes, choose your colors, and get ready to illuminate your home with your own unique creations!