
Can you recover a lamp shade? Yes, you absolutely can! Recovering a lamp shade is a fantastic way to update your home decor without buying new lamps. It’s a rewarding DIY project that can breathe new life into old fixtures. This guide will walk you through the simple steps to achieve a professional-looking finish, whether you’re looking for lamp shade repair, restoring lamp shades, or simply want to try DIY lamp shade repair. We’ll cover everything from replacing lampshade fabric to recovering a lampshade frame and even touching on lamp shade cleaning if your current shade is just dirty.
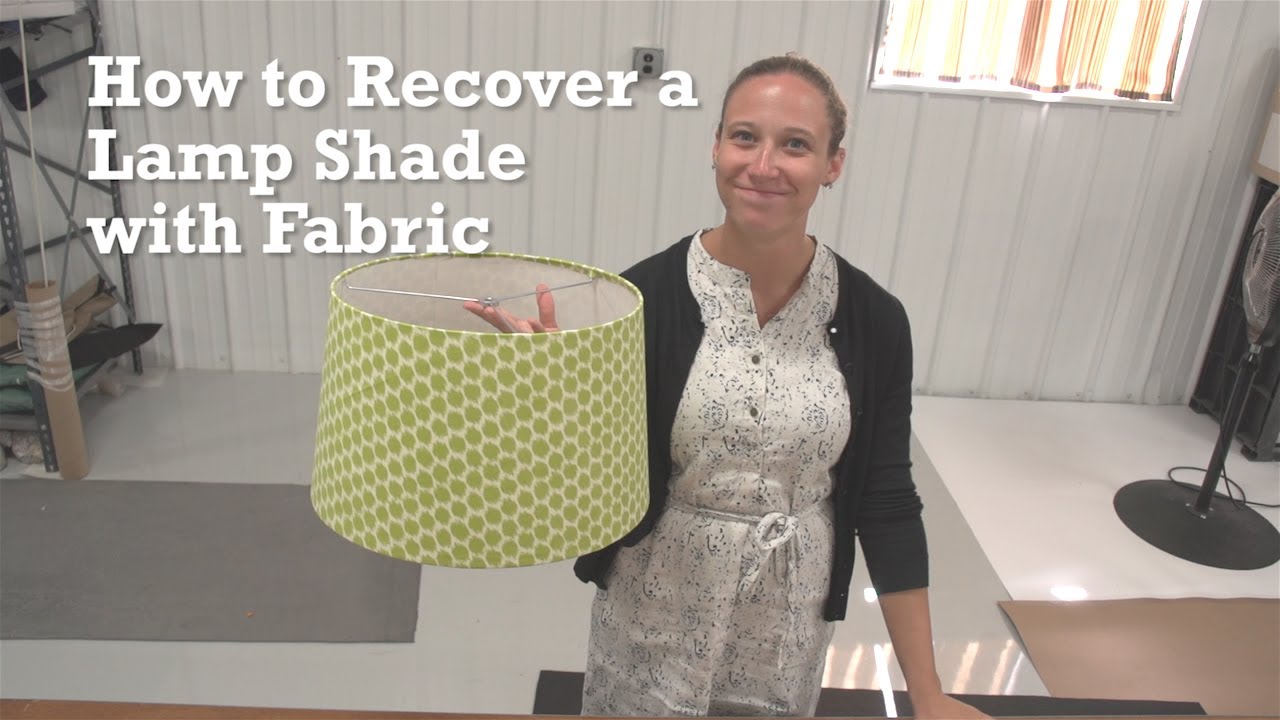
Image Source: i.ytimg.com
Why Recover a Lamp Shade?
There are many reasons to consider recovering a lamp shade. Perhaps your current shade is torn, stained, or faded. Maybe the style is outdated, or the color just doesn’t fit your new interior design. Whatever the reason, recovering a lamp shade is a cost-effective and creative solution. It’s also a great way to practice lampshade restoration techniques and personalize your lighting. Instead of fixing a broken lampshade with patches, a full recover offers a clean, new look. This process is essentially lamp shade refurbishment at its finest.
What You’ll Need: Your Shopping List
Before you begin, gather all the necessary supplies. Having everything ready makes the process smooth and efficient.
Essential Tools and Materials:
- New Fabric: Choose a fabric that complements your decor. Consider the light transmission and opacity.
- Lamp Shade Frame: This is the skeleton of your lampshade. You can reuse an existing one or purchase a new one.
- Scissors: Sharp fabric scissors are crucial for clean cuts.
- Measuring Tape or Ruler: For accurate fabric measurements.
- Fabric Glue or Spray Adhesive: To secure the fabric to the frame. Look for adhesives specifically designed for fabric.
- Pliers: To help remove old staples or wire.
- Staple Gun and Staples (optional): For securing fabric on certain frame types.
- Craft Knife or Box Cutter: For trimming excess fabric.
- Iron and Ironing Board: To press your fabric before you start.
- Thin Trim or Ribbon (optional): To cover raw edges for a polished look.
- Gloves (optional): To keep fabric clean.
Step-by-Step Guide to Recovering Your Lamp Shade
Let’s get started on your DIY lamp shade repair project! This method is versatile and works well for most drum or bell-shaped shades.
Step 1: Deconstruct the Old Shade (If Necessary)
If your lamp shade is in rough shape or you’re unsure about the original fabric’s condition, it’s best to start fresh by removing the old fabric.
- Carefully examine the existing shade. Look for staples, glue, or any fasteners holding the fabric in place.
- Use pliers to gently remove any staples. Be careful not to damage the frame underneath.
- If the fabric is glued on, you might be able to peel it away. If it’s stubborn, a craft knife can help you start a tear.
- Once the old fabric is off, inspect the frame. Ensure it’s clean and free of rust or damage. This is your opportunity for true lampshade restoration techniques.
Step 2: Measure and Cut Your New Fabric
Accuracy here is key for a seamless finish.
Measuring the Fabric
- For cylindrical (drum) shades: Measure the circumference of the shade at its widest point. Then, measure the height of the shade. Add about 1 inch to the circumference measurement for overlap, and about 1 inch to the height for top and bottom hems.
- For tapered shades: This is a bit trickier. You can either:
- Wrap a string around the shade’s widest point and then around its narrowest point. Measure the length of these strings. You’ll need two pieces of fabric, each cut to the height of the shade plus hem allowance, and the length of the string plus overlap.
- Alternatively, use the old fabric as a pattern. If you carefully removed the old fabric, you can lay it flat and cut your new fabric to match its dimensions, remembering to add seam allowances. This is often the easiest way for replacing lampshade fabric.
Cutting the Fabric
- Iron your chosen fabric to remove any wrinkles. This is crucial for a smooth application.
- Lay the fabric flat. Using your measurements, mark the cutting lines with a fabric pencil or chalk.
- Cut the fabric carefully. Aim for straight, clean edges.
Step 3: Apply the Fabric to the Frame
This is where your lamp shade fabric replacement really takes shape.
Attaching the First Edge
- Start at a seam or the back of the shade. Apply a thin, even line of fabric glue or spray adhesive along the edge of the frame where the fabric will first attach.
- Press the edge of your fabric firmly onto the glued area. Hold it in place for a few moments until it starts to adhere. If using spray adhesive, follow the product instructions for application and bonding time.
Wrapping and Adhering
- Slowly and smoothly wrap the fabric around the frame. Keep the fabric taut as you go to avoid wrinkles and puckering.
- As you wrap, apply adhesive to the frame in sections. Work your way around the shade, pressing the fabric down as you go.
- For tapered shades, ensure the fabric is pulled evenly. The goal is to have the fabric hug the shape without stretching it too much, which can distort the pattern.
Creating the Overlap
- When you reach the starting point, overlap the fabric by about 1 inch.
- Apply adhesive to the frame where the overlap will go.
- Carefully fold the raw edge of the fabric under by about 1/2 inch to create a clean, hemmed edge. Press this hemmed edge firmly onto the glued overlap. This provides a neat finish for your lamp shade refurbishment.
Step 4: Finishing the Top and Bottom Edges
This step ensures a professional look and completes the lampshade restoration techniques.
Securing the Edges
- Examine how the original fabric was finished. Most shades have fabric folded over the top and bottom wire rings of the frame.
- Apply adhesive to the inside of the top ring.
- Gently fold the excess fabric over the top ring. Press it down firmly. You may need to work in small sections.
- Repeat this process for the bottom ring.
Using Trim for a Polished Look (Optional)
- If the folded edges aren’t perfectly neat, or you want to add a decorative touch, use trim.
- Apply a thin line of fabric glue along the top edge of the shade.
- Press your chosen trim or ribbon onto the glue. Work your way around the entire circumference.
- Repeat for the bottom edge. You can also add decorative fringe or tassels for extra flair.
Step 5: Allow to Dry and Reassemble
- Let the adhesive dry completely. Check the product instructions for drying times. This is important to ensure the fabric stays securely in place.
- Once dry, gently place the recovered shade back onto your lamp. If you had to remove any finials or harp components, reattach them.
Tips for Success and Common Issues
Even with the best intentions, you might encounter a few hiccups. Here are some tips to help you avoid common problems and ensure your lamp shade repair is a success.
Fabric Choice Matters
- Consider the light: Light-colored, thin fabrics will allow more light to pass through, creating a brighter ambiance. Darker, heavier fabrics will diffuse light, creating a softer glow.
- Opacity: If you prefer a shade that obscures the bulb, choose thicker or opaque fabrics.
- Pattern placement: If your fabric has a directional pattern, pay close attention to how you cut and wrap it to ensure it aligns correctly when you join the edges.
- Washable fabrics: If you anticipate needing to clean your shade, opt for fabrics that are washable.
Adhesive Application
- Less is more: Apply adhesive in thin, even layers. Too much glue can seep through the fabric and create unsightly stains.
- Test your adhesive: Before applying it to the main shade, test it on a scrap piece of your chosen fabric and frame material (if possible) to ensure compatibility.
- Spray adhesive can be messy: Work in a well-ventilated area and protect your work surface. Use short bursts of spray to avoid oversaturation.
Handling Fabric Wrinkles
- Smooth as you go: The most effective way to prevent wrinkles is to keep the fabric taut and smooth it down with your hands as you adhere it to the frame.
- Ironing is your friend: A well-pressed fabric is the first step to a wrinkle-free shade.
- If you get a wrinkle: Sometimes, you can gently lift the fabric and reapply adhesive, smoothing out the wrinkle. However, it’s best to try and avoid them in the first place.
Dealing with Complex Shapes
- Pleated shades: Recovering pleated shades is significantly more challenging and often requires specialized techniques. It might be easier to purchase a new shade or focus on simpler shapes for your initial lamp shade refurbishment projects.
- Shades with intricate wirework: Take photos before disassembling to help you remember how the original fabric was attached.
Alternative Methods for Recovering Lamp Shades
While the fabric-wrapping method is common, other approaches exist for restoring lamp shades, especially if you’re dealing with a different type of shade or want a unique look.
Using Fabric Panels for Drum Shades
This is a variation of the main method, often used for a very clean, modern look.
- Instead of wrapping one large piece of fabric, you cut precise panels that fit each section of the drum shade.
- Each panel is glued carefully to the frame, with a small overlap at the back seam.
- This method requires extra precision to ensure the panels meet perfectly without gaps.
Recovering a Lamp Shade Frame with Beads or Fringe
This is a great option if the frame itself is in good condition but the fabric is beyond repair, or if you want a vintage look.
- You essentially use the frame as a base.
- Beads can be strung and attached to the frame’s wire rings.
- Fringe can be glued or sewn onto the bottom edge of the frame, or hung from the top ring.
- This method often skips the fabric replacement step entirely, focusing on embellishing the frame.
Lamp Shade Cleaning as a Restoration Technique
Sometimes, a shade doesn’t need a full recover; it just needs a good clean. Before you commit to replacing lampshade fabric, consider these lamp shade cleaning tips:
- Dusting: For most fabric shades, regular dusting with a soft brush or the upholstery attachment of your vacuum cleaner is sufficient.
- Spot Cleaning: For minor stains, test a small, inconspicuous area with a damp cloth and mild soap solution. Blot gently; don’t rub.
- Professional Cleaning: For very delicate or heavily soiled shades, consider professional cleaning services.
- Paper Shades: These are very delicate. Usually, dusting is the only safe cleaning method. Avoid moisture.
Frequently Asked Questions (FAQ)
Here are some common questions people have when undertaking DIY lamp shade repair:
Q1: What is the best fabric for recovering a lamp shade?
A: The best fabric depends on your desired look and light diffusion. Cotton, linen, silk, and polyester blends are popular choices. Thicker fabrics like velvet or burlap will create a moodier ambiance, while sheer fabrics like organza or voile will allow more light through. Always consider the fabric’s opacity and how it will interact with the light bulb.
Q2: Can I use spray paint to update a lamp shade?
A: Yes, you can spray paint some lamp shades, particularly those made of metal or certain plastic materials. However, for fabric shades, spray paint can stiffen the material and clog the weave, affecting light diffusion. It’s generally better to use fabric-specific paints or opt for replacing lampshade fabric.
Q3: How do I ensure the fabric is smooth without wrinkles?
A: Thoroughly iron the fabric before starting. As you adhere the fabric to the frame, work in small sections, keeping the fabric taut and smoothing it down with your hands as you go. Avoid stretching the fabric too much, as this can cause distortions.
Q4: What if my lamp shade frame is damaged?
A: If the frame is significantly bent or broken, it might be easier and safer to purchase a new lamp shade frame. They are readily available at craft stores or online. Minor bends can sometimes be straightened with pliers, but be careful not to weaken the metal.
Q5: How do I clean a recovered lamp shade?
A: The cleaning method will depend on the type of fabric you used. Most cotton or polyester fabrics can be gently spot-cleaned with a damp cloth and mild detergent. Always test a small area first. Avoid machine washing or submerging the shade in water, as this can damage the frame and adhesive. Regular dusting is the best preventative measure.
Q6: Can I recover a shade with a patterned fabric and have the pattern line up perfectly?
A: Achieving a perfect pattern match, especially on tapered shades, can be challenging for beginners. For drum shades, if the pattern repeat is large, you might need to cut and join fabric pieces to ensure the pattern flows continuously. For tapered shades, carefully using the old fabric as a template or making precise cuts and overlaps is crucial for pattern alignment.
Q7: My old lamp shade fabric is very stiff. How do I remove it?
A: Old fabric can become brittle or heavily glued. Carefully use pliers to pull out any staples. If glued, try to lift an edge with a craft knife and peel it away slowly. If it’s very stubborn, you might need to carefully cut the fabric off in sections, taking care not to damage the underlying frame.
Q8: What kind of glue is best for lampshade restoration techniques?
A: Fabric glue or a strong craft adhesive suitable for fabric and metal/plastic is recommended. Spray adhesives designed for fabric can also work well, providing even coverage. Ensure the glue is flexible once dry and won’t crack or yellow over time.
Q9: How do I get a clean edge when attaching trim?
A: Apply the trim adhesive neatly to the edge of the shade. Press the trim firmly into the glue, working your way around. For corners or seams where the trim meets, you can carefully trim the excess fabric and overlap the trim neatly for a professional finish.
Q10: My lamp shade is a unique shape. Can I still recover it?
A: While most common shapes like drums and bells are straightforward, more complex or geometric shades can be trickier. The principles of measuring, cutting, and adhering fabric still apply, but you may need to make more intricate cuts or use multiple panels to accommodate the shape. Patience and careful work are key.
Recovering a lamp shade is a rewarding project that allows you to personalize your home. With a little effort and the right materials, you can transform an old, tired shade into a beautiful focal point. Enjoy your newly refurbished lamp!