
Can you use a UV lamp for gel nails? Yes, absolutely! A UV lamp is essential for curing gel nail polish, turning a sticky liquid into a hard, glossy finish that lasts for weeks. This guide will walk you through everything you need to know to get a perfect gel manicure at home, using your UV nail dryer.
Getting that salon-quality gel manicure at home is now easier than ever, thanks to the availability of UV lamps and gel nail polish. Gone are the days of waiting hours for polish to dry, only to smudge it moments later. A UV lamp for gel nails, often called a UV nail dryer or gel nail lamp, is the secret weapon for achieving a durable, chip-free gel manicure. This in-depth guide will demystify the process, making you an expert in applying and curing gel polish for beautiful, long-lasting results. We’ll cover what a UV lamp does, how to choose one, and the step-by-step process for applying gel polish, ensuring you know exactly how to cure gel nails like a pro.
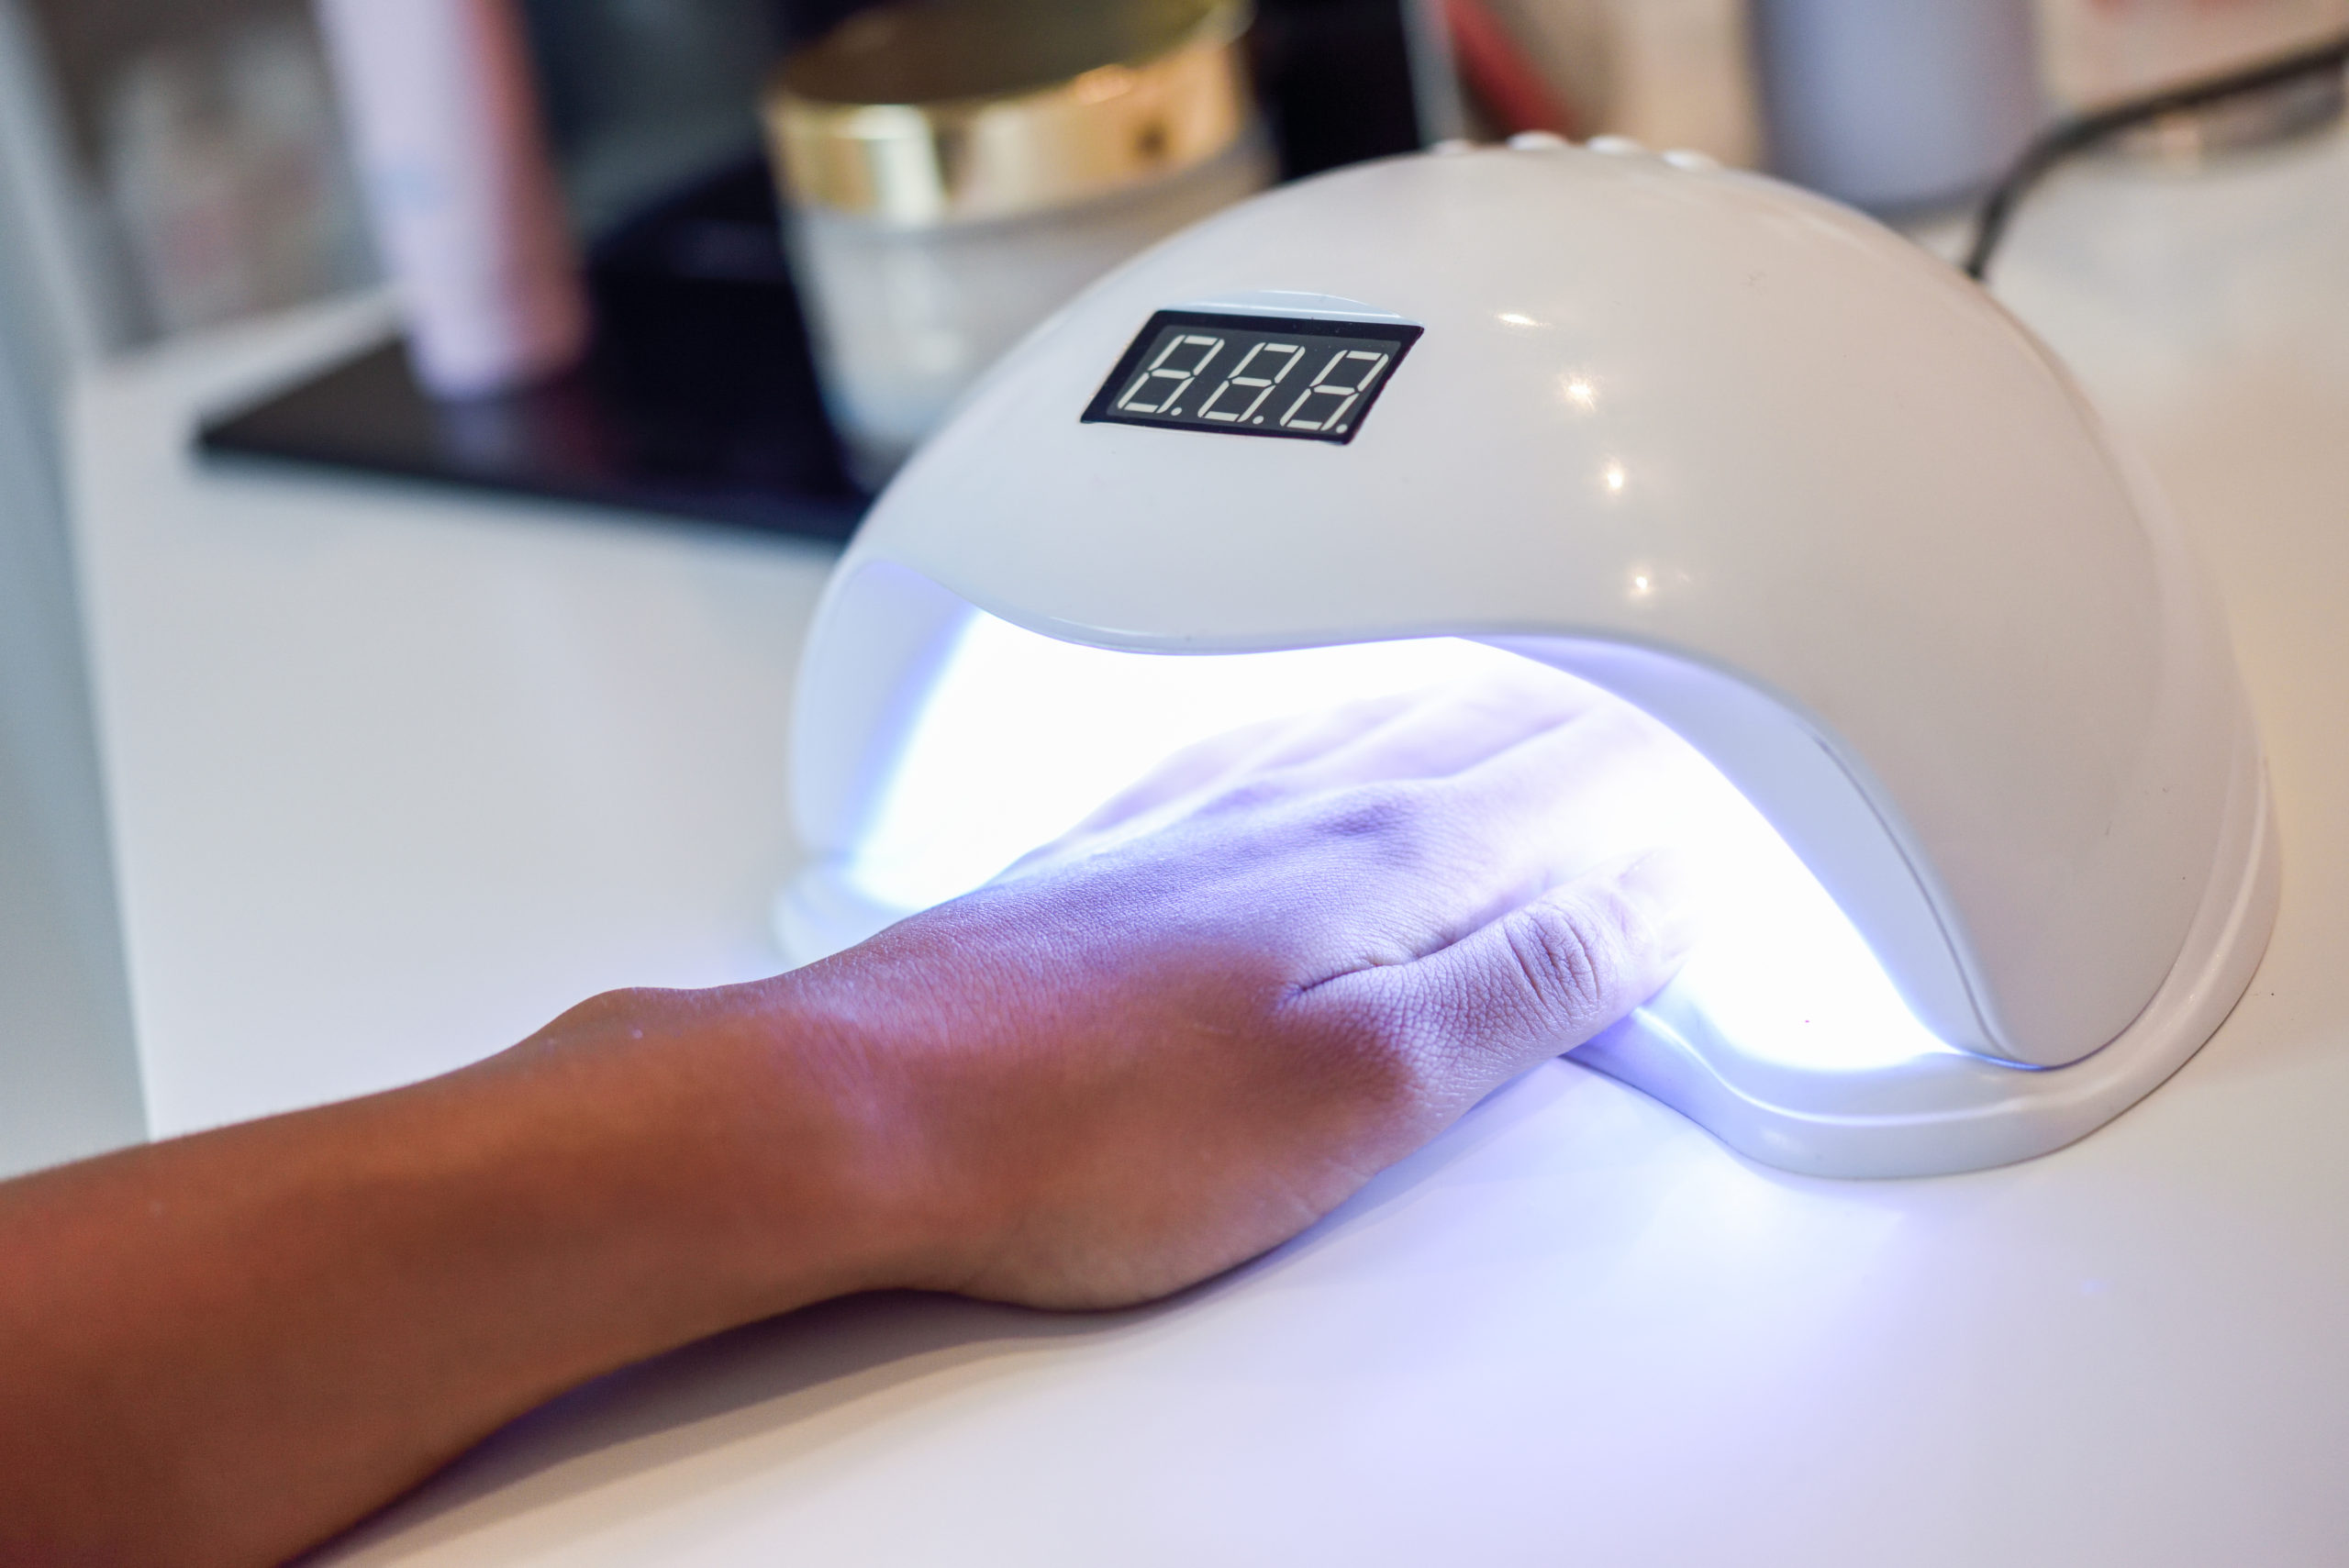
Image Source: tipsyturvynails.com
What is a UV Lamp for Gel Nails?
A UV lamp for gel nails is a device that emits ultraviolet (UV) light. This light is specifically designed to interact with the photoinitiators present in gel nail polish. When exposed to UV light, these photoinitiators trigger a chemical reaction that causes the gel polish to harden, or “cure.” This curing process transforms the wet, sticky gel into a solid, durable coating on your nails.
The primary purpose of a UV nail dryer is to cure gel nail polish. Without this light source, gel polish would remain wet and sticky, never achieving its signature hardness and longevity. Different types of UV lamps exist, including traditional UV lamps and LED (Light Emitting Diode) lamps. While both serve the same purpose, LED lamps cure gel polish much faster. However, the term “UV lamp” is often used broadly to encompass both technologies when discussing gel manicures.
Choosing the Right UV Nail Dryer
Selecting the best UV nail dryer for your needs is crucial for a successful gel manicure. Here’s what to consider:
Types of Nail Lamps
There are two main types of lamps used for curing gel polish:
- UV Lamps: These use traditional fluorescent bulbs to emit UV-A light. They are generally less expensive upfront but have a longer curing time and bulbs need to be replaced periodically.
- LED Lamps: These use Light Emitting Diodes to emit UV light. They cure gel polish significantly faster than UV lamps, have a longer lifespan, and don’t require bulb replacement. They are typically more expensive initially.
Wattage and Curing Power
The wattage of a lamp indicates its power. Higher wattage generally means faster and more efficient curing. For home use, a UV lamp between 9W and 36W is common. LED lamps often range from 12W to 48W or more, with higher wattages offering quicker cure times.
Size and Features
- Size: Ensure the lamp is large enough to comfortably fit your hand or foot. Some lamps are designed for single-hand use, while others can accommodate both hands simultaneously.
- Timers: Most good UV nail dryers come with built-in timers. This is essential for ensuring the gel polish is cured for the correct amount of time. Look for lamps with multiple timer settings (e.g., 30 seconds, 60 seconds, 90 seconds, 120 seconds).
- Sensors: Many modern lamps have automatic sensors that turn the light on when you place your hand inside and off when you remove it. This is a convenient feature.
- Removable Base: A removable base makes it easier to clean the lamp and is especially helpful for pedicures.
- Fan: Some lamps include a small fan, which can help speed up the drying of top coats or even regular polish if you’re using the lamp for multiple purposes.
Durability and Brand Reputation
Opt for reputable brands known for producing quality and reliable nail lamps. Reading reviews can help you gauge the durability and performance of a particular model.
The Gel Manicure Process: Step-by-Step
Now that you have your UV nail dryer, let’s dive into how to use it for a flawless gel manicure. This involves careful application of several layers of gel polish.
Preparation is Key
Before applying any product, proper nail preparation is essential for optimal adhesion and longevity of your gel manicure.
Nail Shaping and Cuticle Care
- Remove Old Polish: If you have any old nail polish, remove it completely using a non-acetone remover. Acetone is often needed to remove soak off gel, so keep that in mind for later.
- Shape Your Nails: File your nails to your desired shape. Use a fine-grit file to avoid damaging the natural nail.
- Push Back Cuticles: Gently push back your cuticles using a cuticle pusher or an orange wood stick.
- Trim Cuticles (Optional): If you have excess cuticle skin, you can carefully trim it with cuticle nippers. Be gentle and avoid cutting too much.
Buffing the Nail Surface
Buffing the natural nail surface is a critical step for creating a smooth canvas and ensuring the gel polish adheres properly.
- Lightly Buff: Use a fine-grit buffer (around 180-240 grit) to gently buff the surface of your natural nails. The goal is to remove the natural shine, not to file down the nail itself. This creates a slightly rough surface for the gel to grip onto.
- Clean Dust: After buffing, use a nail brush to sweep away all the dust.
Cleansing and Dehydrating
This step removes any oils or residue from the nail surface, which can prevent proper adhesion.
- Cleanse: Wipe each nail with a lint-free wipe soaked in nail cleanser or isopropyl alcohol. This thoroughly cleanses the nail.
- Dehydrate: Follow up with a nail dehydrator. This product removes any remaining moisture and oils, preparing the nail for the base coat.
Applying Gel Polish
Applying gel polish correctly involves thin, even coats and curing each layer under your UV nail dryer.
Step 1: Base Coat
The base coat is the foundation of your gel manicure. It protects your natural nail from staining and provides a sticky surface for the color coat to adhere to.
- Apply a Thin Layer: Apply a very thin, even layer of gel base coat to each nail. Avoid touching the cuticle area. If you get product on the cuticle, wipe it away immediately with your lint-free wipe before curing.
- Cure Under Lamp: Place your hand under the UV nail dryer for the time recommended by the base coat manufacturer (usually 30-60 seconds for LED lamps, or 2 minutes for traditional UV lamps). Ensure your nails are positioned directly under the light source.
Step 2: Color Coats
This is where you build up the color. Most gel polishes require two coats for full opacity.
- Apply First Color Coat: Apply a thin, even layer of your chosen gel nail polish color. Again, avoid the cuticle and sidewalls. A thick coat can lead to uneven curing and lifting.
- Cure: Cure this layer under the UV nail dryer for the recommended time (typically 30-60 seconds for LED, 2 minutes for UV).
- Apply Second Color Coat: Repeat the application with a second thin layer of color.
- Cure Again: Cure this second layer for the recommended time.
Step 3: Top Coat
The top coat seals the color, provides shine, and protects the manicure from chipping and scratching.
- Apply Top Coat: Apply a thin, even layer of gel top coat. Ensure you cap the free edge of your nails by running the brush along the tip. This helps prevent chipping.
- Cure: Cure the top coat under the UV nail dryer for the recommended time. This is often a longer curing time, especially for no-wipe top coats.
Step 4: Finishing Touches
- Wipe Off Tackiness (if applicable): Some top coats leave a sticky residue (called inhibition layer or tacky layer) after curing. If yours does, use a lint-free wipe soaked in isopropyl alcohol or a specialized gel cleanser to wipe away the tackiness. No-wipe top coats don’t require this step.
- Cuticle Oil: Apply cuticle oil to rehydrate the skin around your nails. This will make your manicure look even more polished and professional.
How to Cure Gel Nails: Important Considerations
Knowing how to cure gel nails effectively ensures your manicure lasts and looks its best. Here are key points to remember:
Curing Time and Lamp Type
The curing time depends on the type of gel polish and the strength of your UV nail dryer. Always follow the manufacturer’s recommendations for both the polish and the lamp.
- LED Lamps: Generally cure gel polish in 30-60 seconds per layer.
- UV Lamps: Typically require 2 minutes per layer.
Placement Under the Lamp
Ensure your nails are positioned directly under the UV bulbs or LEDs. Uneven placement can lead to under-curing in some areas, which can cause lifting or peeling.
Thin Coats are Crucial
Applying gel polish in thin, even coats is vital. Thick coats will not cure properly, leading to a soft, smudgy finish and a manicure that peels off easily. Each layer needs to be fully cured before applying the next.
Avoiding the Cuticles
Getting gel polish on your skin or cuticles is a common mistake. This uncured gel on the skin can cause allergic reactions and will lift the polish from the nail, shortening the manicure’s lifespan. Always wipe away any stray product before curing.
Multiple Layers
Remember that curing happens for each layer – base coat, color coats, and top coat. Don’t skip curing between layers!
Maintaining Your Gel Manicure
To make your gel manicure last as long as possible, follow these tips:
Protect Your Hands
- Wear Gloves: When doing household chores like washing dishes or cleaning, wear rubber gloves to protect your nails from harsh chemicals and prolonged water exposure.
- Avoid Using Nails as Tools: Don’t use your nails to open cans, scrape labels, or pry things open. This can chip or break the gel.
Regular Moisturizing
- Cuticle Oil: Apply cuticle oil daily to keep the skin around your nails hydrated. Healthy cuticles contribute to a healthier-looking manicure.
When It’s Time for a Change
Soak off gel is designed to be removed rather than filed off entirely. This preserves the integrity of your natural nail.
Removing Gel Polish
When you’re ready for a new color or your gel manicure has started to grow out, proper removal is key. Avoid simply peeling or picking at the gel, as this can damage your natural nails.
The Soak-Off Process
Soak off gel is typically removed using acetone.
- File the Top Coat: Lightly file the top shiny layer of the gel polish with a fine-grit file. This allows the acetone to penetrate the gel more effectively.
- Apply Acetone: Soak a lint-free wipe or cotton pad in acetone. Place the soaked pad over your nail and wrap it securely with foil or specialized nail clips.
- Soak: Let your nails soak for about 10-15 minutes. The acetone will break down the gel polish.
- Gently Push Off: Remove the foil and gently push off the loosened gel polish with an orange wood stick or a cuticle pusher.
- Cleanse and Moisturize: Once all the gel is removed, wash your hands thoroughly with soap and water and apply cuticle oil.
If Gel Is Stubborn
If some gel remains stubborn, you can re-wrap and soak for a few more minutes or gently buff away the remaining product. Always be careful not to damage your natural nail.
Frequently Asked Questions (FAQ)
Here are answers to some common questions about using UV lamps for nails.
Q1: Can I use a regular nail dryer for gel polish?
A1: No, a regular nail dryer is designed to speed up the drying of air-drying nail polish. It does not emit the specific UV light required to cure gel nail polish. You must use a UV or LED nail lamp for gel polish.
Q2: How long does a gel manicure typically last?
A2: With proper application and care, a gel manicure can last anywhere from two to three weeks, often longer, without chipping or losing its shine.
Q3: Do I need to cure each coat of gel polish?
A3: Yes, you must cure each individual layer of gel polish – the base coat, each color coat, and the top coat – under the UV nail dryer. This ensures each layer properly hardens.
Q4: My gel polish is still sticky after curing. What did I do wrong?
A4: If your gel polish is still sticky after curing, it might be due to a few reasons:
* The polish was applied too thickly.
* The curing time was insufficient.
* The lamp is not powerful enough.
* It might be the inhibition layer (tacky layer) left by certain top coats, which needs to be wiped off with alcohol.
Q5: Can I use any brand of gel polish with my UV nail dryer?
A5: Generally, yes. Most gel polishes are formulated to cure under standard UV or LED lamps. However, it’s always a good idea to check the specific requirements for your gel polish brand. Some gel polishes might be optimized for specific lamp types or wattages.
Q6: How often should I replace the bulbs in my UV lamp?
A6: Traditional UV lamps use fluorescent bulbs that degrade over time. They typically need replacement every 6-12 months with regular use, even if they are still emitting light, as their UV output weakens. LED lamps do not have bulbs that need regular replacement; they are designed to last for many years.
Q7: Is it safe to use a UV lamp for nails?
A7: When used as directed, UV lamps for nails are generally considered safe. However, prolonged or unprotected exposure to UV light can be harmful to the skin. It’s recommended to wear UV-blocking gloves or apply sunscreen to your hands before use, especially if you have sensitive skin or are concerned about aging. Avoid looking directly into the light.
By following this comprehensive guide, you’ll be well-equipped to use your UV nail dryer effectively for beautiful, long-lasting gel manicures at home. Enjoy your flawless nails!